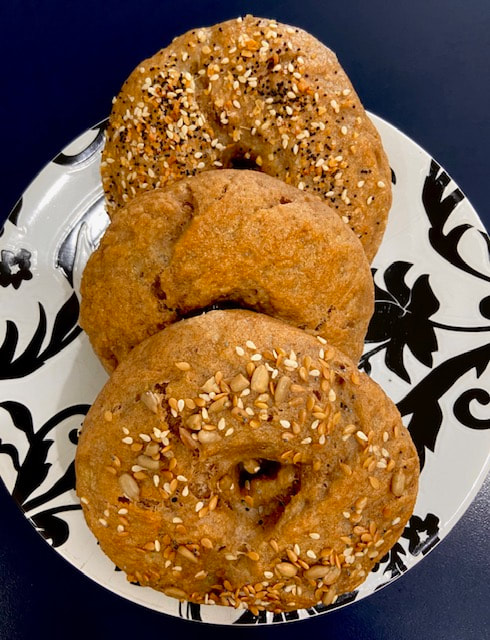
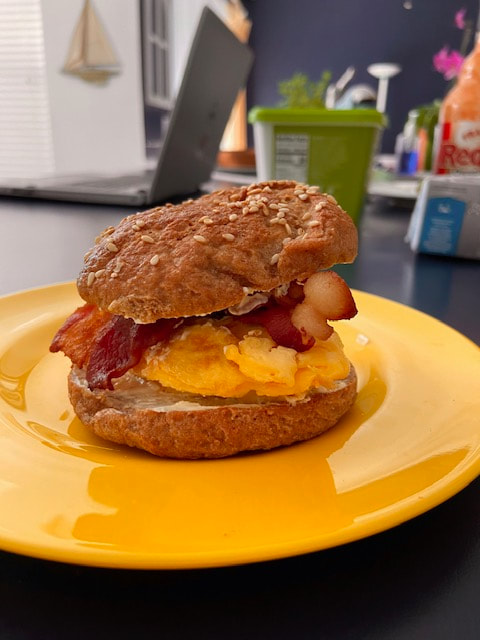
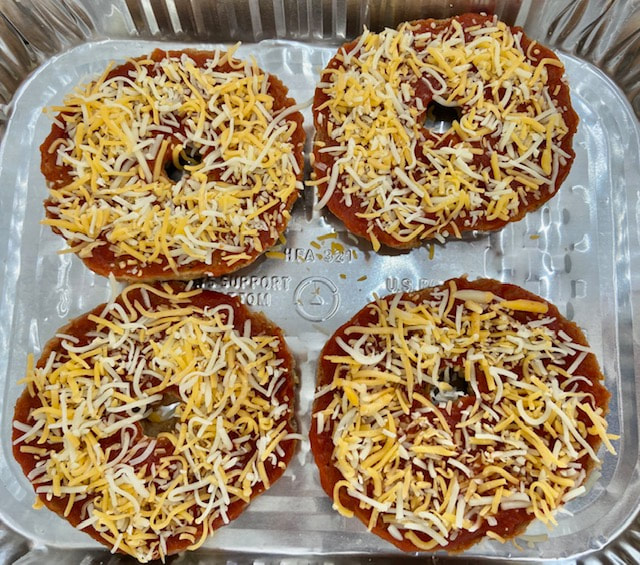
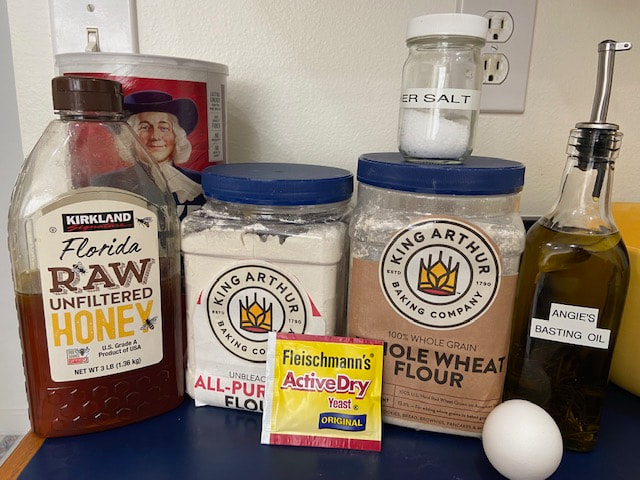
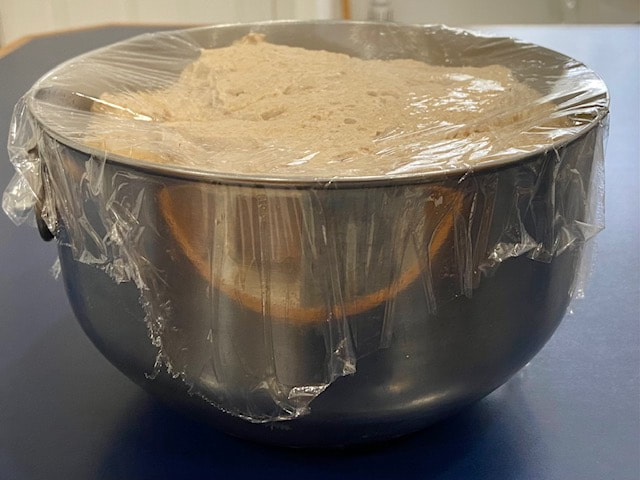
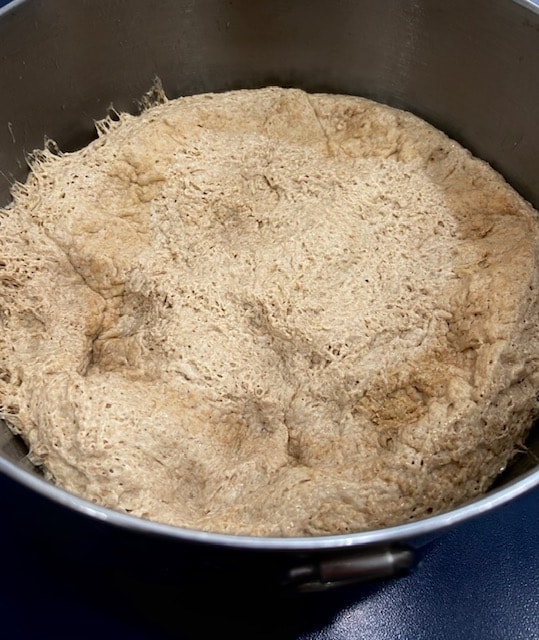
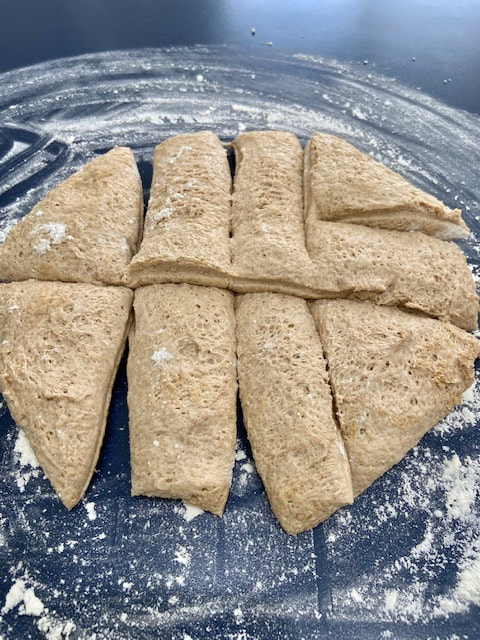
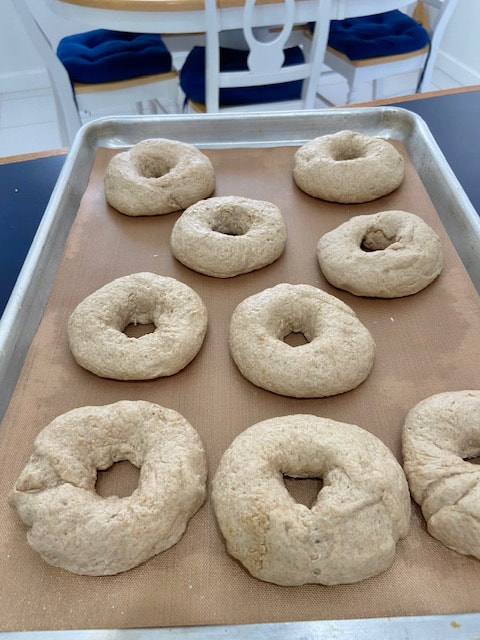
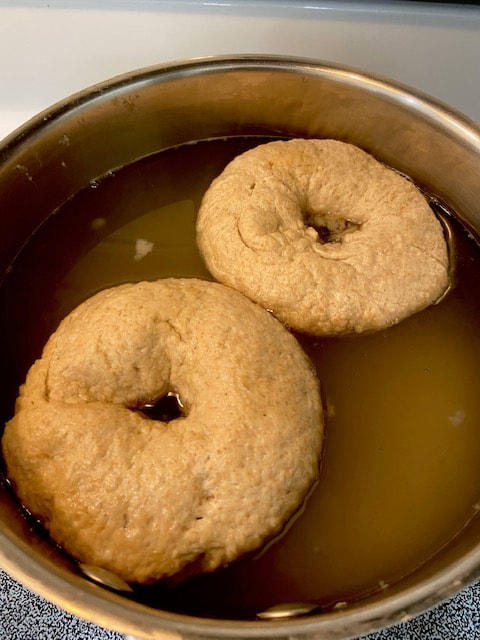
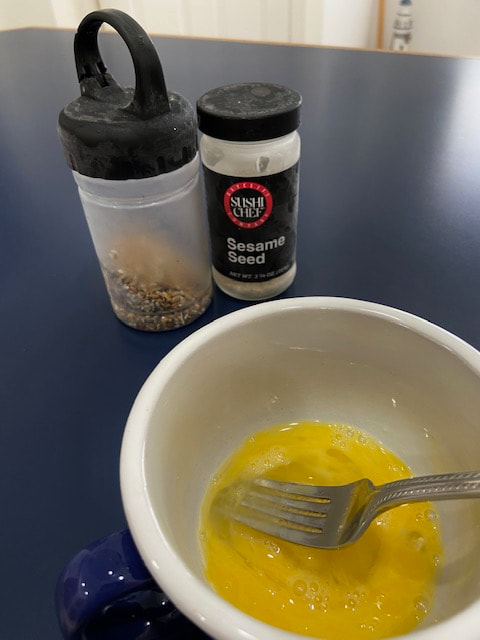
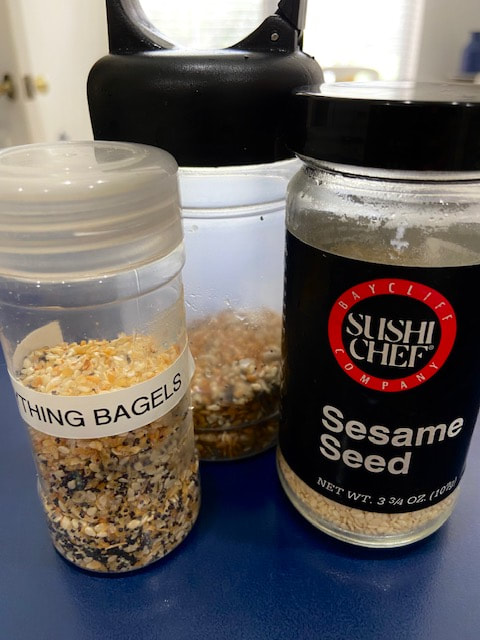
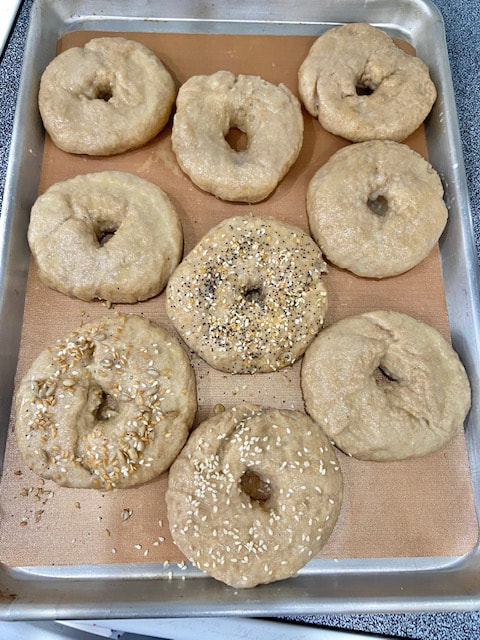
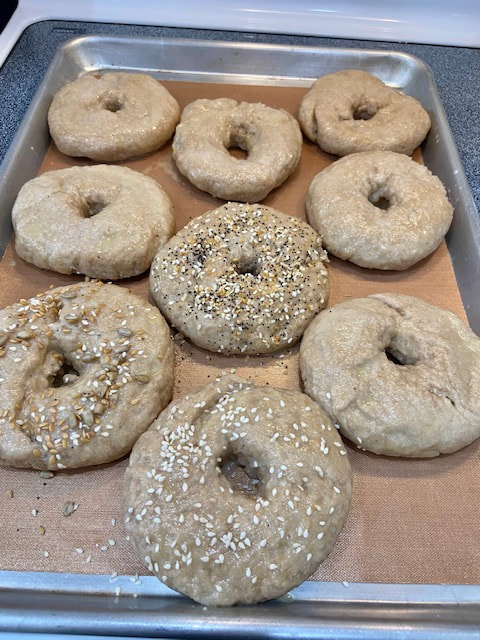
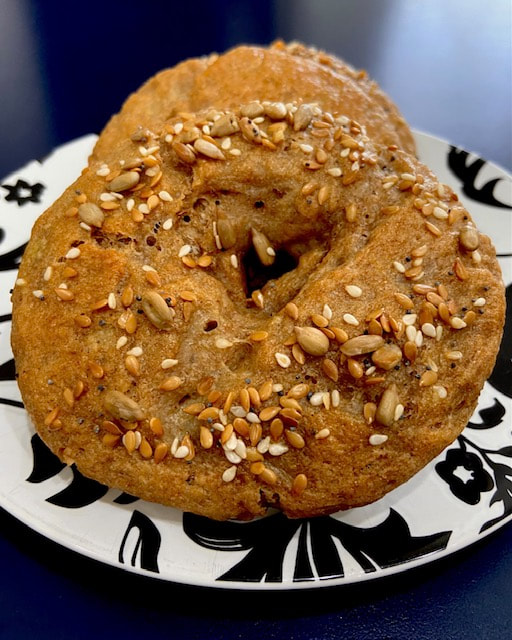
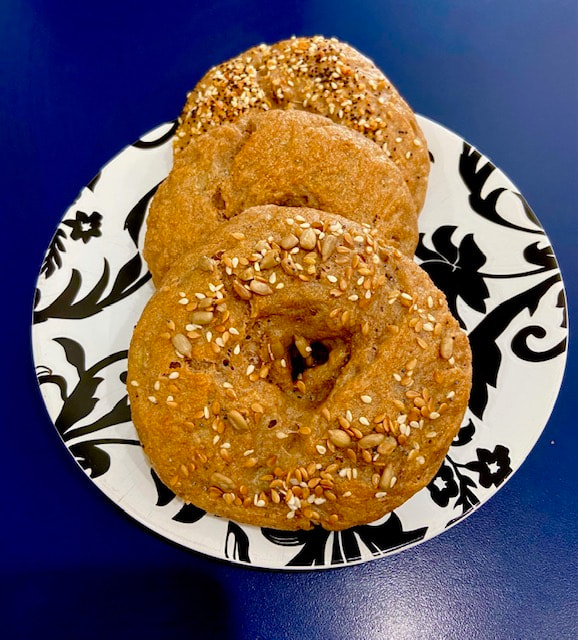
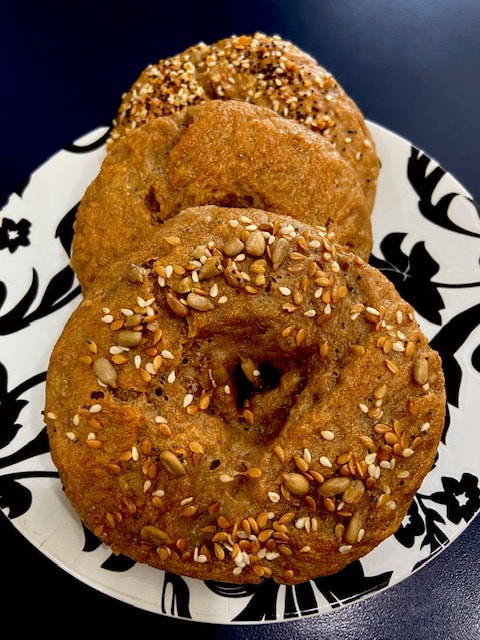
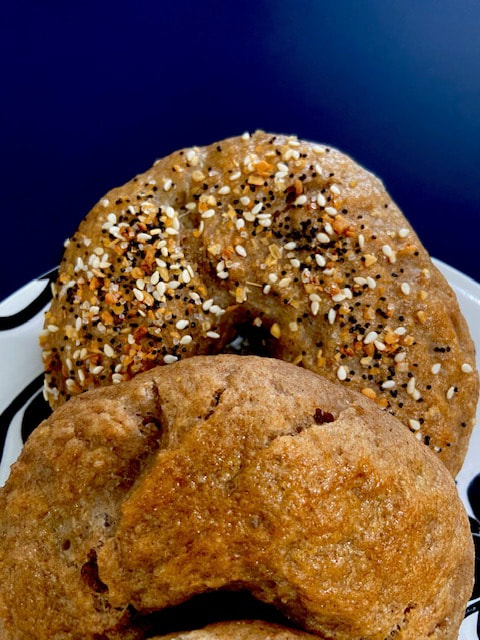
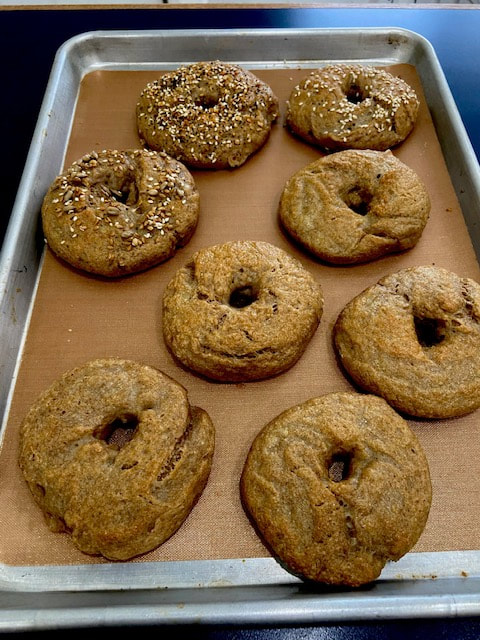
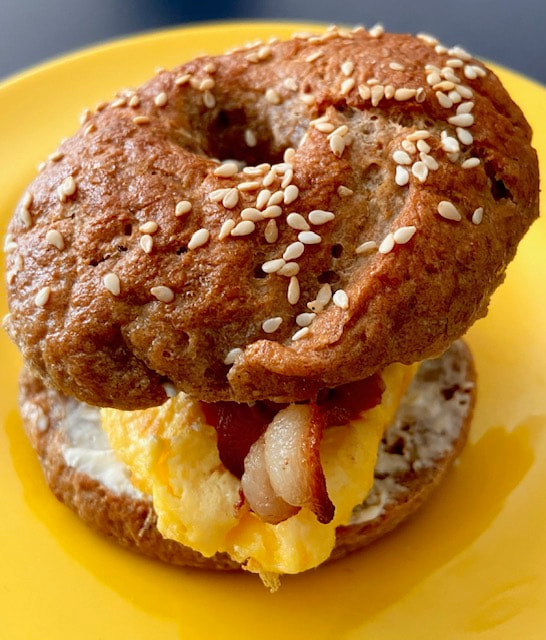
 Not a popular baking to do for a lot of people, in spite of the fact that bagel recipes are simple and not complicated at all. Freshness means a lot, so if you can, set aside some time to bake some fresh bagels. You will love them with cream cheese, or egg-bacon sandwich or even pizza bagels, smile. Category: BREADS, BAGELS Approx. Prep and Cook Time: Few hours for resting time, etc. Approximate Cost: $4.30 ingredients Difficulty Level: Intermediate Allergens, Other: UNFORTUNATELY, NOT Gluten Free Servings: 9 TO 10 LARGE or 12 med to small Ingredients 2 c. Whole wheat flour ($1.00) 1 c. All-Purpose flour ($1.00) 1 ¼ c. Oats flour ($1.00) 2 tsps. Salt (0) 1 tbsp. Active Dry Yeast (.50) 1-2/3 c. Water (0) 1 tbsp. honey (.10) 1 tbsp. honey (.10) 3 to 4 c. of boiling water (.20) 1 egg (.20) 1 tsp. water (0) Sesame seeds, sunflower seeds, or the seeds of your choice (.20) Directions
0 Comments
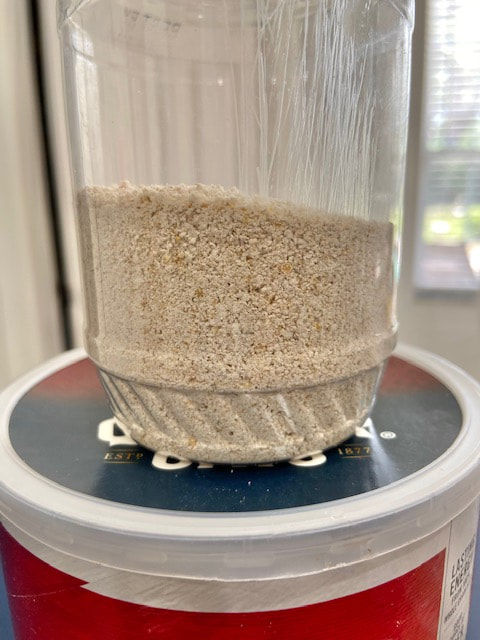
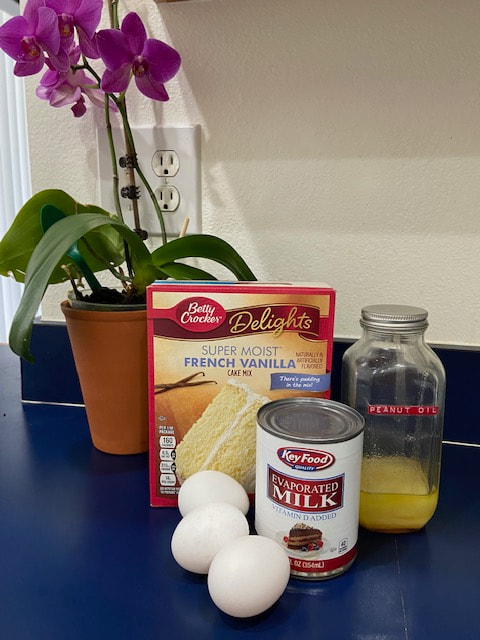
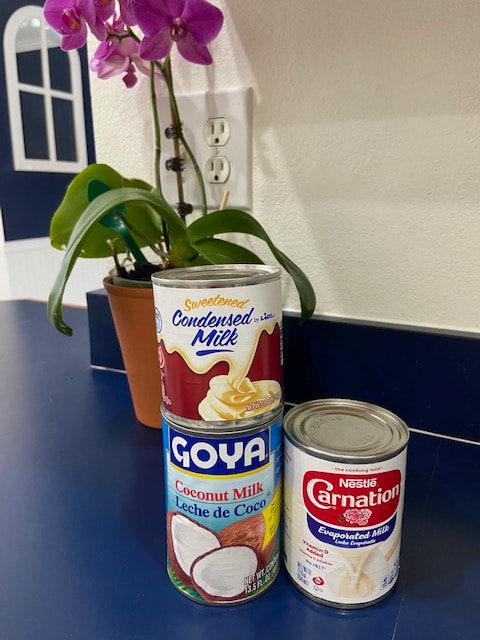
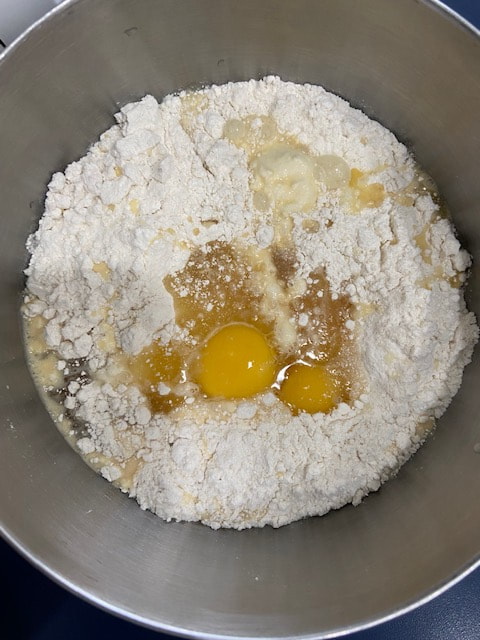
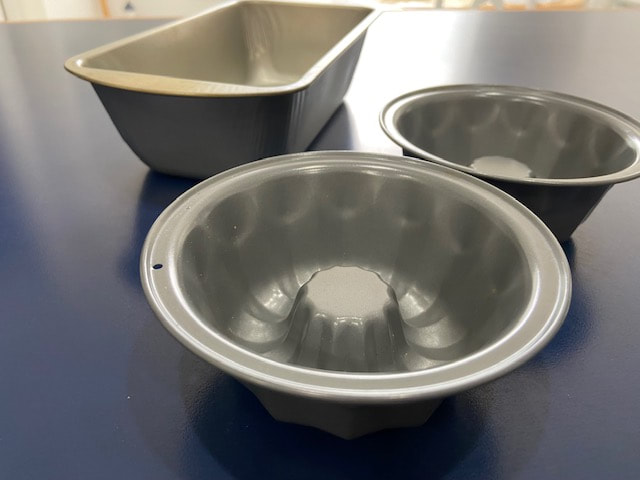
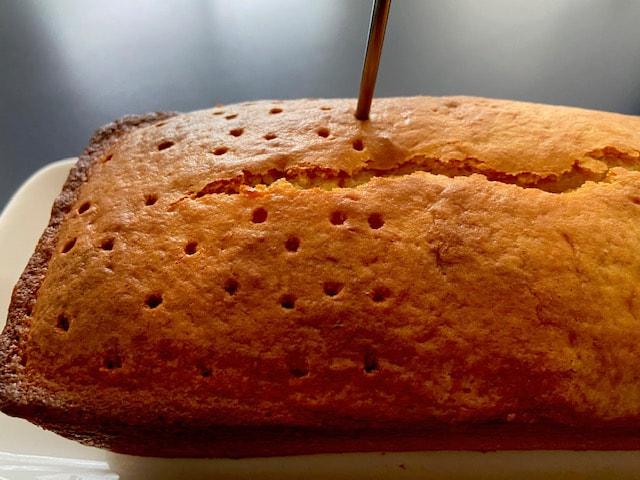
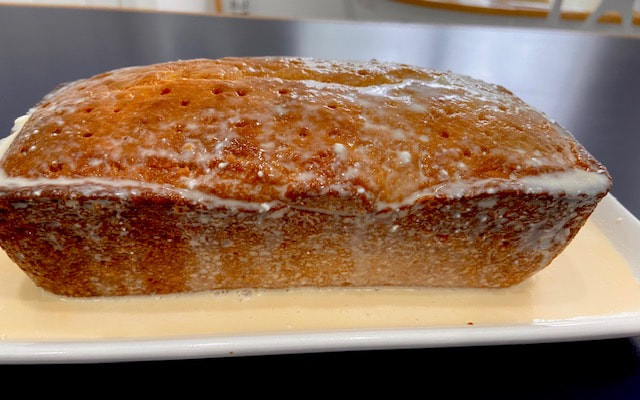
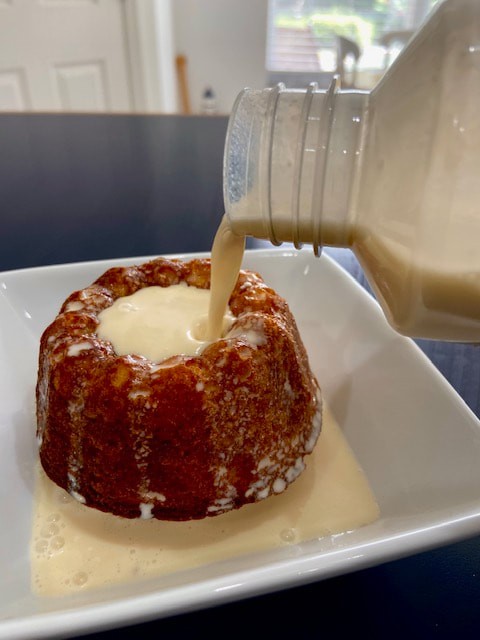
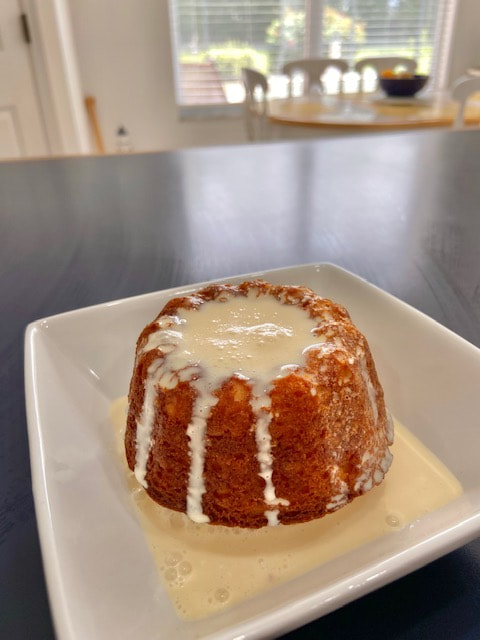
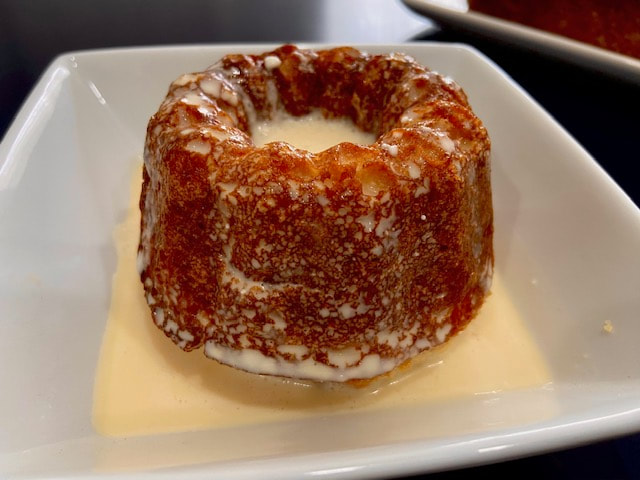
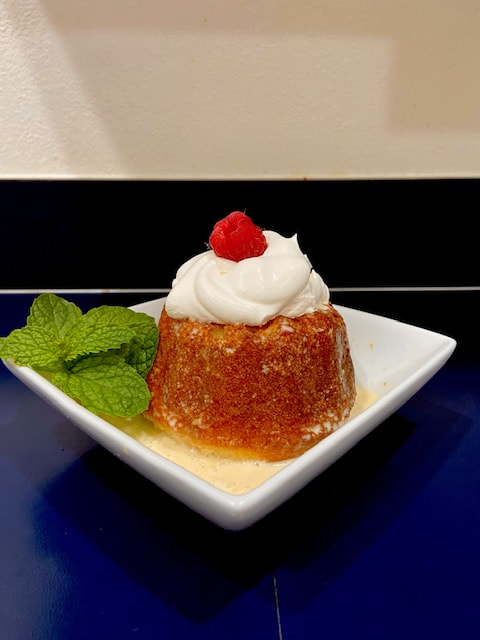
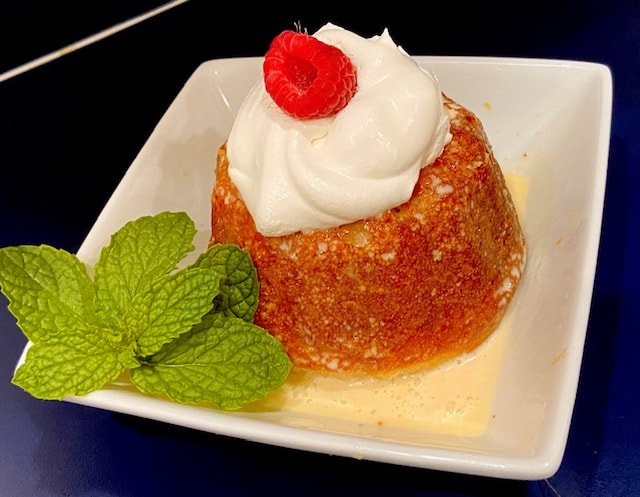
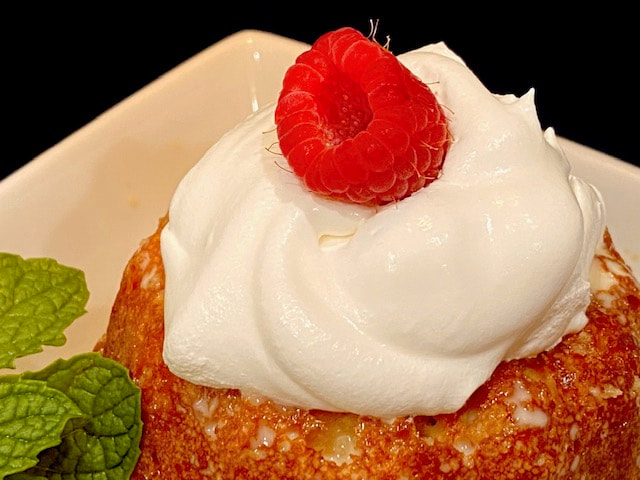
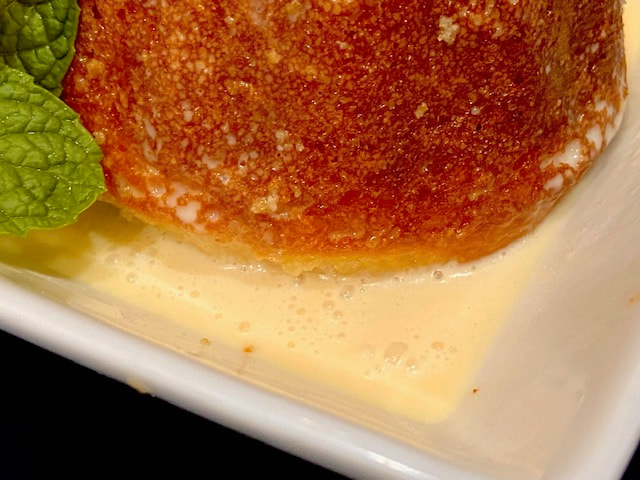
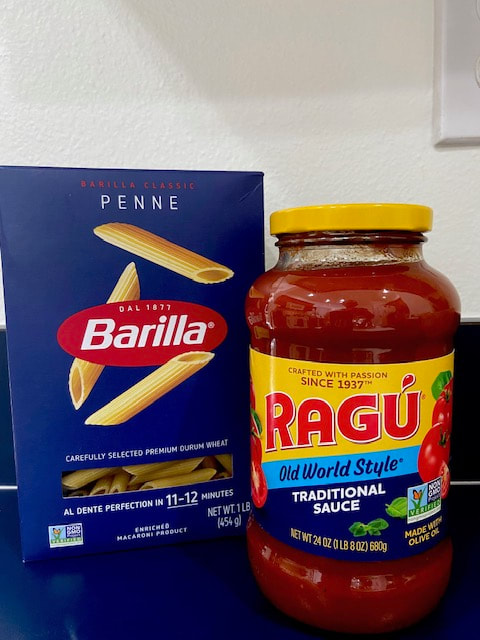
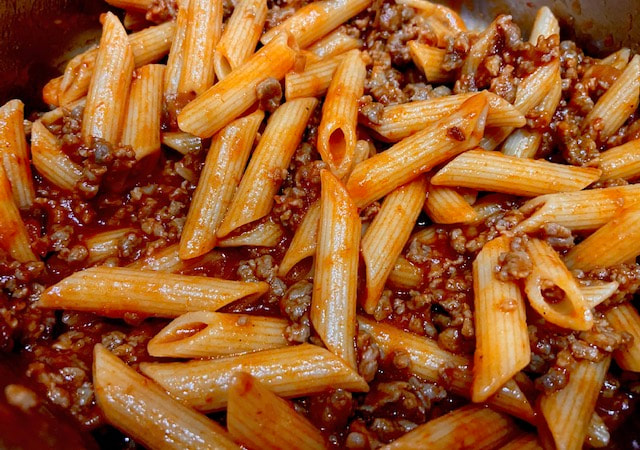
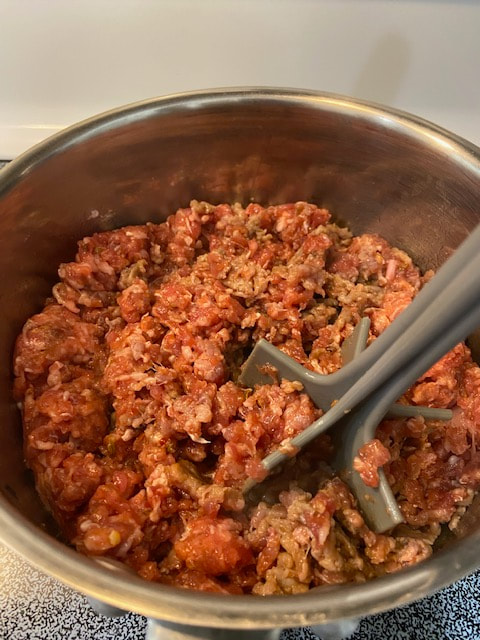
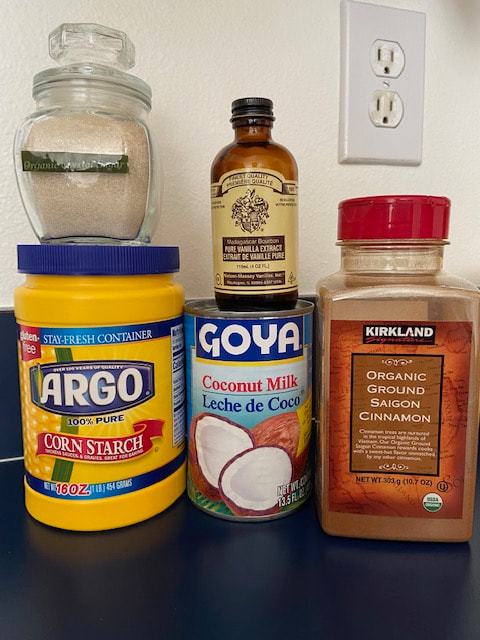
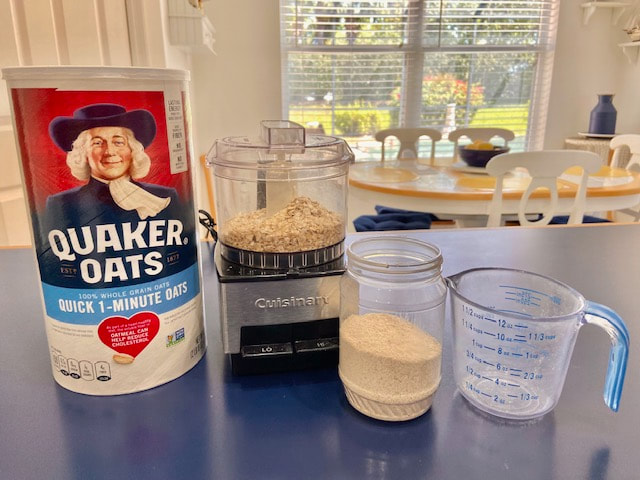 Sometimes we want to make a dessert or bread, go read the recipe just to find out that you do not have a key ingredient at home, Oats Flour. Is it worth it to stop what you are doing, get in the car and go to the grocery store to get it? Maybe not, but if what you need is Oats Flour, which sell for about $4 to $5 a bag, you may like to read my post today. Category: HACK Approx. Prep and Cook Time: 5 minutes Approximate Cost: $1.00 Difficulty Level: Easy Allergens, Other: Gluten Free Servings: 1 cup Ingredients 1 c. Quick 1-Minute Oats = a little over 1 cup of Oats flour after you process it. 1 blender or Food processor Directions Just measure the amount of oats flour needed for the recipe, pour that amount of Quick 1-Minute Oats in your blender or processor, process for about 3 to 5 minutes until it looks exactly as flour, very fine. The result? You will get basically the same amount of flour measured before you processed the oats. From there, just measure the amount of “oats flour” that you need for your recipe. DONE! Also, you can use other oats. I do not recommend Steel Cut Oats, I never done it. Smile. 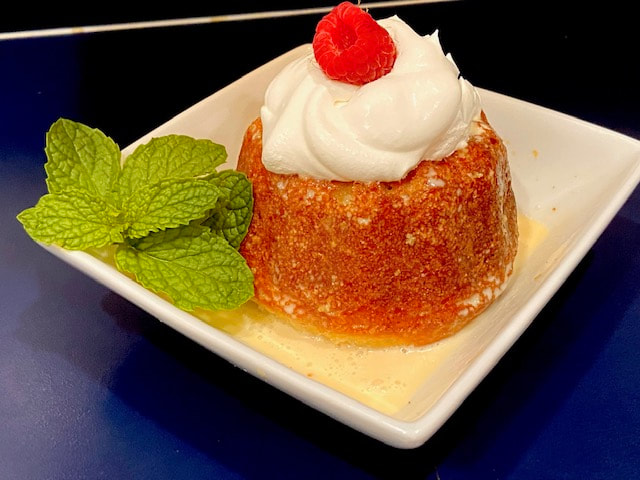 This is such a simple and nice looking dessert that anyone can make it. Once you follow the boxed cake directions and bake it, then mix the 3-milks and done! Category: Dessert Approx. Prep and Cook Time: Under 1 hour Approximate Cost: $10.39 or $1.30 per serving Difficulty Level: Easy Allergens, Other: For Gluten Free (PLEASE USE A GF BOX CAKE MIX) Servings: 8 Part A. Ingredients for the Cake: ($2.75) 1 box of French Vanilla cake (or any Gluten Free boxed cake) ($1.25) 3 eggs (.40) 1/4 vegetable oil (I love and always use peanut oil) (.75) 1 cup of evaporated milk (or fat free regular milk) (.35) Part B. Ingredients for the 3-LECHES: ($5.30) 1 (12 oz.) can of evaporated milk ($1.50) 1 (14 oz.) can of condensed milk ($1.90) 1 (13.5 oz.) can of Coconut Milk (YOU ARE ONLY USING 2/3 CUP) ($1.90) Part C. Ingredients-Frosting (Optional, you can eat the cake without it)($2.34) 1 Pint of Heavy Cream (or whipped cream) ($1.74) Any fresh fruits of your choice (.60) Directions Pre-heat oven at 350 degrees. Spray an 8" x 11" or meatloaf type baking pan, or smaller designed pans for individual servings with Baking Cooking Spray. Prepare the cake according to the pack directions, however, replacing the ingredients listed on Part A, Cake list for GLUTEN FREE. (Always check for doneness inserting a toothpick that should come out clean, remember all ovens cook differently.) When done, let it cool completely before pouring the 3-LECHES mix. To prepare the TRES LECHES, add all the ingredients listed on Part B, whisk and refrigerate. When the cake(s) is cooled, poke holes throughout and pour the milk mix to allow it to absorb it. It will take several small pouring’s to accomplish a super moist cake. When ready to serve, top it with Cool Whip or prepare the frosting (or any other topping), as listen under Part C. It takes just few minutes. Serve and garnish with strawberries or any fruit of your choice. Bon Appetite! 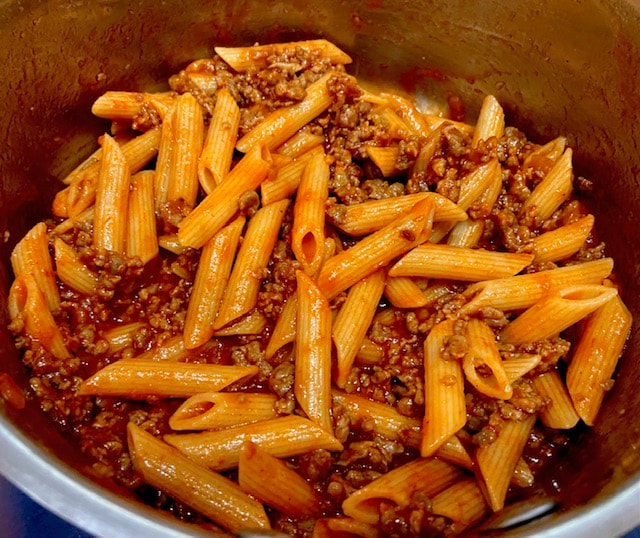 No time to cook but still want an affordable homemade dinner for 3 people in no time? Then make my dish tonight and definitely, there will be no leftovers, smile! Category: Entrée Approx. Prep and Cook Time: Under 30 Minutes Approximate Cost: $8.21 or $2.74 per serving Difficulty Level: Easy Allergens, Other: Gluten Free Servings: 3 Ingredients 1 pk. of mild ground Italian sausage (it is very salty no need for seasonings) ($3.87) ½ Box of Penne Pasta ($1.84) ½ of the 24-oz. jar of Ragu Traditional Sauce ($2.50) Directions
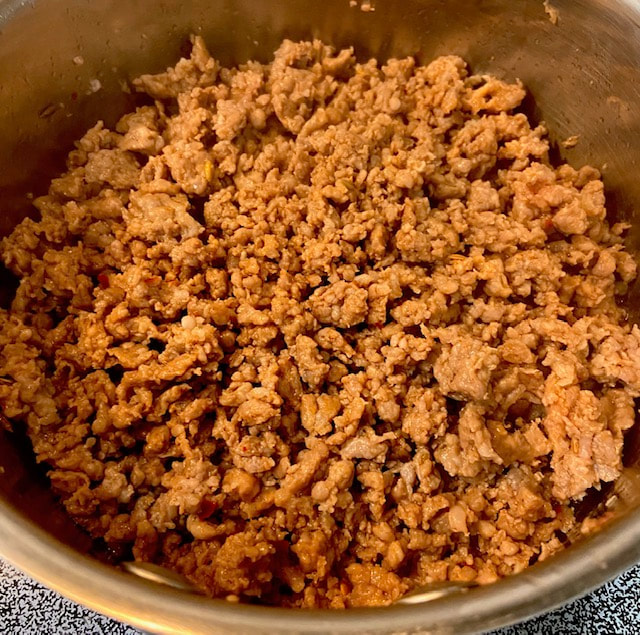
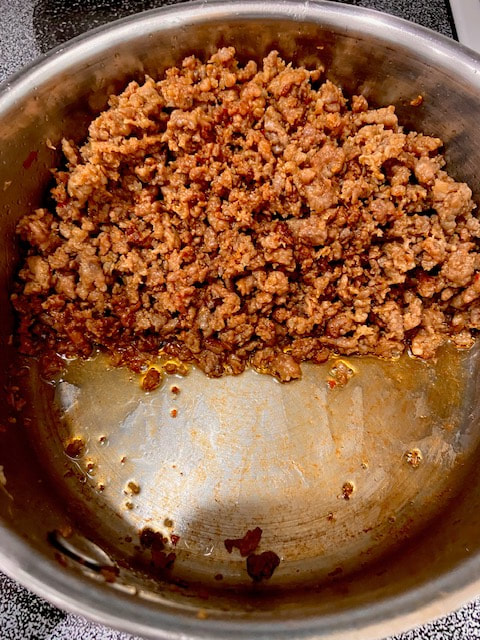
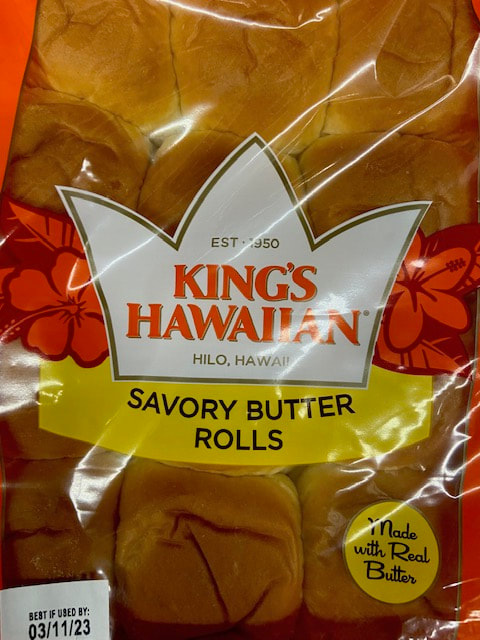
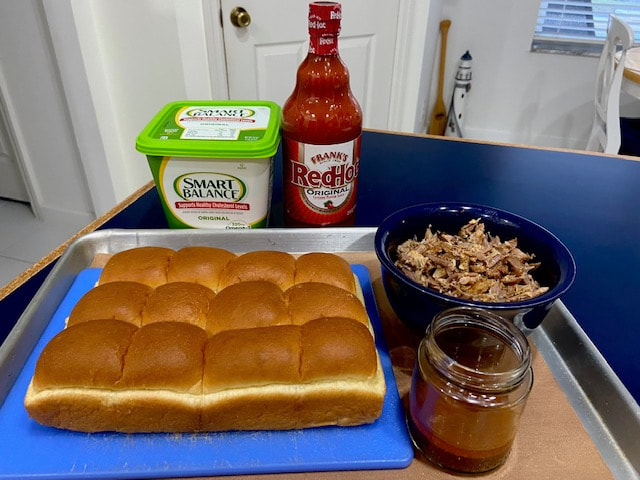
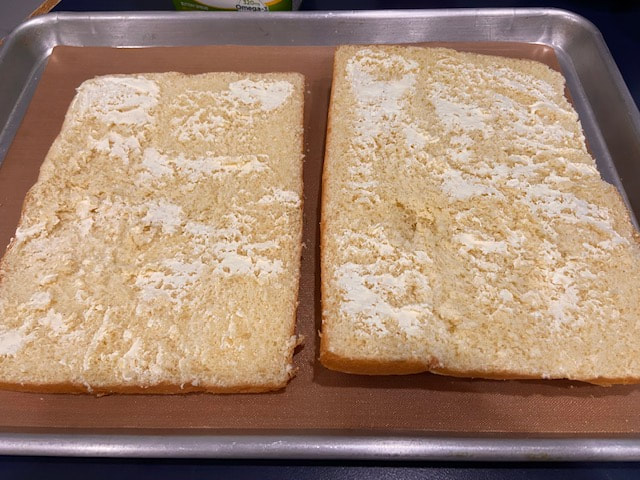
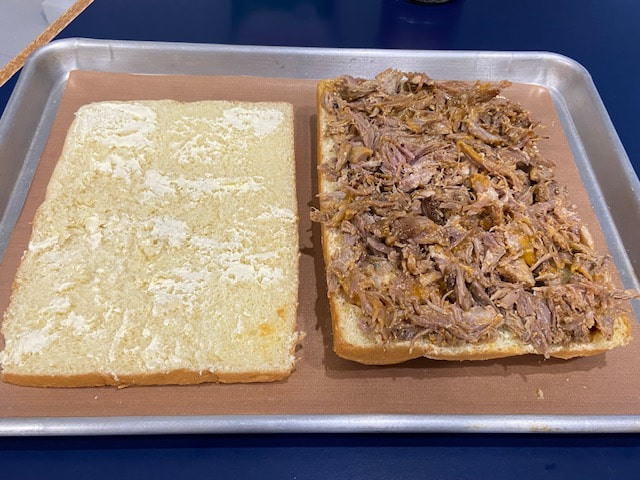
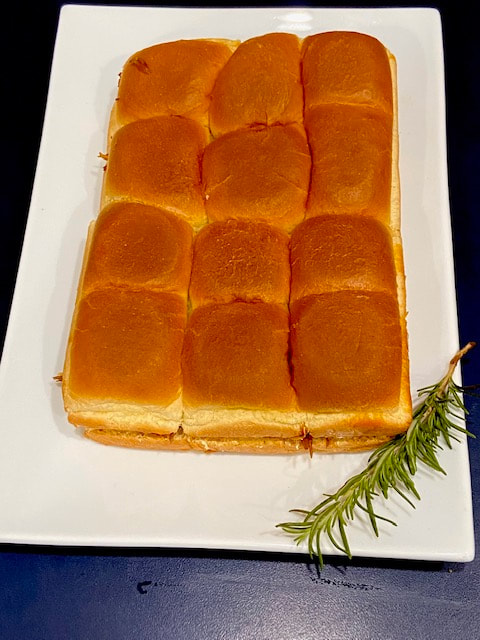
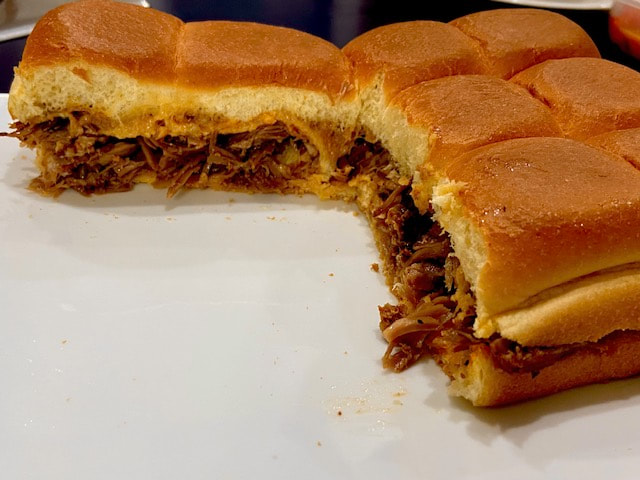
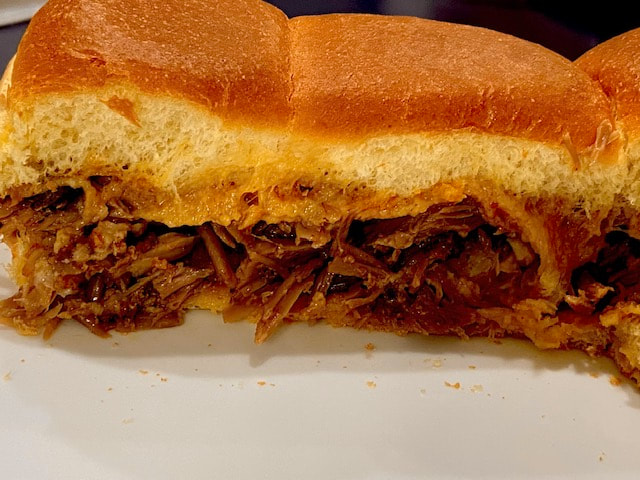
NOTE: If you want more servings: Use 1 box pasta, 1 jar of Ragu & 1 pk. of ground sausage. 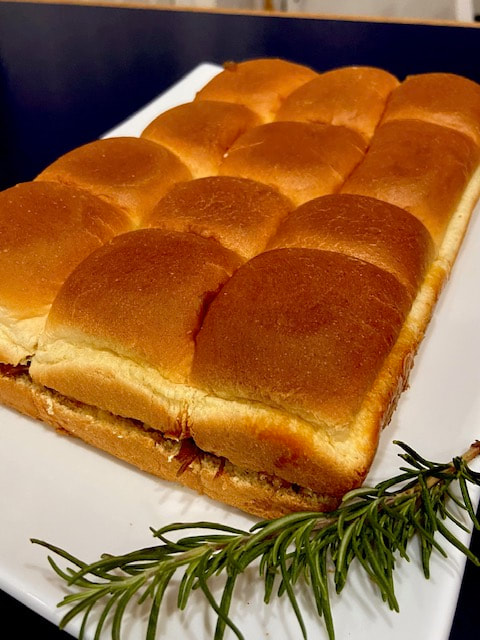 I made the baby back ribs and posted the recipe yesterday and fortunately, we had leftovers. So, I decided to use the “extra” ribs by shredding it, adding it to Hawaiian sliders bread and make some yummy lunch with those leftovers today, smile. Category: Entrée, Lunch Approx. Prep and Cook Time: 15 Minutes Approximate Cost: $7.05 or $1.76 per serving Difficulty Level: Easy Allergens, Other: Please, use gluten Free bread instead Servings: 4 Ingredients 1 bag of Hawaiian Slider Bread ($4.50) 1 tbsp. Red Hot Sauce (or to-taste) (.15) 1 to 2 tsp. Smart balance butter (.20) 1 bowl of leftover Shredded baby back ribs ($ 2.00) ½ c. Baby back ribs gravy (.20) Directions
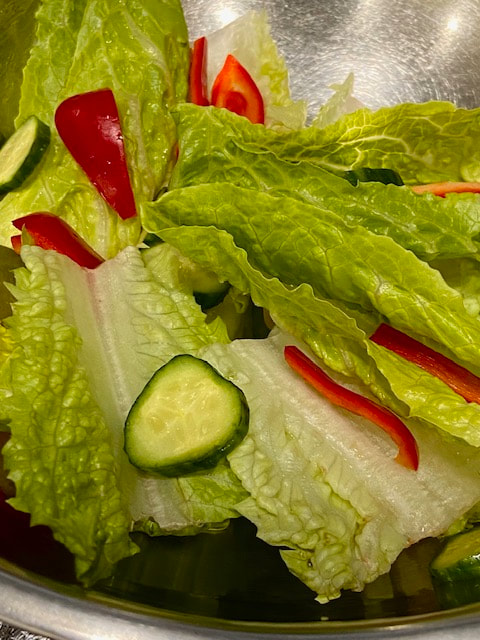
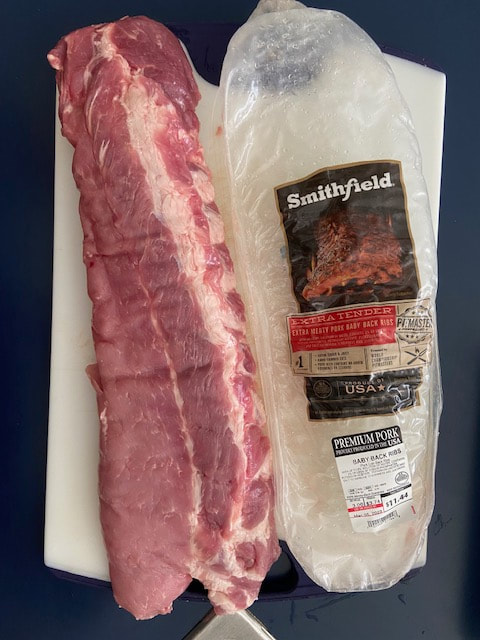
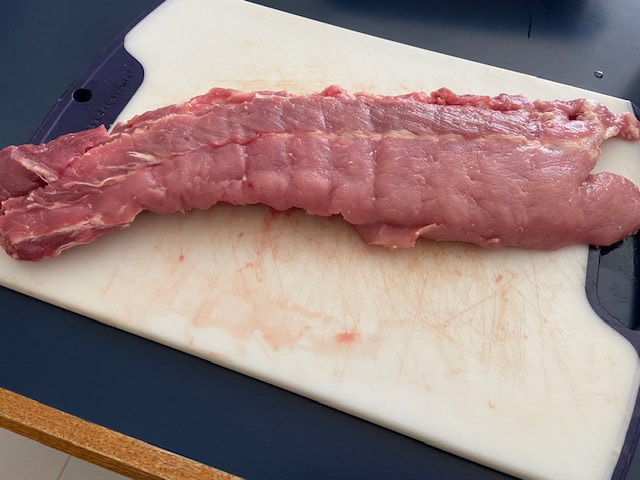
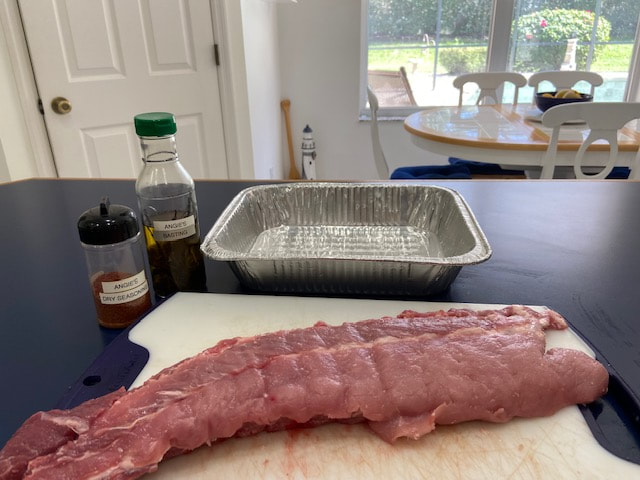
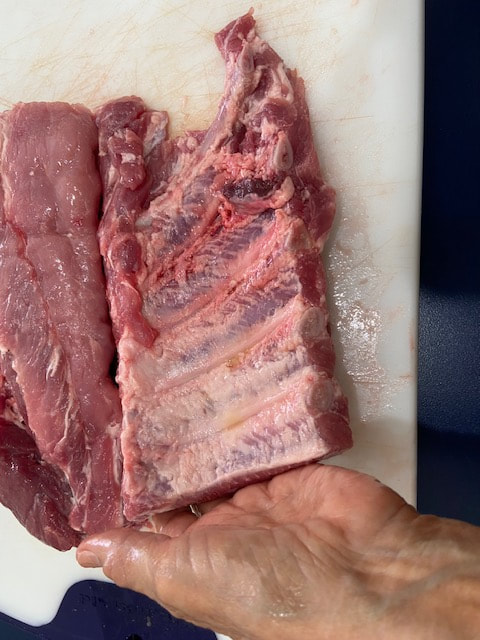
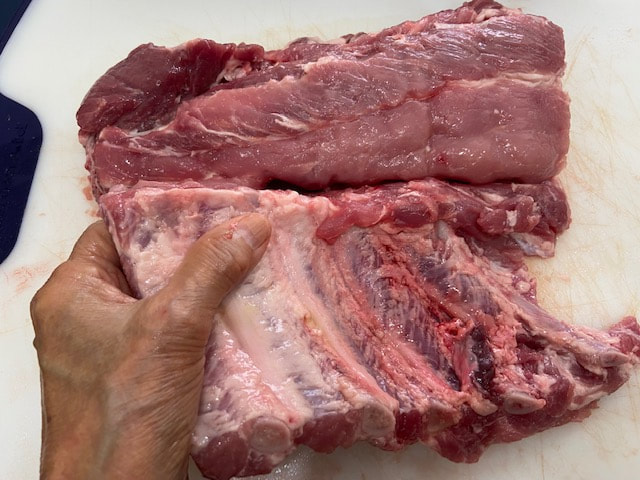
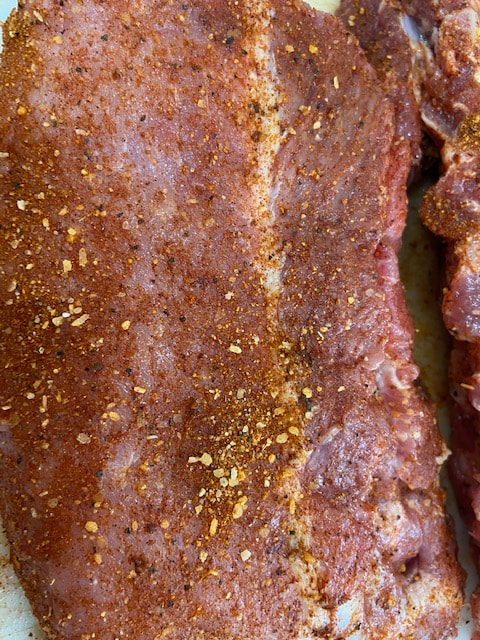
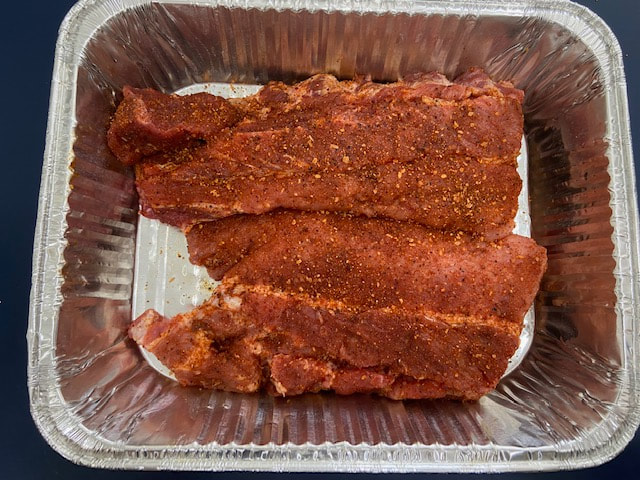
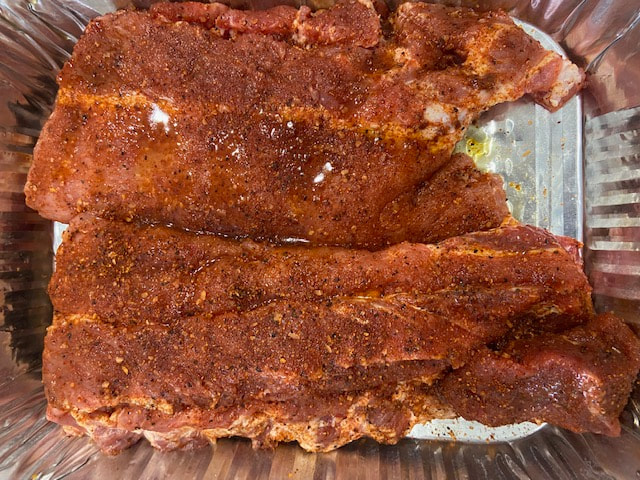
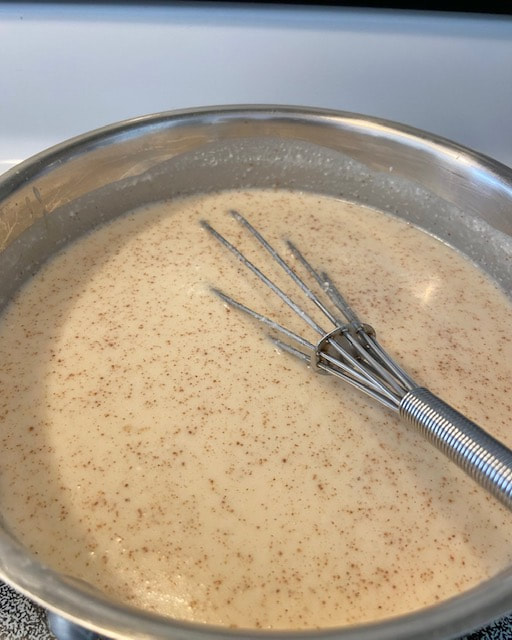
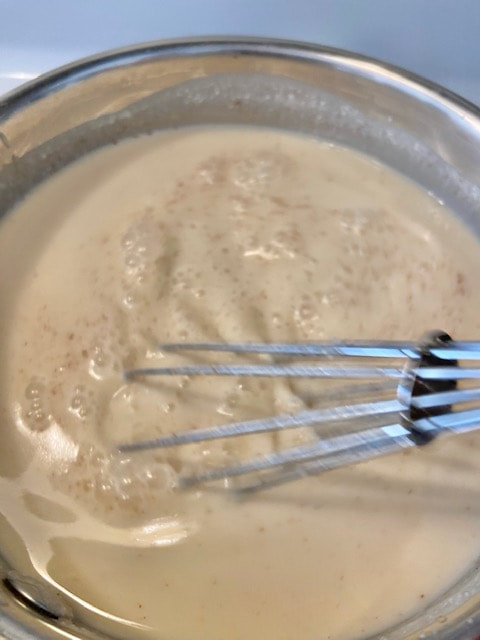
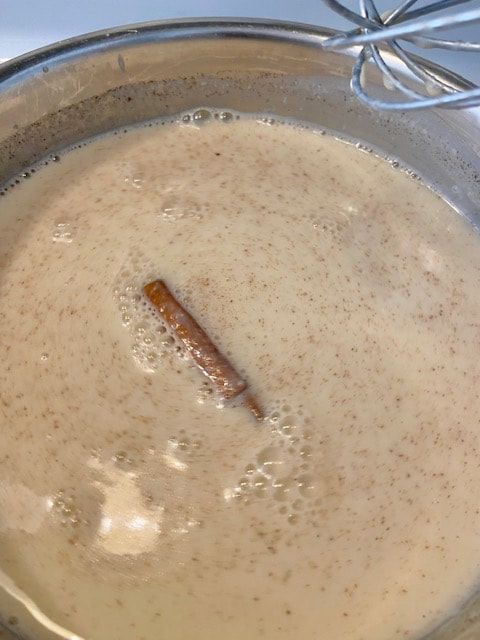
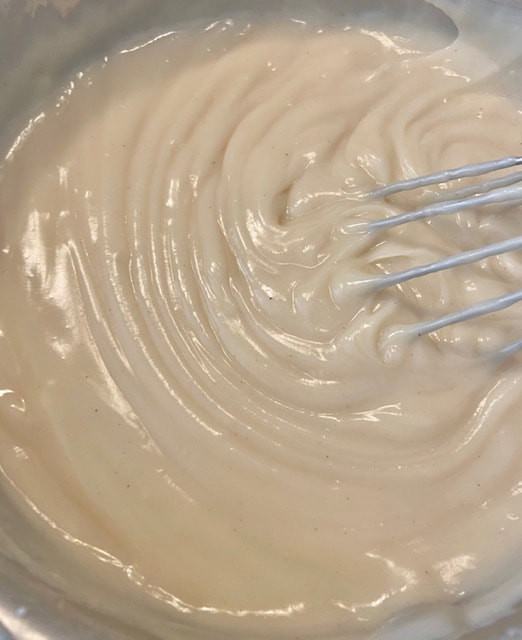
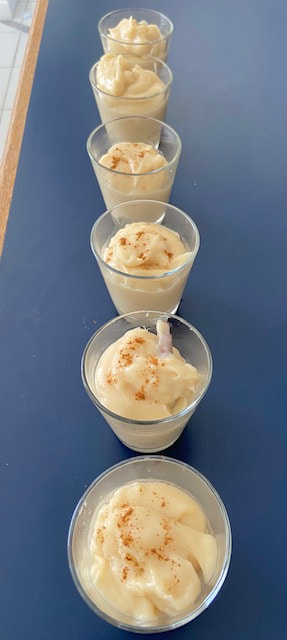
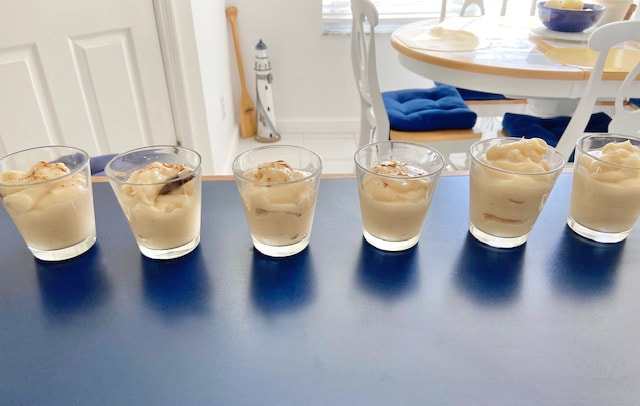
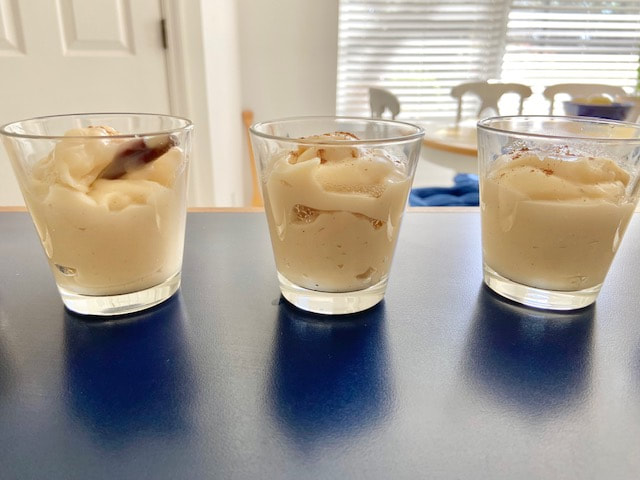
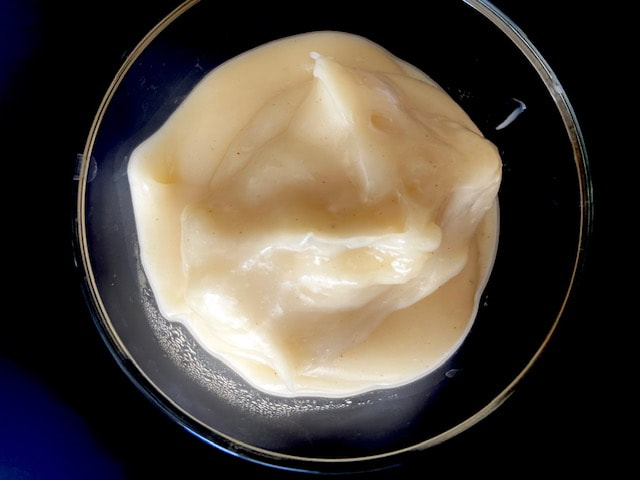
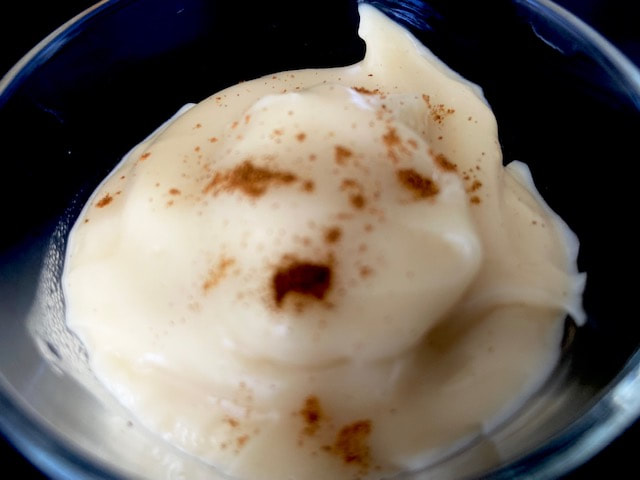
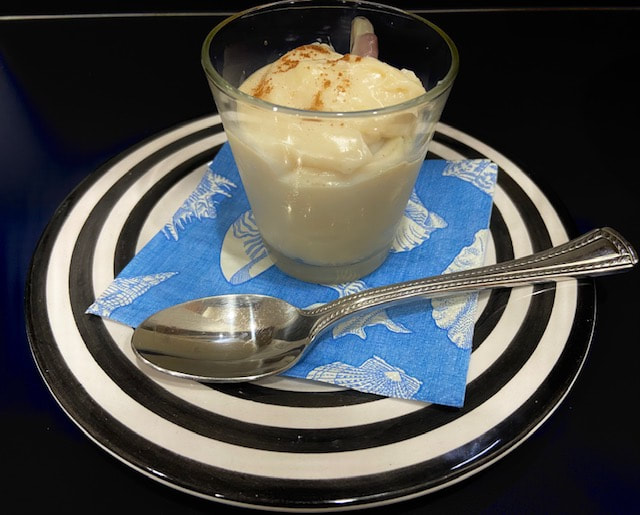
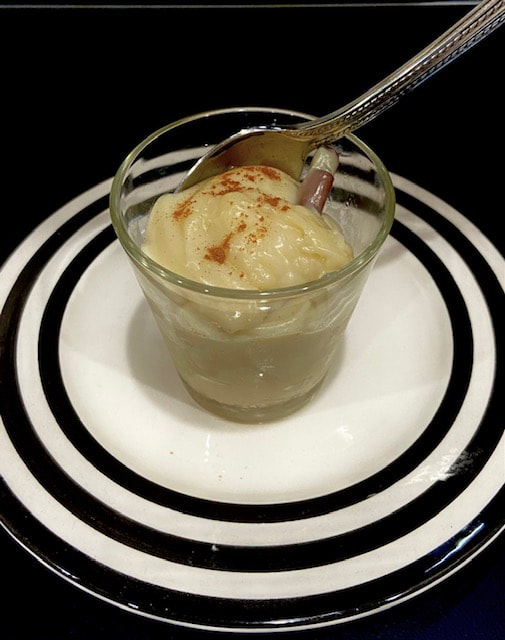
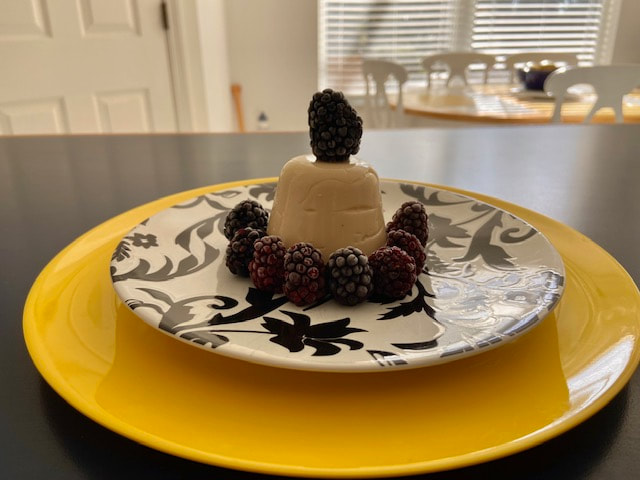
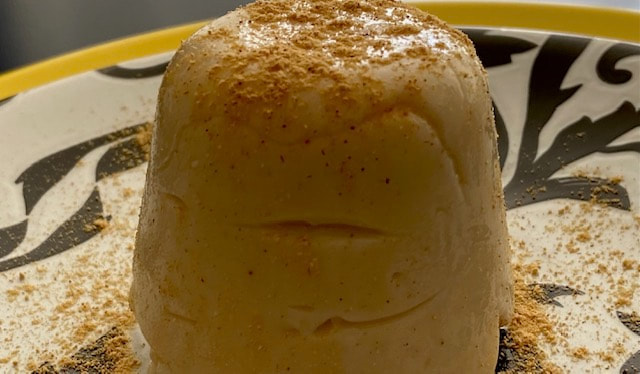
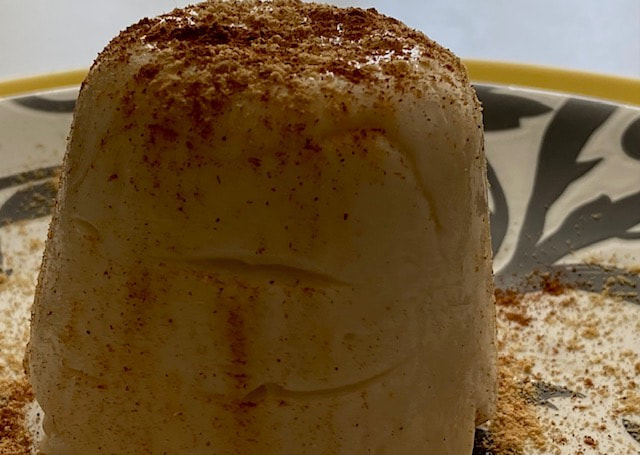
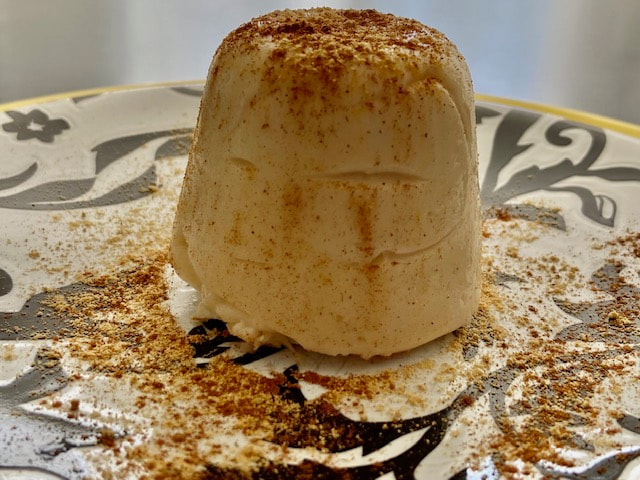
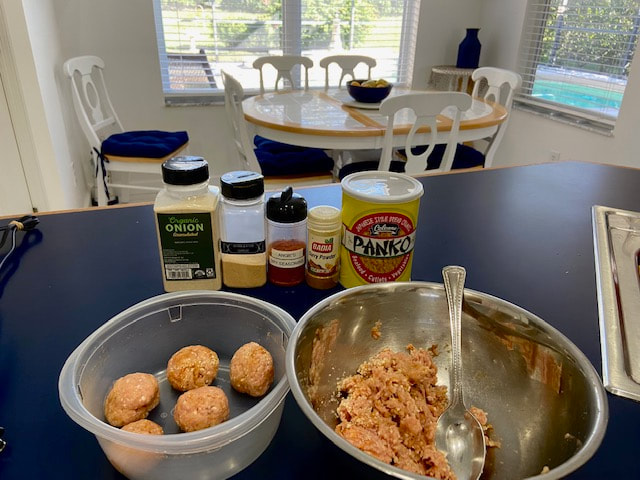
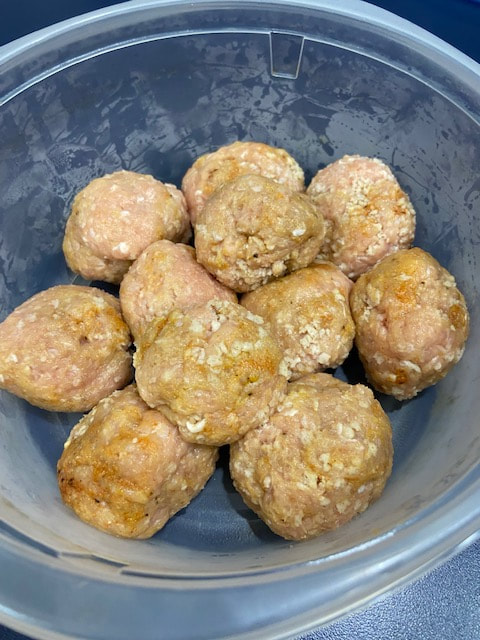
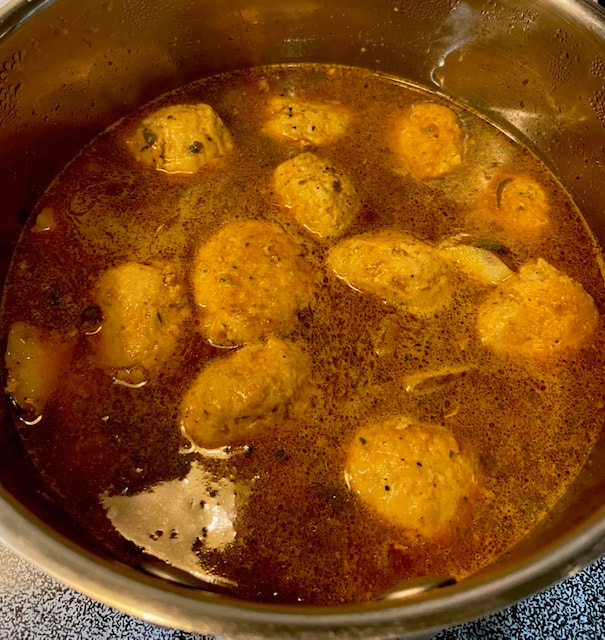
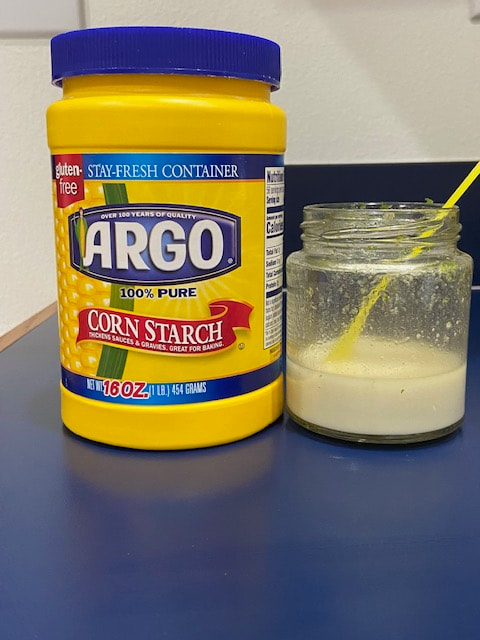
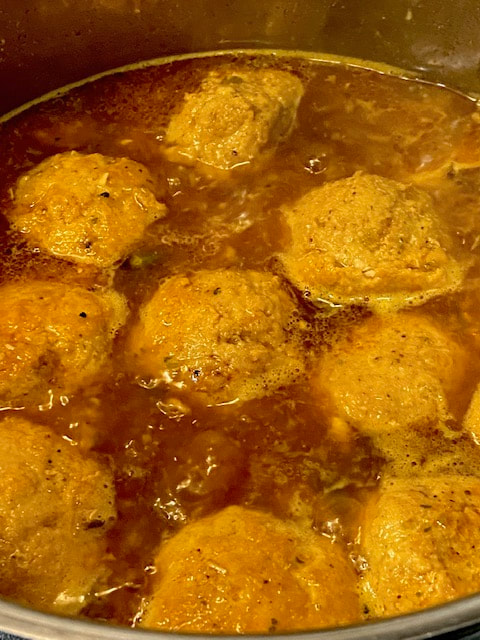
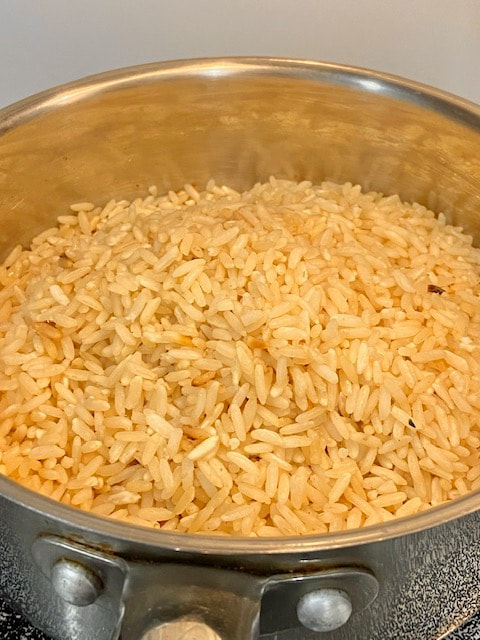
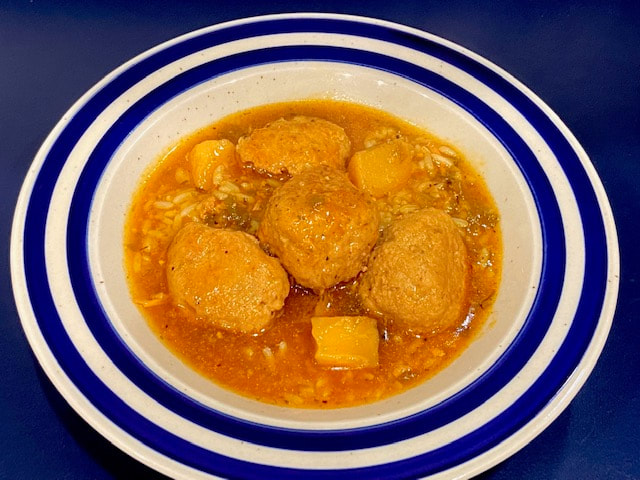
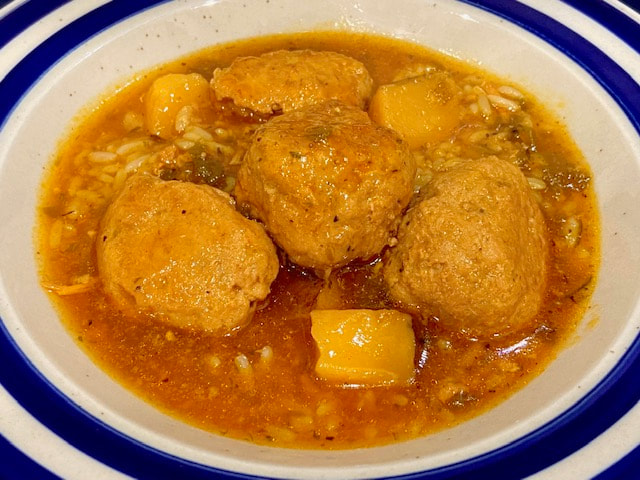
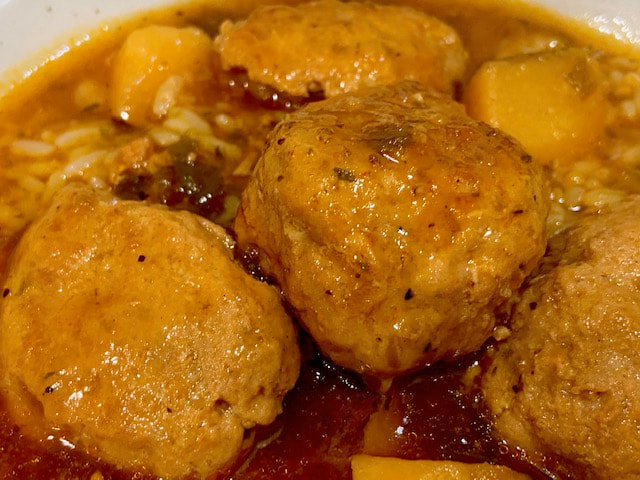
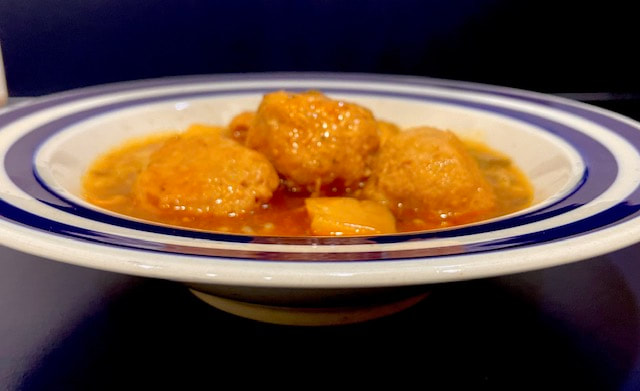
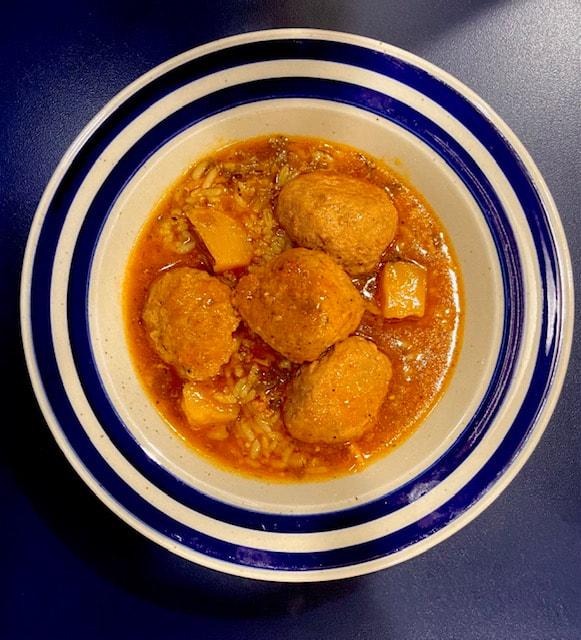
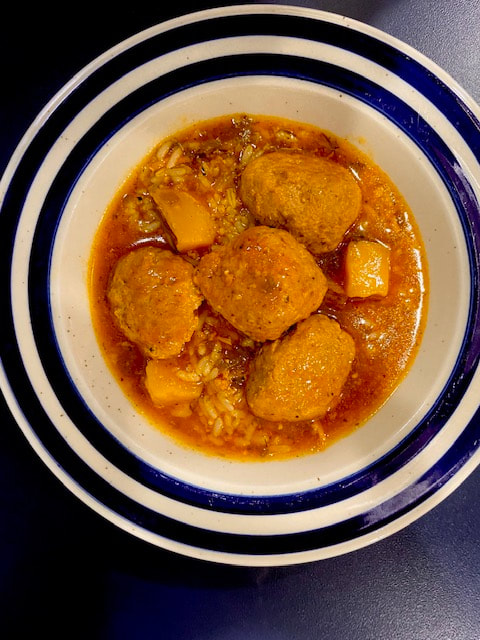
Angie’s Dry Seasonings: http://www.angieslifehacks.com/family-life/oven-roasted-bacon-chicken-and-angies-seasonings Angie’s Basting Olive Oil: www.angieslifehacks.com/cuisine/the-flavor-series-recipe-2-angies-basting-olive-oil MY 3-INGREDIENTS OVEN BAKED BABY BACK RIBS with MY DRY SEASONING and MY BASTING OLIVE OIL.4/13/2023 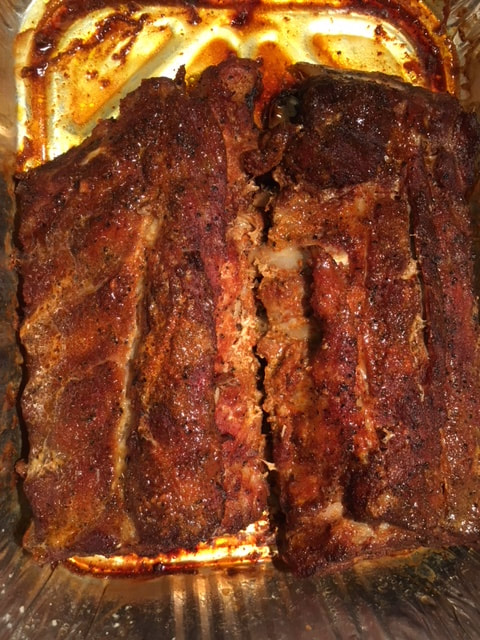 This is one main reason why I had to develop my own dry seasoning; “Angie’s Dry Seasoning”. The link for my seasoning recipe is below this post. I just added what I like and not what some company made, including preservatives that are not good for anyone. You can accompany these ribs with rice with pigeon peas, avocado and salad. And if by any chance you end up with some leftovers, then tune in to my Tomorrow’s Post for my Baby Back Ribs Sliders. Boom! Smile! Category: Entrée Approx. Prep and Cook Time: 4 TO 5 HOURS @ 275 DEGREES Approximate Cost: $13.40 or $3.36 per serving Difficulty Level: Easy Allergens, Other: Gluten Free Servings: 4 Ingredients 1 slabs of baby back ribs ($11.44) 2 ½ tbsp. Angie’s Dry Seasoning (see my link below for the recipe) ($1.50) 2 tbsps. of my basting olive oil (see my link below for the recipe) (.50) Directions Clean the ribs of most fat, remove the membrane in the back of the slab, and place in a oven safe baking pan. Rub with my basting olive oil and season with my dry rub (or the one of your choice). Cover your baking pan with aluminum foil paper real tight. Refrigerate overnight. The next day, turn the oven 275 degrees and cook the ribs for 4 to 5 hours, depending on your oven calibration. The slow cooking is what makes the ribs fall off the bones. Enjoy! My Links: Angie’s Dry Seasonings: http://www.angieslifehacks.com/family-life/oven-roasted-bacon-chicken-and-angies-seasonings Angie’s Basting Olive Oil: www.angieslifehacks.com/cuisine/the-flavor-series-recipe-2-angies-basting-olive-oil 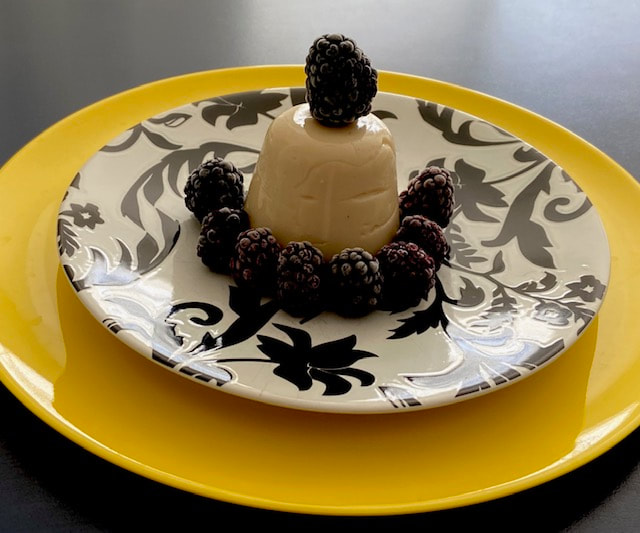 You don’t even need a recipe to make Tembleque. As long as you have coconut milk, sugar and a little cornstarch, you will have the basics for the dessert. I always change my ingredients to make it interesting. At times, I add Coco Lopez, or/and Carnation, lemon rind, and even Amaretto. This time I went for the basic ingredients; coconut milk, sugar, cornstarch, vanilla and a bit of ground cinnamon, a stick, and ginger. Boom! Category: Dessert Approx. Prep and Cook Time: 15 Minutes (however, must cool in fridge overnight) Approximate Cost: $6.27 or 1.05 per serving Difficulty Level: Easy Allergens, Other: Gluten Free Servings: 6 (individual portions) Ingredients 1 c. of coconut milk ($1.88) 1 c. of coconut cream ($2.89) ½ c. of organic sugar (.20) 1/3 c. cornstarch (maybe just a little more if needed) (.10) 1 tsp. vanilla ($1.00) ¼ tsp. ground cinnamon plus 1 stick (to use while making the custard) (.10) ¼ tsp. ground cinnamon to sprinkle over the Tembleque cups to garnish (.10) Directions Add the coconut milk, coconut cream and organic sugar into a saucepan, beat thoroughly until the sugar is totally dissolved. Cook over medium heat until it warms up. Meantime, dissolve the cornstarch in 1/3 c. of room temperature water. It will look totally smooth with no lumps. Add the Vanilla and then pour the dissolved cornstarch/Vanilla into the milks mix. At this point DO NOT STOP BEATING, the custard will begin to form before your eyes, the thorough beating will prevent the custard from sticking to the saucepan. When it starts to bubble, remove from the stove and pour into individual molds or the mold of your preference. Allow the Tembleque to cool down at room temperature, then refrigerate overnight. The next day before serving, sprinkle some ground cinnamon on top to garnish. NOTE: Make sure that the mold(s) are wet when you pour the cream into, it will make it easier to remove from the container(s) when cold. 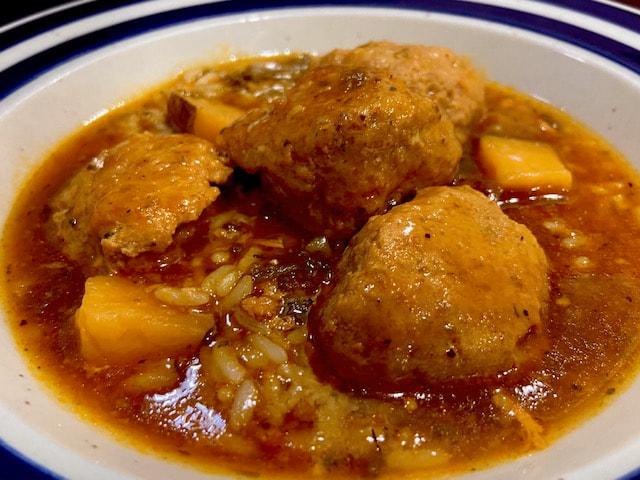 NO! I never get tired of making this dish because it is so delicious, especially, when you make it with 98% Fat Free ground chicken. Say no to beef meatballs, now chicken rules, smile. Category: Entrée Approx. Prep and Cook Time: Under 30 Minutes Approximate Cost: $9.25 or $3.08 per serving Difficulty Level: Easy Allergens, Other: Gluten Free Servings: 3+ Ingredients 1 lb. of 99% fat free ground chicken ($5.75) 1 tbsp. Granulated onion (.10) 1 tbsp. Granulated garlic (.10) 1 tbsp. Angie’s dry seasoning (.40) 1 ½ tbsp. Angie’s Basting Oil (.40) 1 tbsp. Curry powder (.10) 1 tbsp. Panko (.10) 2 c. beef broth ($1.55) 1 frozen cilantro disk (.25) 1 tbsp. cornstarch diluted in 2 tbsp. of chicken broth (.10) 2 small Russet potatoes, peeled, rinsed, cubed and soften in lightly salted water (.40) Directions
Angie’s Dry Seasonings: http://www.angieslifehacks.com/family-life/oven-roasted-bacon-chicken-and-angies-seasonings Angie’s Basting Olive Oil: www.angieslifehacks.com/cuisine/the-flavor-series-recipe-2-angies-basting-olive-oil |
ABOUT THE AuthorI am a blogger, a photographer, a jewelry designer, a gourmet cook, and a recipe book writer. I am also a flea market flipper, an avid gardener, an interior/ outdoors designer, an avid golfer and traveler. Categories |


 RSS Feed