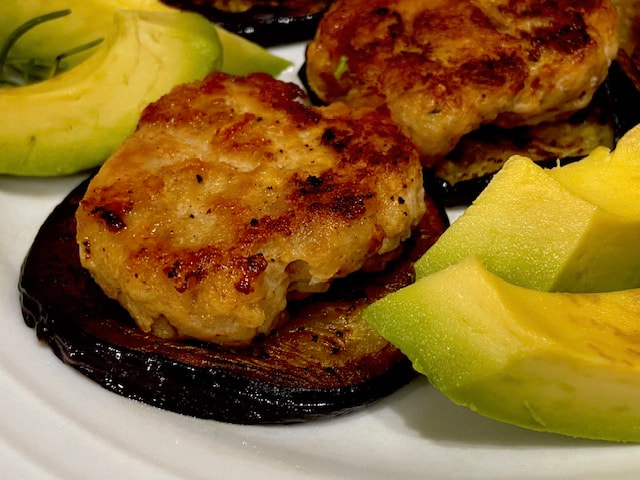
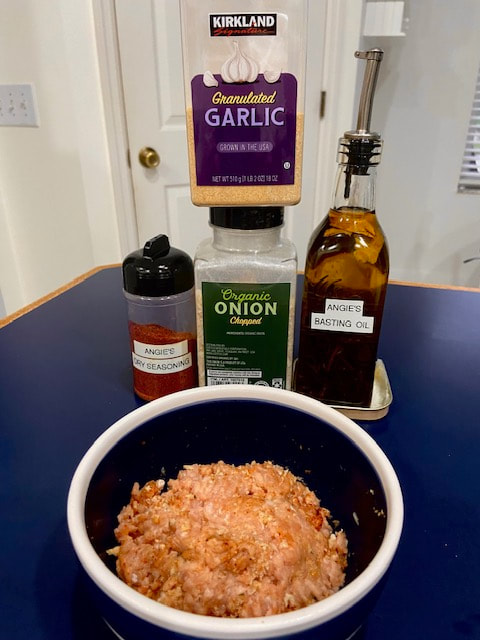
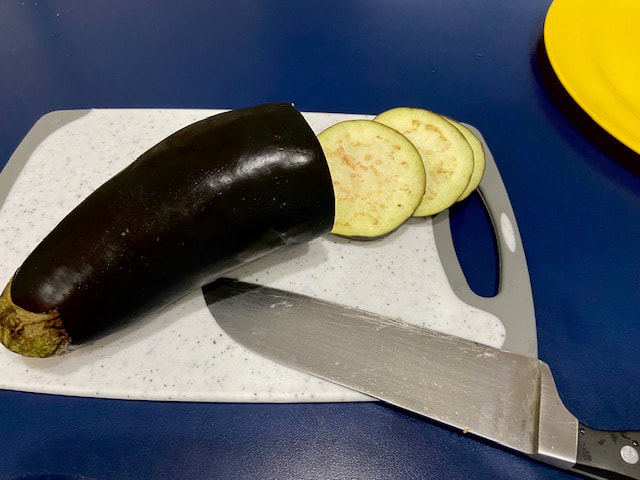
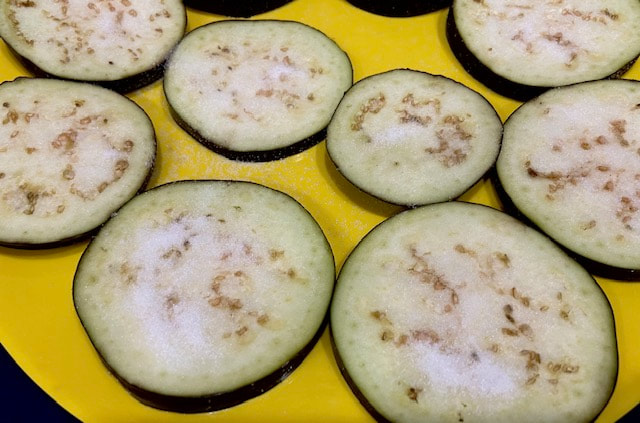
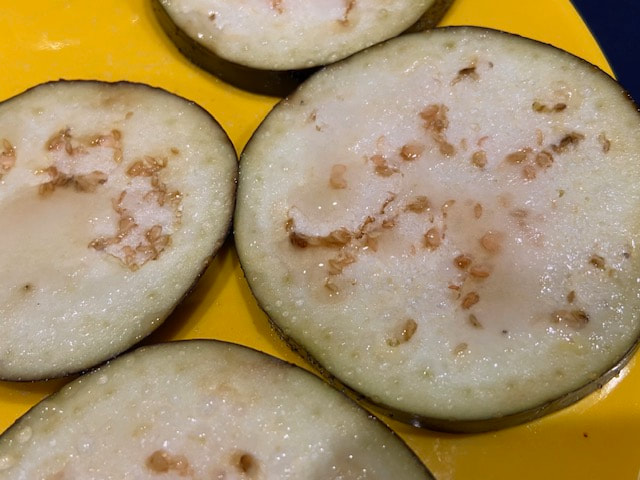
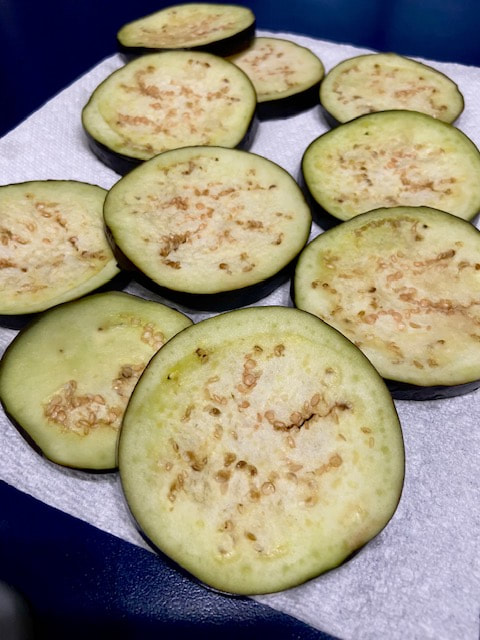
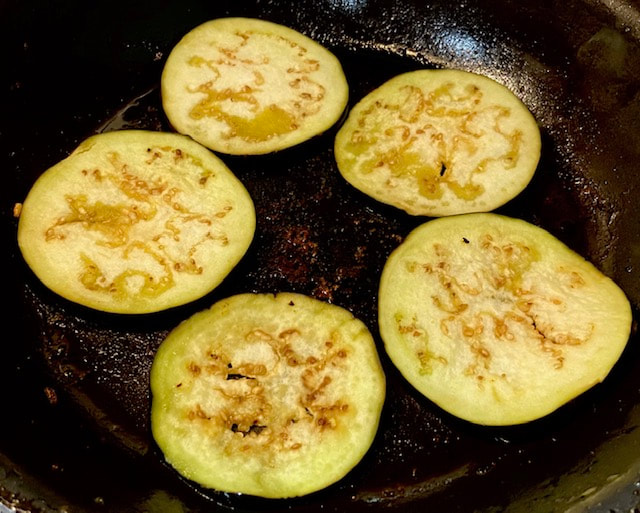
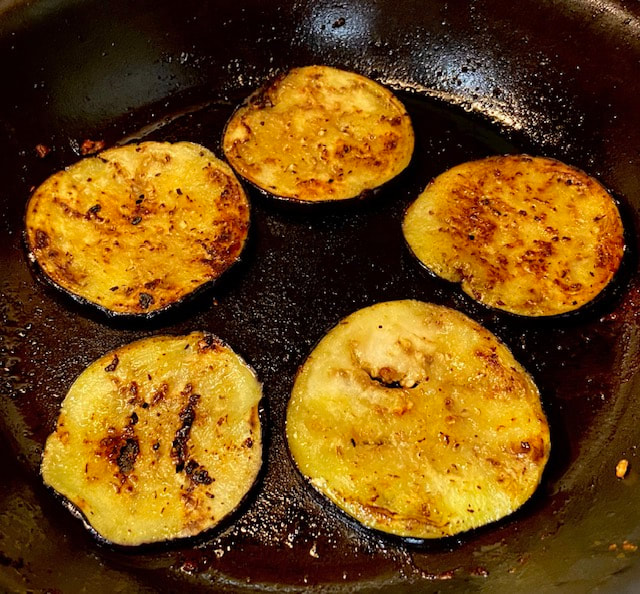
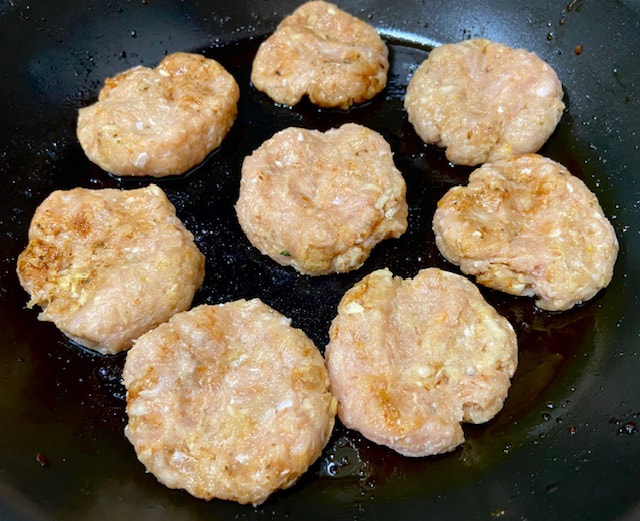
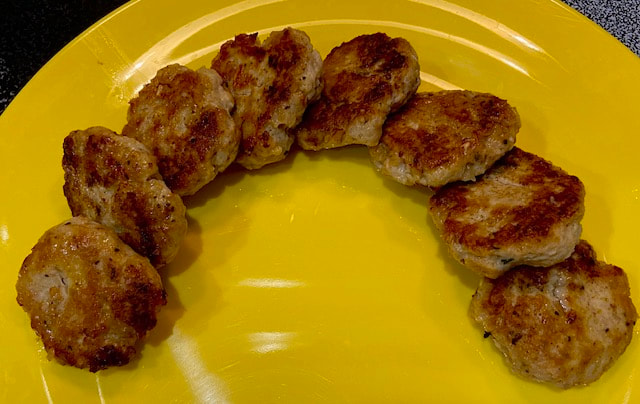
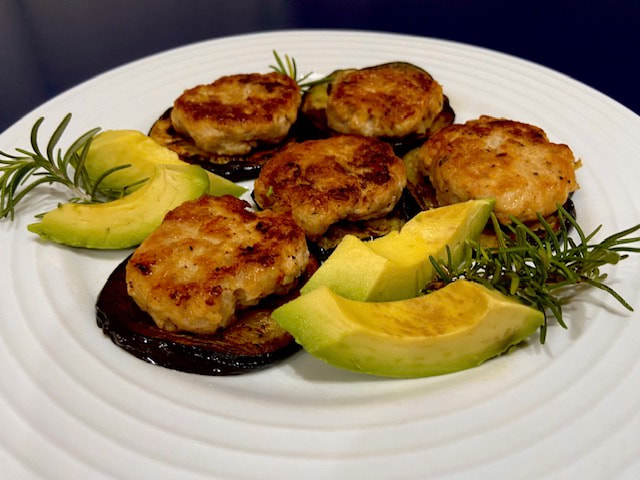
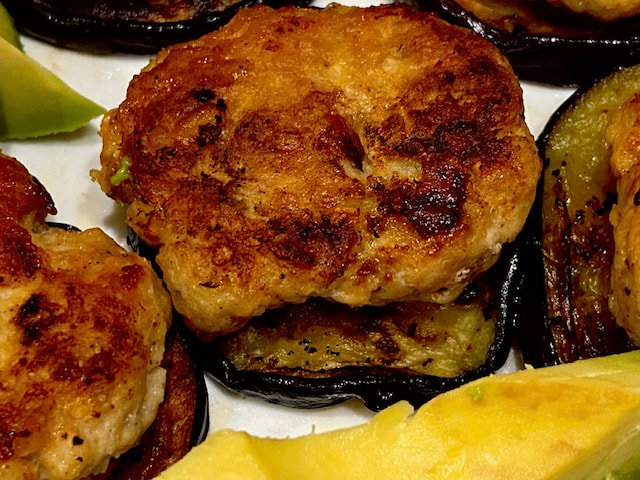
 My alternative to fast food restaurant burgers. Small but so fulfilling and cute! Dedicated to my first born on today's birthday. Happy Birthday Love! Category: Entrée Approx. Prep and Cook Time: 30 Minutes Approximate Cost: $6.39 or $3.20 per serving Difficulty Level: Easy Allergens, Other: Gluten Free Servings: 2 Ingredients 1 Large eggplant, rinsed, pat dry and cut lengthwise in approx. ½ “wheels ($1.19) ½ lb. 98% fat free ground chicken ($2.50) 1 ½ tsp. Angie’s dry seasoning (.25) ¼ c. Angie’s Basting Olive Oil (to pan sear the eggplant) ($1.00) 1 tsp. Garlic powder (.10) 1 tsp. Onion powder (.10) 1 tbsp. table Salt to make the eggplant sweat (0) 1 avocado ($1.25) Directions Prepare the eggplant and sprinkle salt over to allow them to sweat. This will eliminate any bitterness in the eggplant. Then, rinse the salt out and pat dry completely. Set aside. Next, season the baby burgers with 1 tsp. Garlic powder, 1 tsp. Onion powder and 1 tsp. of Angie’s Basting Olive Oil and 1 ½ tsp. Angie’s dry seasoning. Refrigerate. In a skillet with some of the basting oil, pan sear the eggplant wheels until golden brown, remove from skillet and place over paper towel until you sear the baby burgers. In the same skillet, adding a bit of my basting oil if needed, sauté the baby burgers until fully cooked and golden brown. All there is to do is to start plating the meal, so, slice the avocado and place the baby burgers over the eggplant wheels and you are done. Enjoy! Angie’s Dry Seasonings: http://www.angieslifehacks.com/family-life/oven-roasted-bacon-chicken-and-angies-seasonings Angie’s Basting Olive Oil: www.angieslifehacks.com/cuisine/the-flavor-series-recipe-2-angies-basting-olive-oil
0 Comments
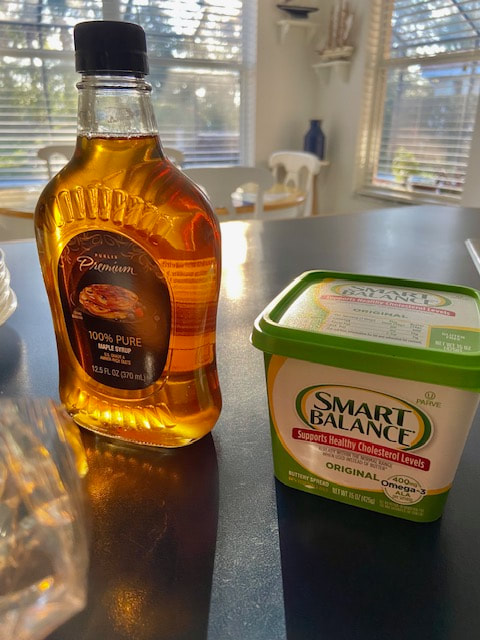
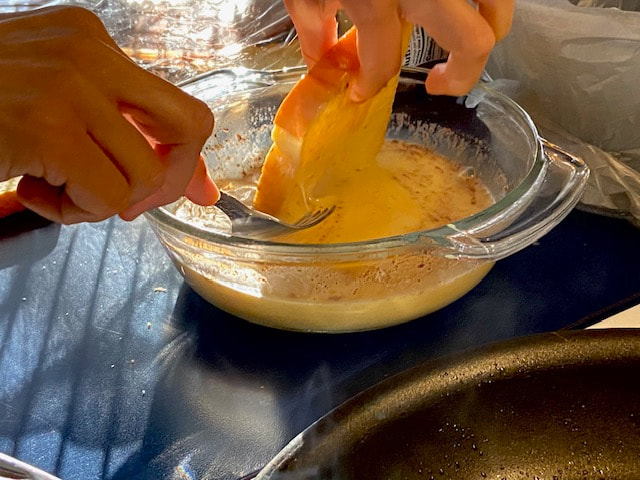
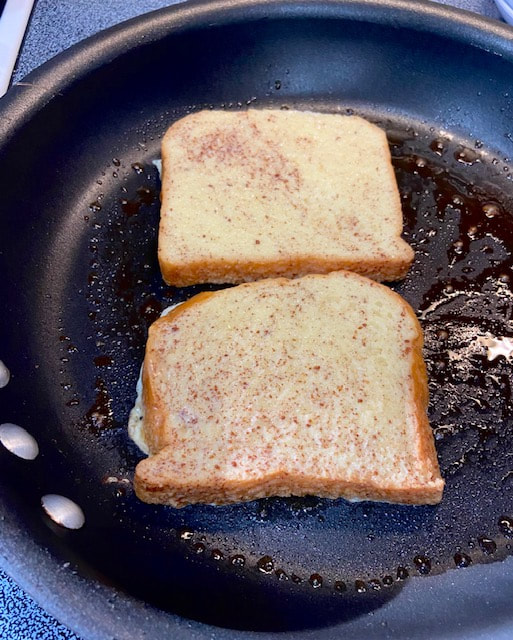
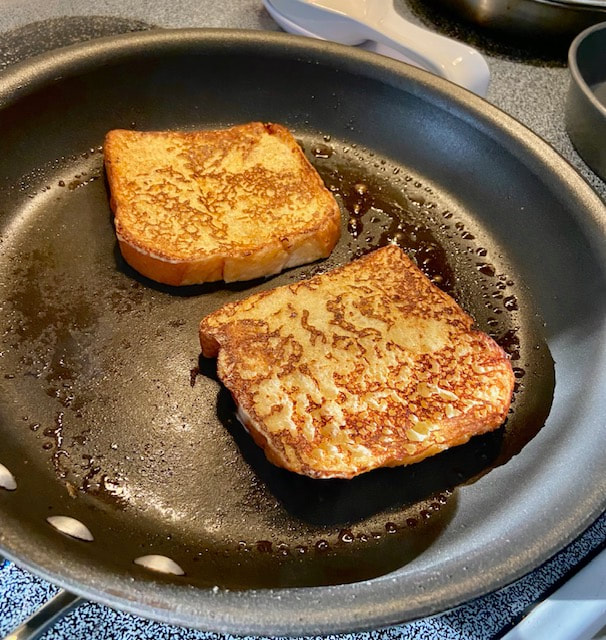
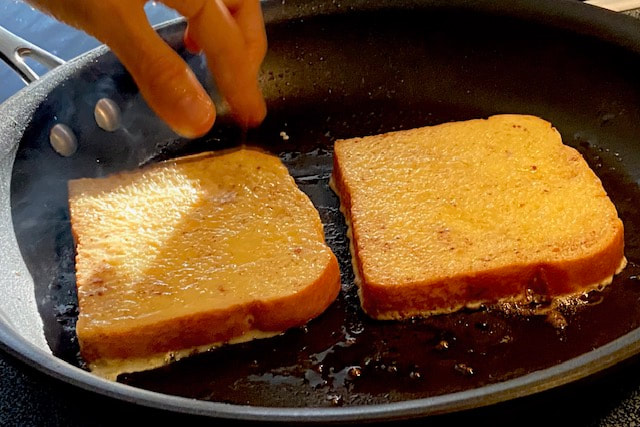
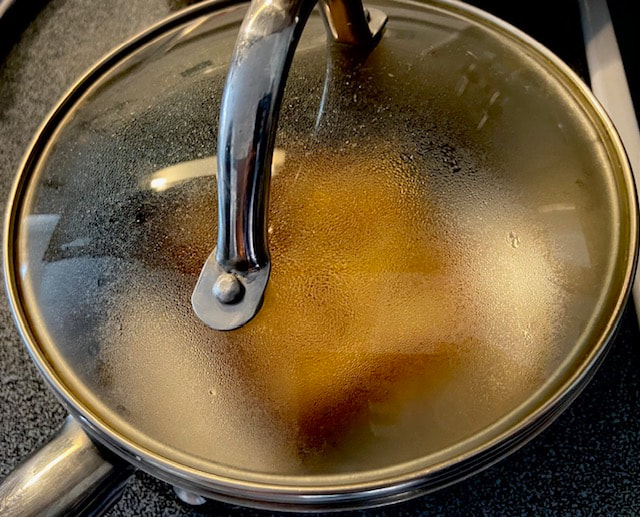
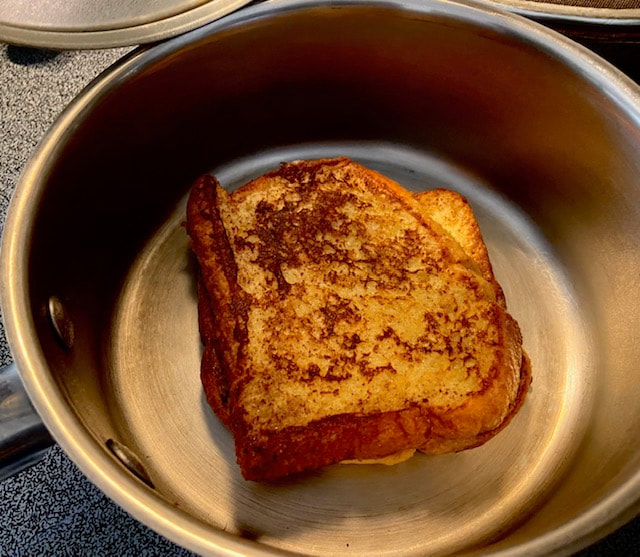
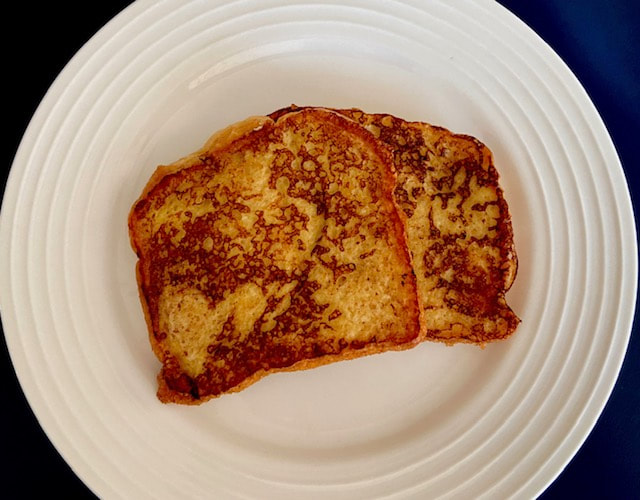
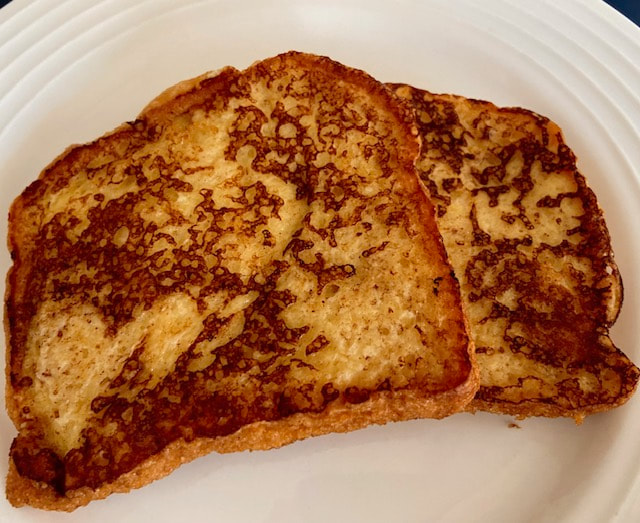
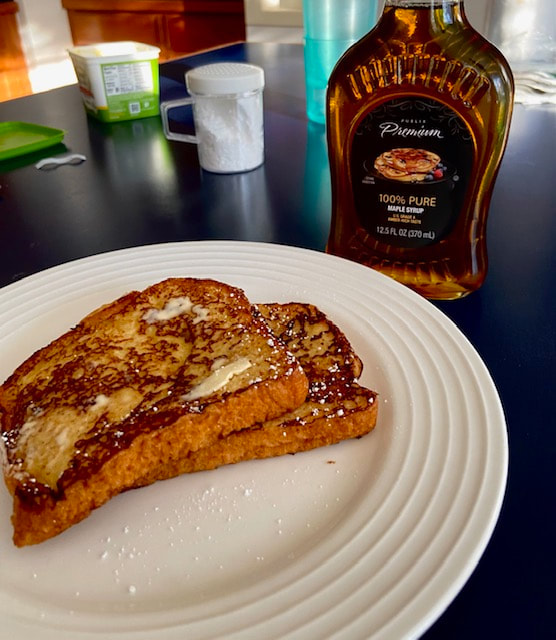
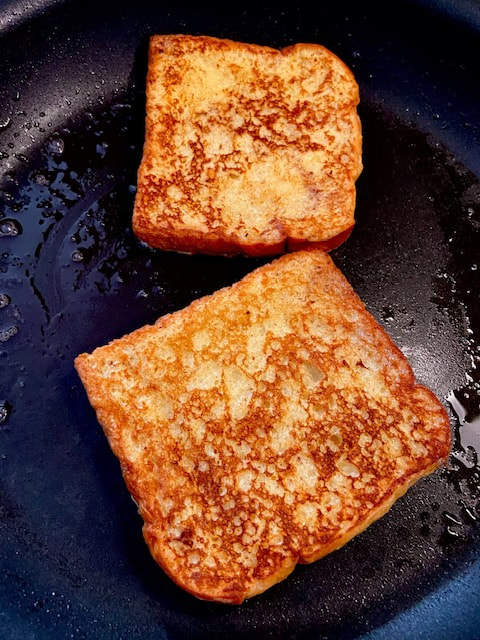
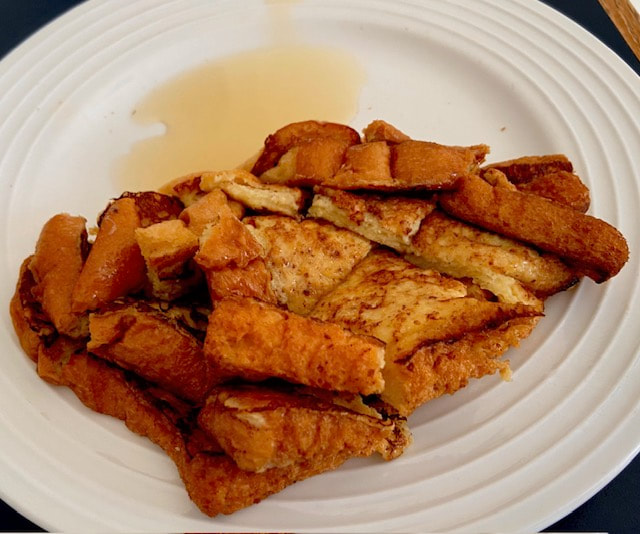
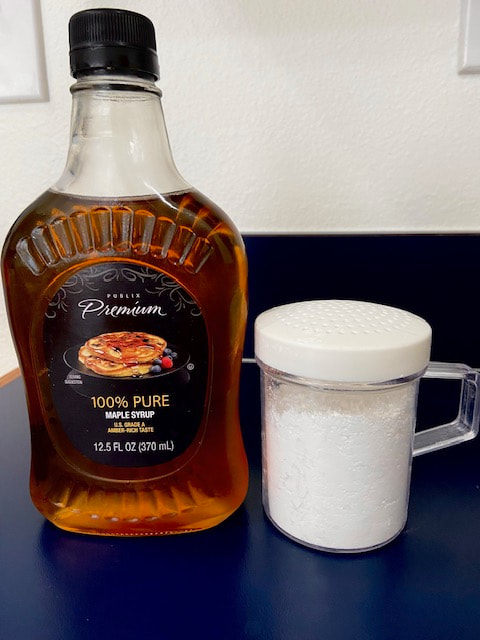
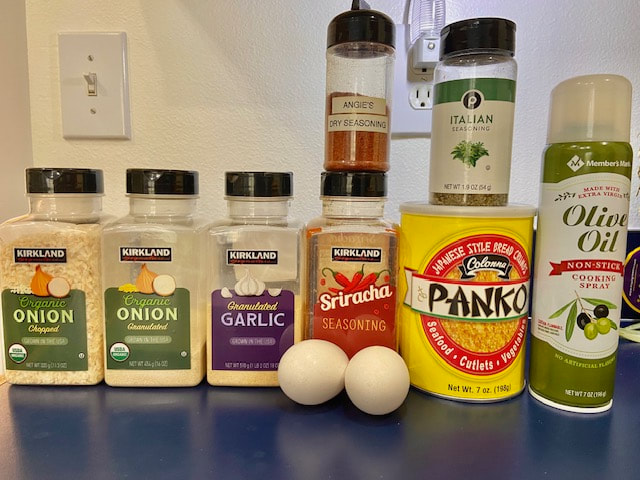
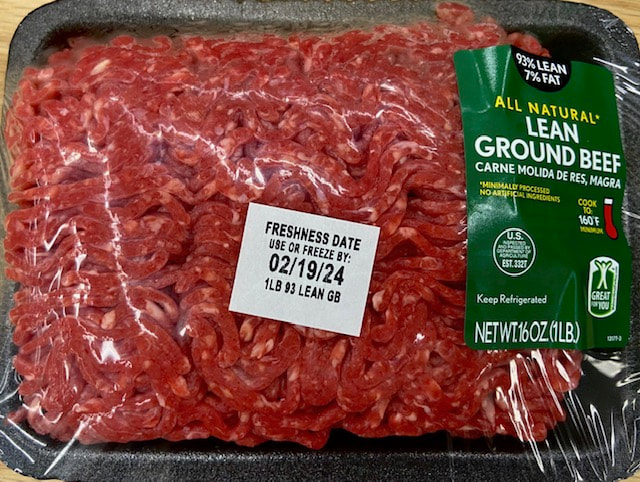
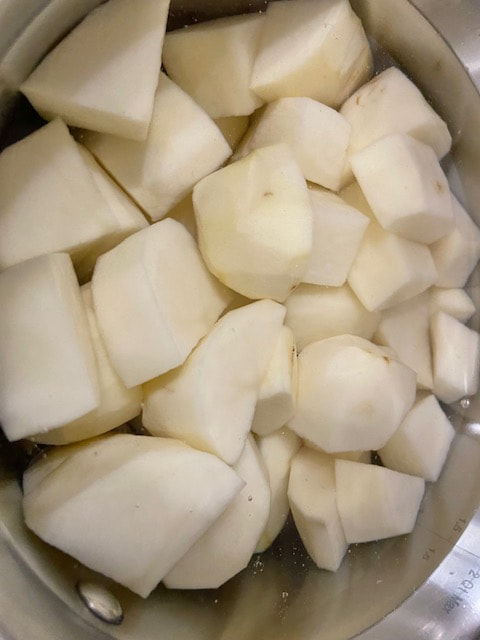
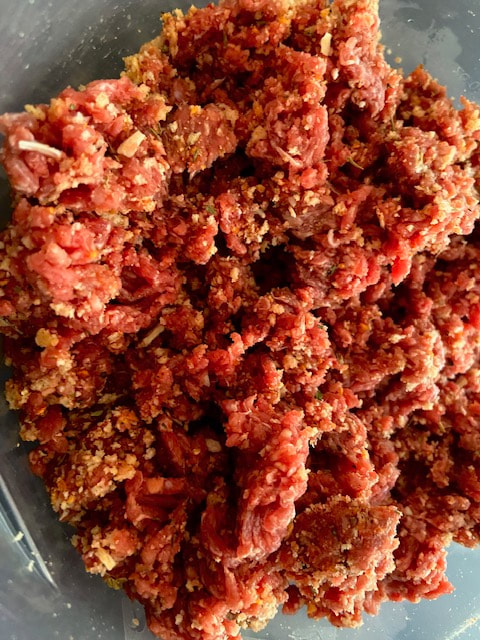
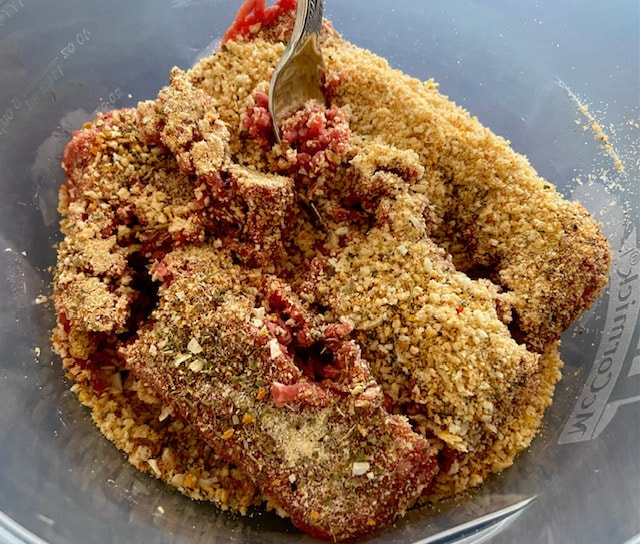
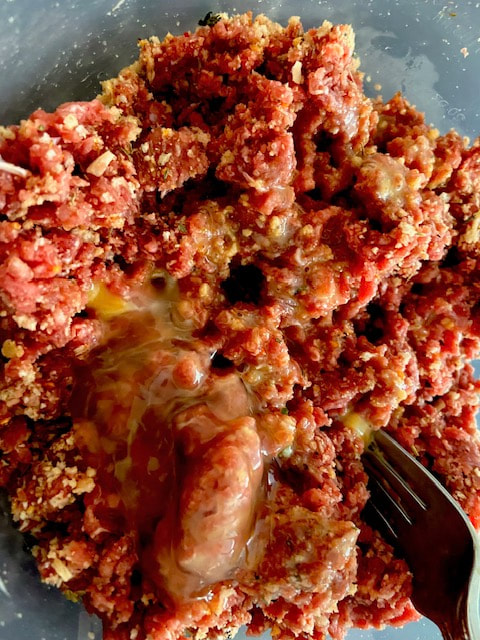
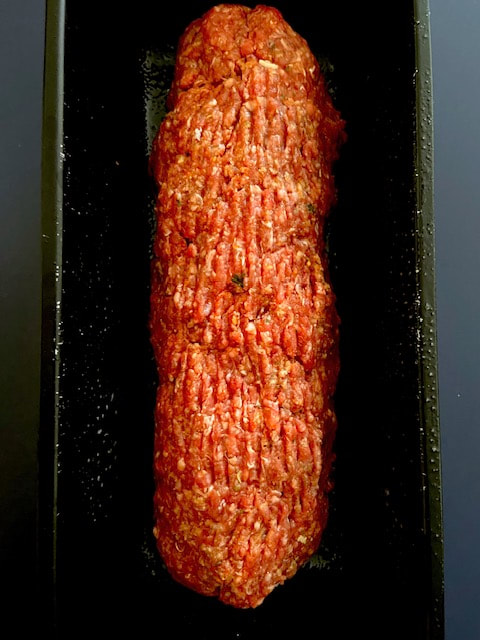
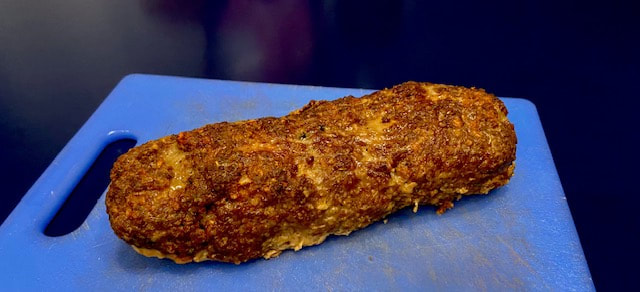
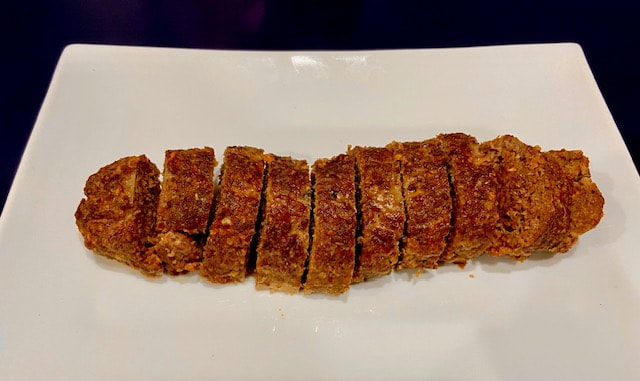
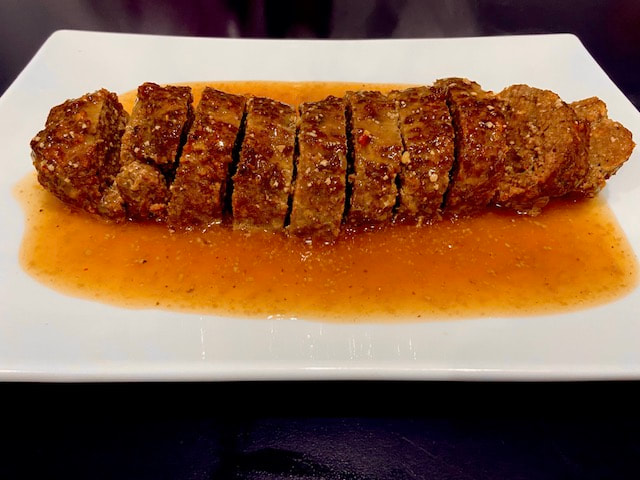
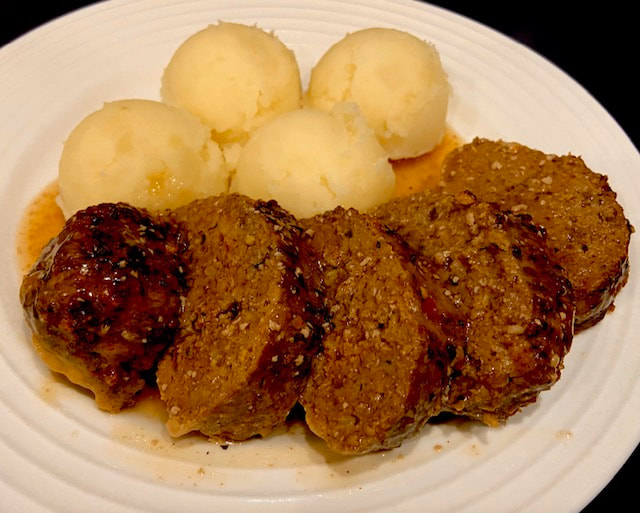
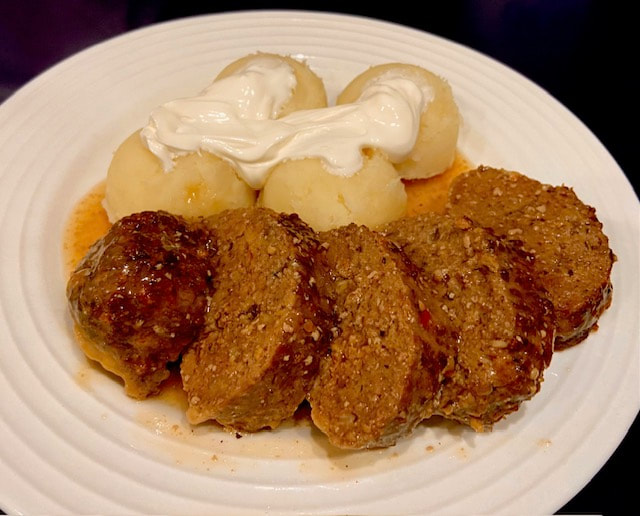
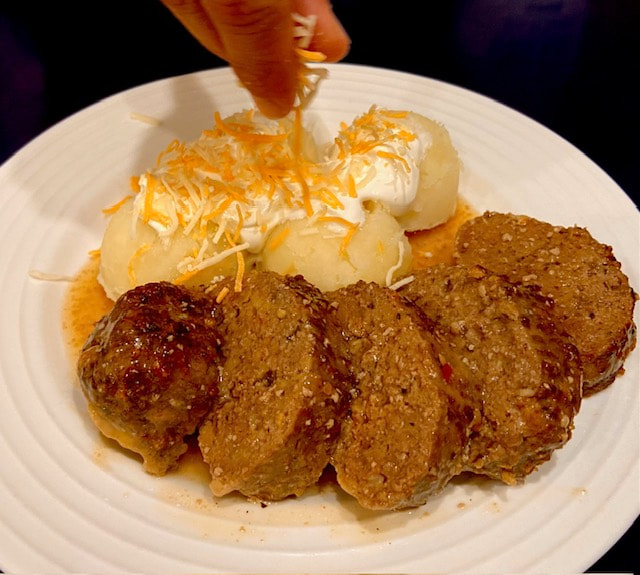
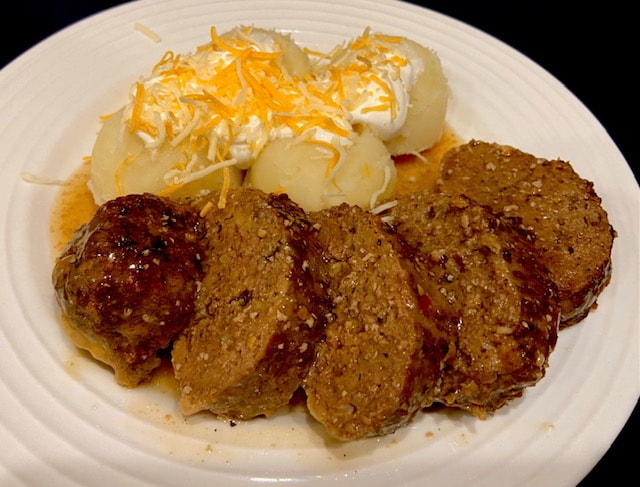
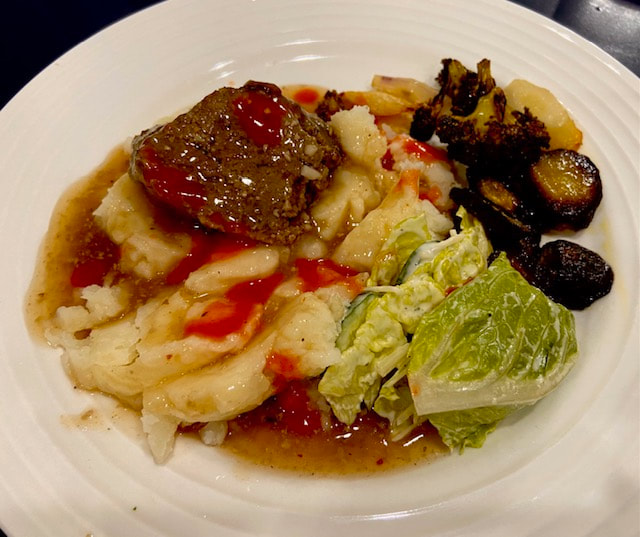
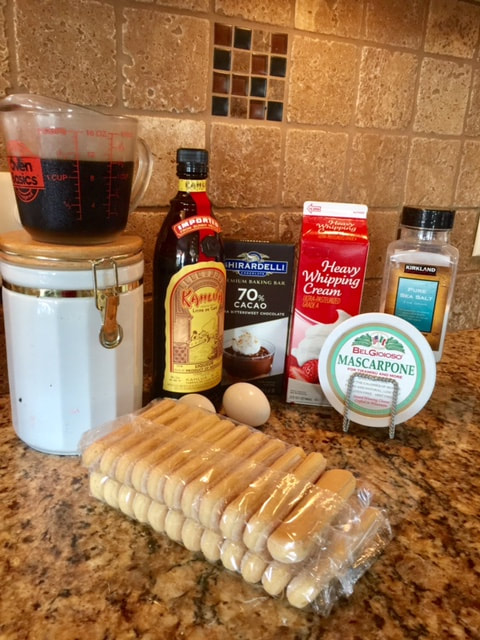
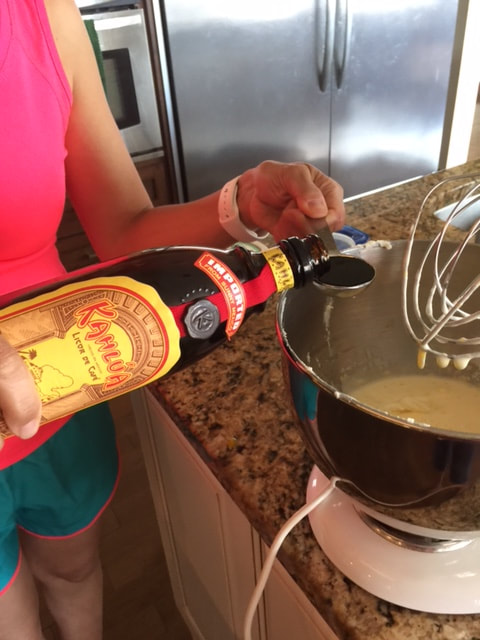
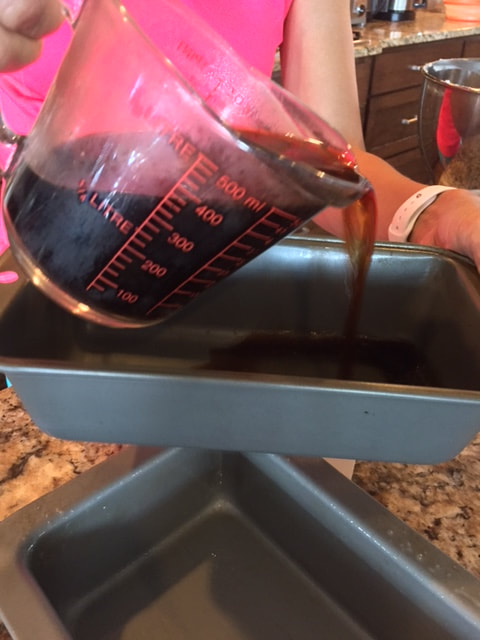
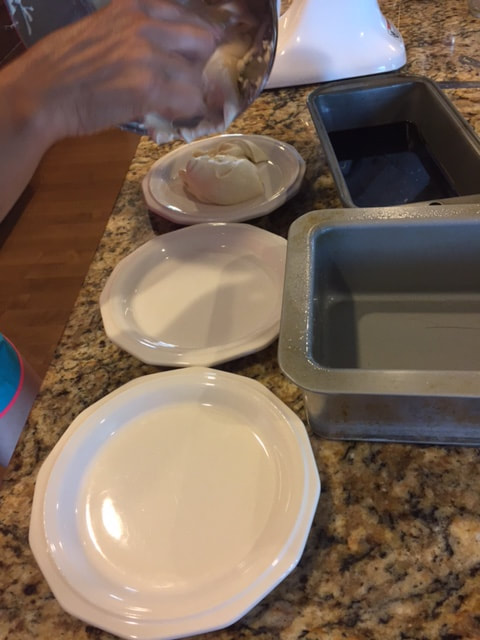
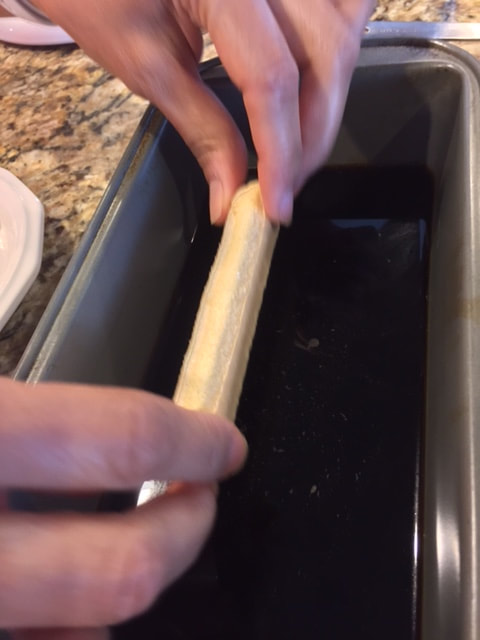
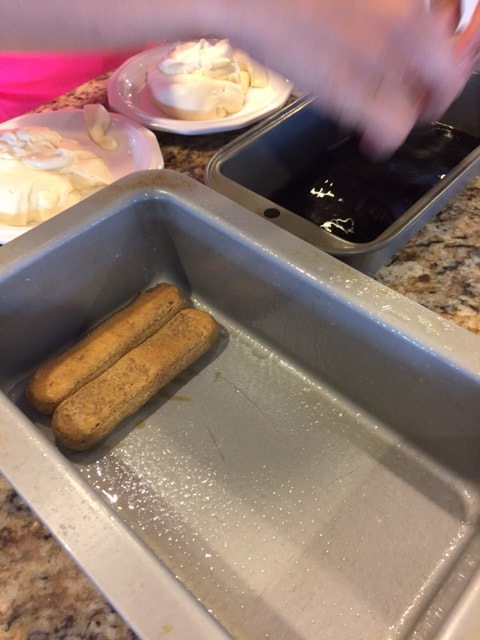
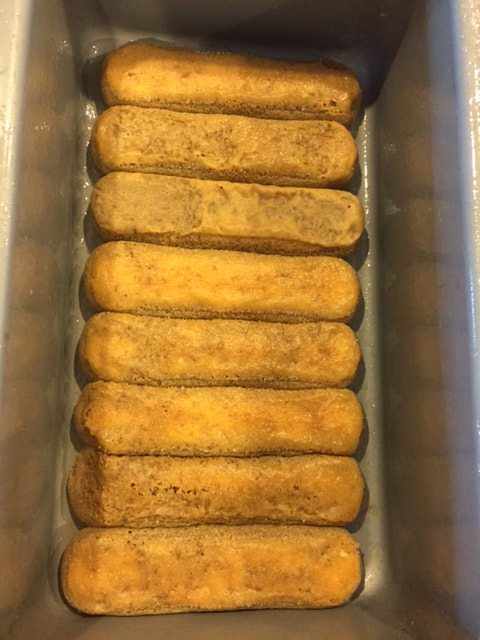
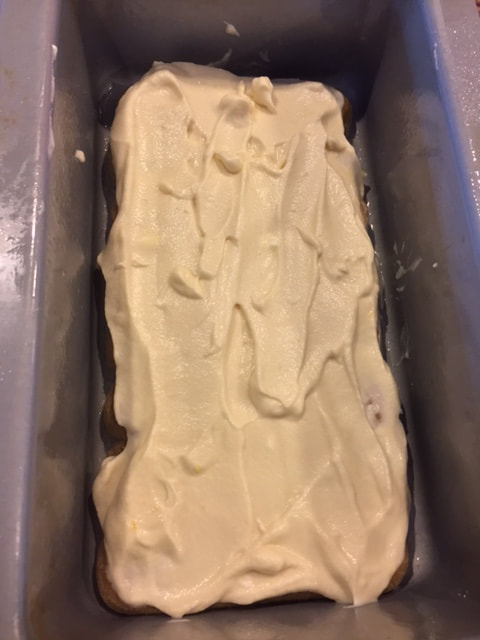
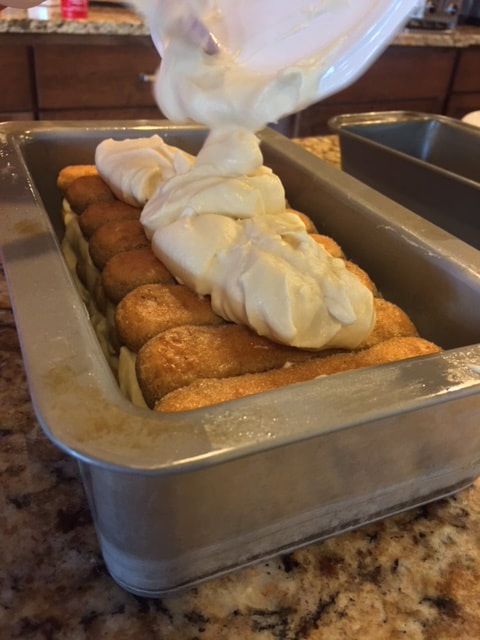
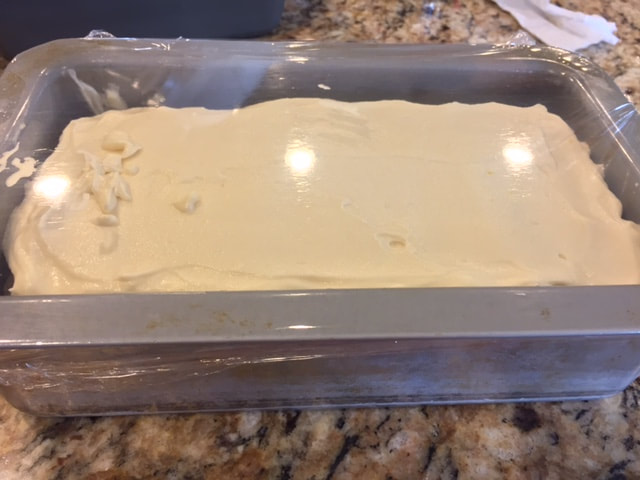
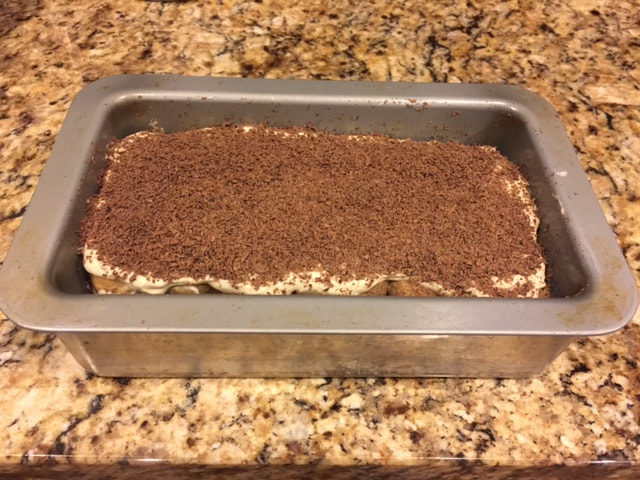
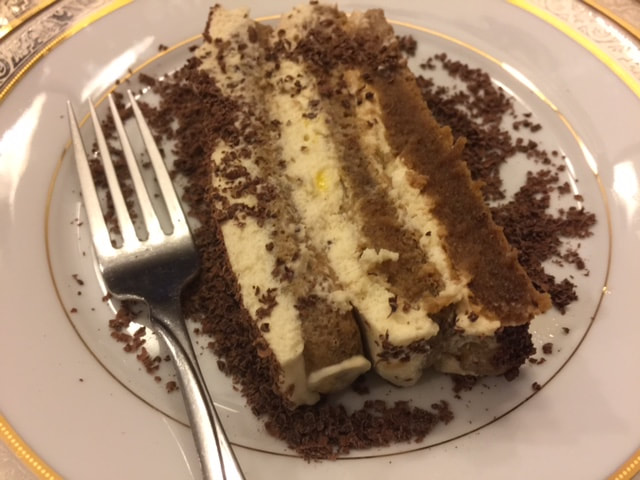
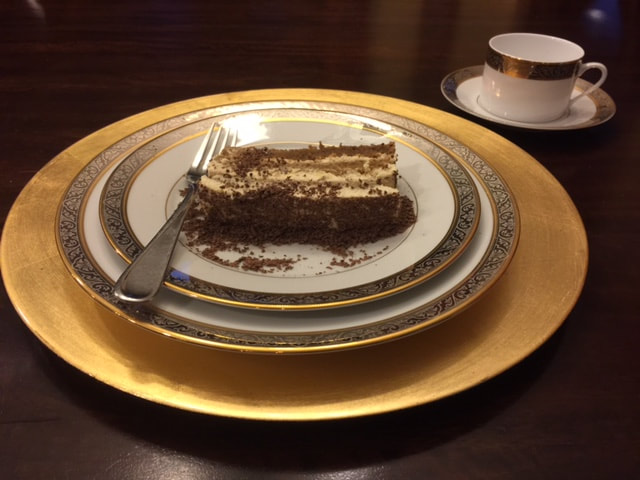
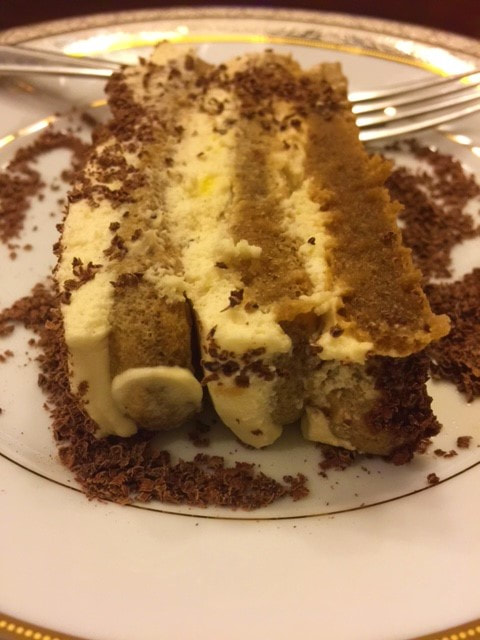
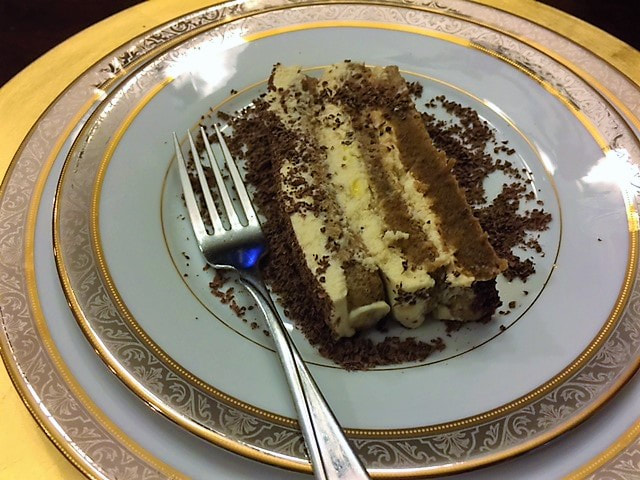
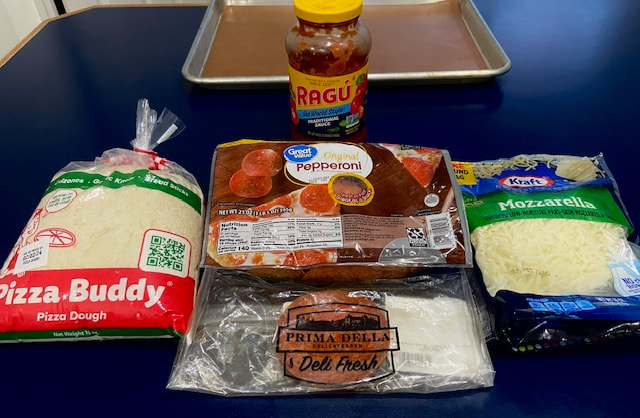
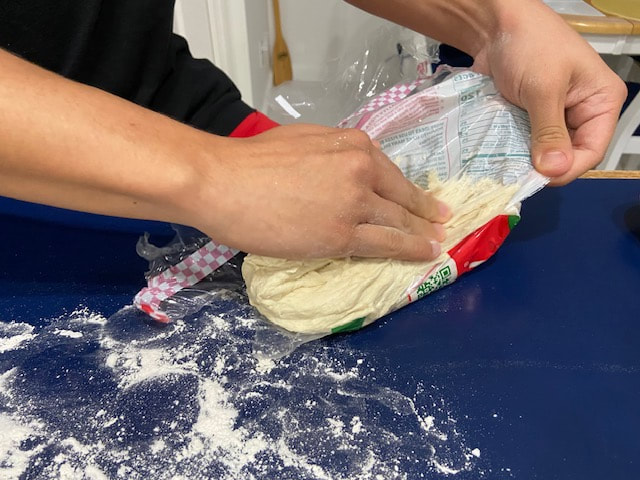
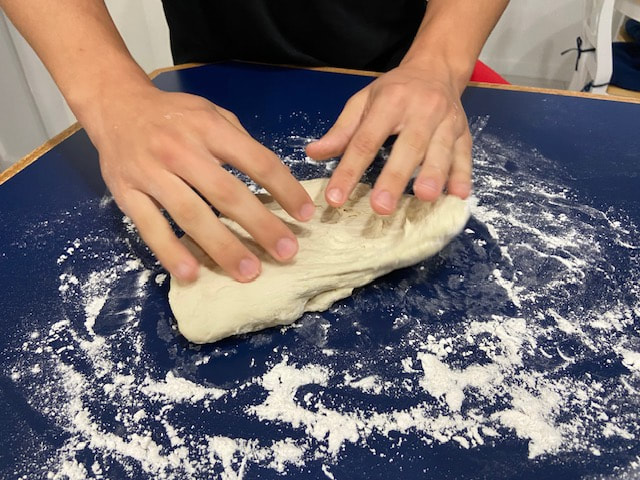
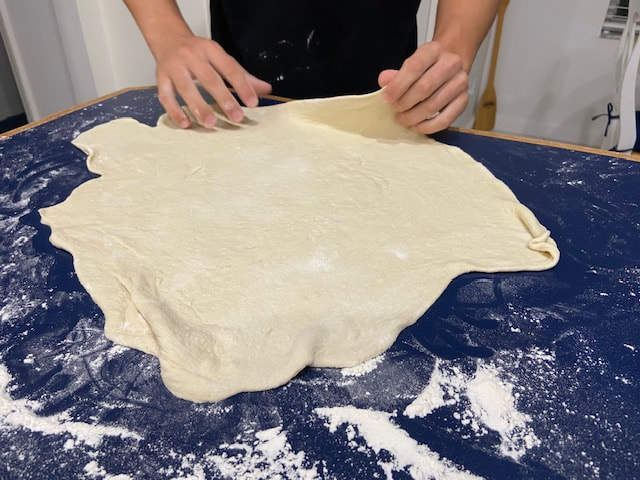
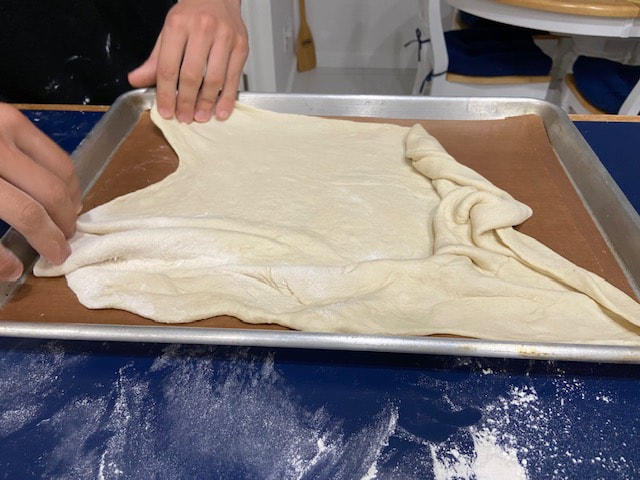
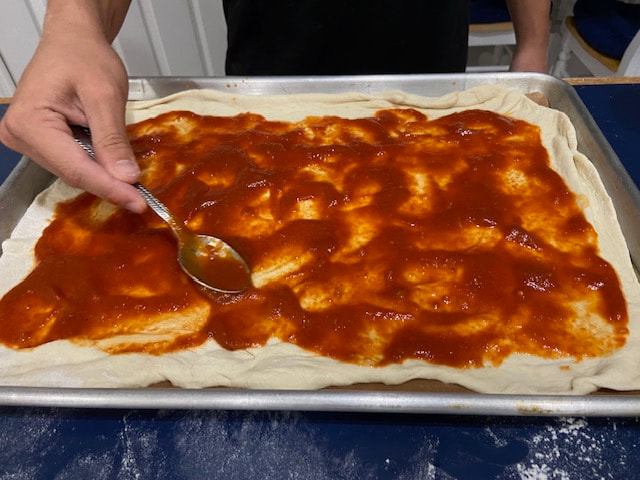
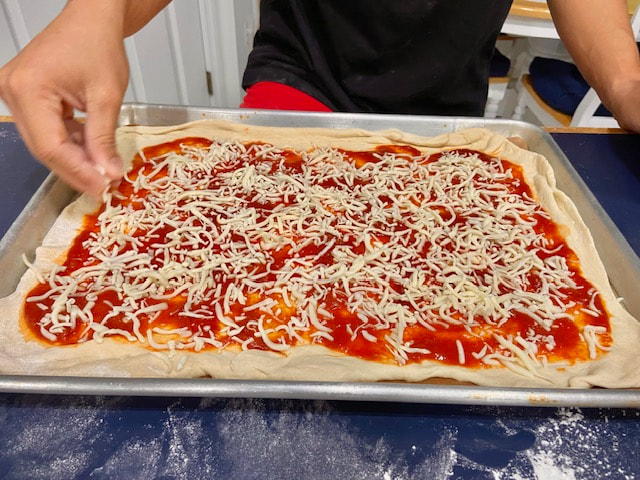
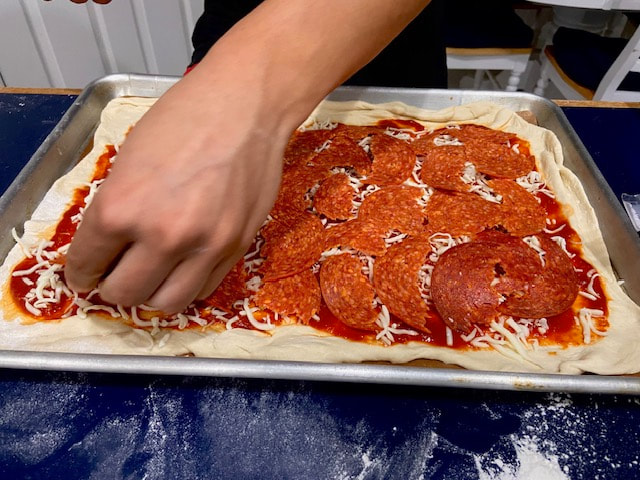
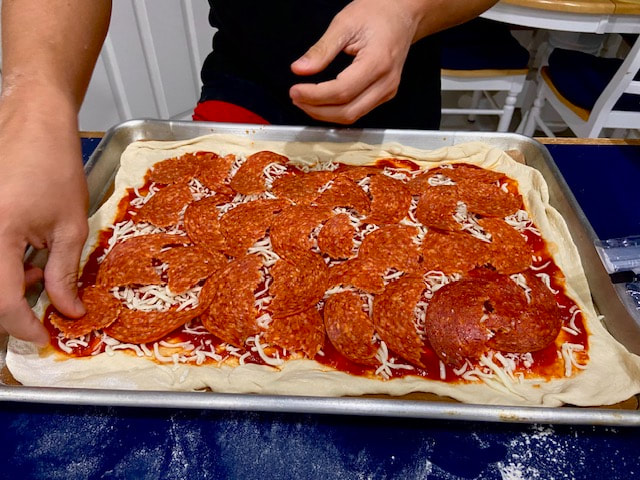
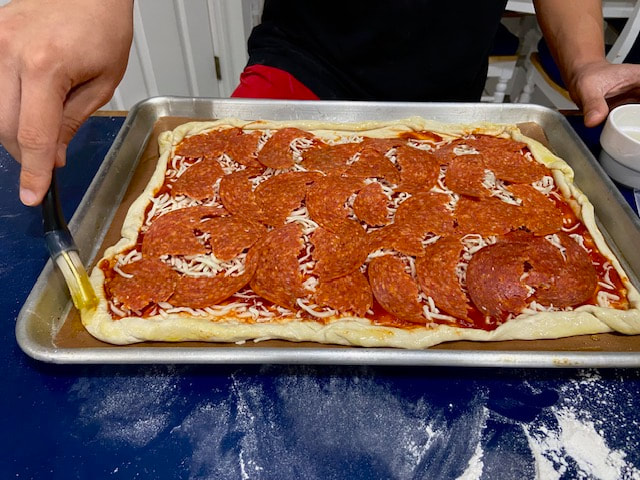
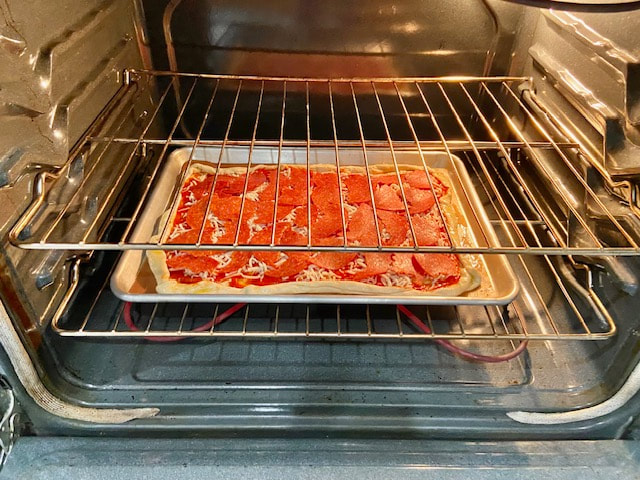
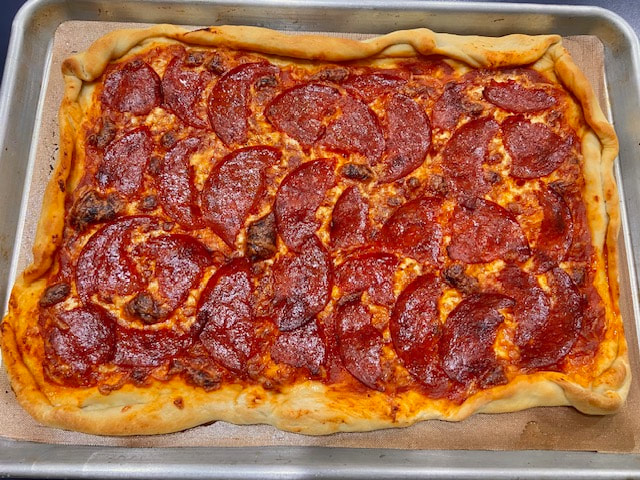
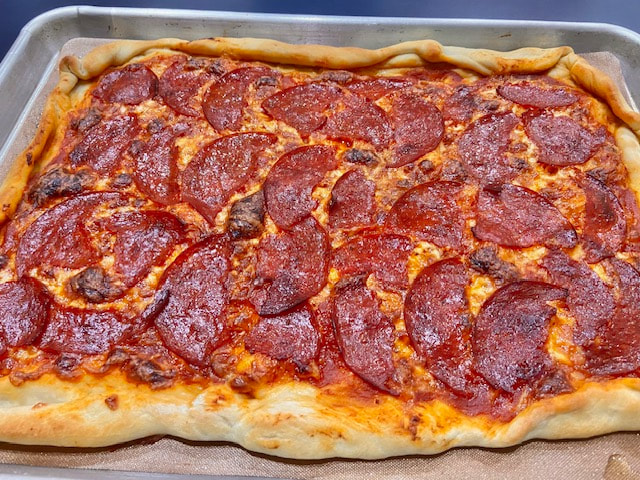
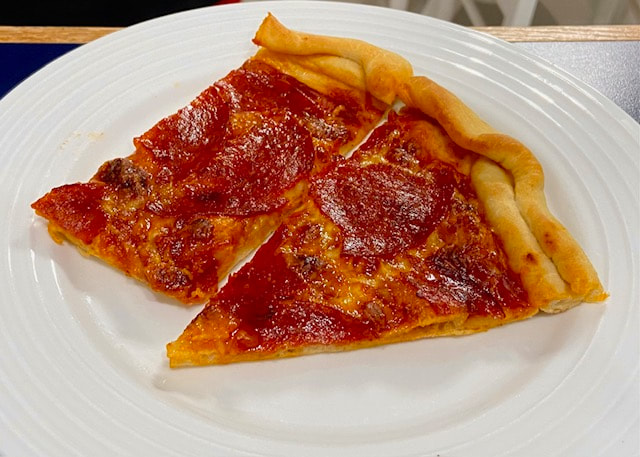
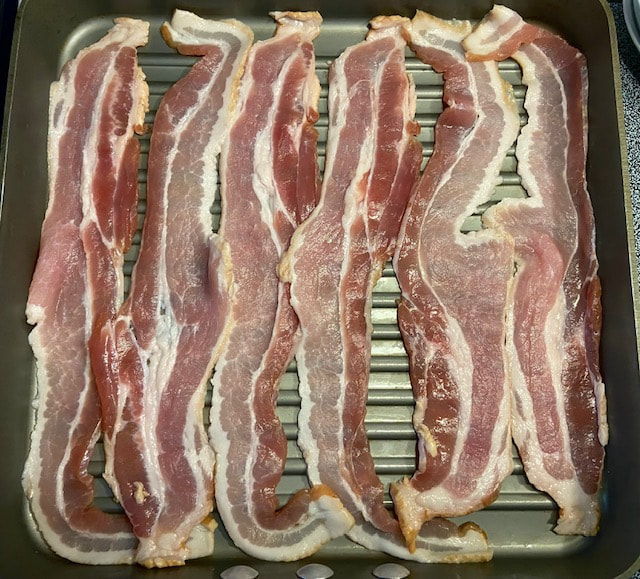
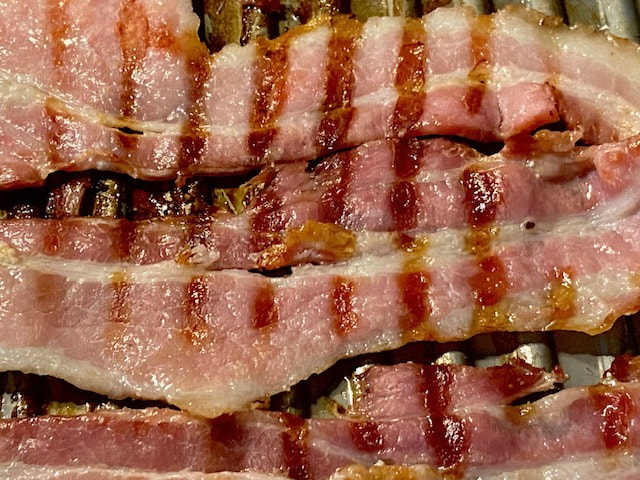
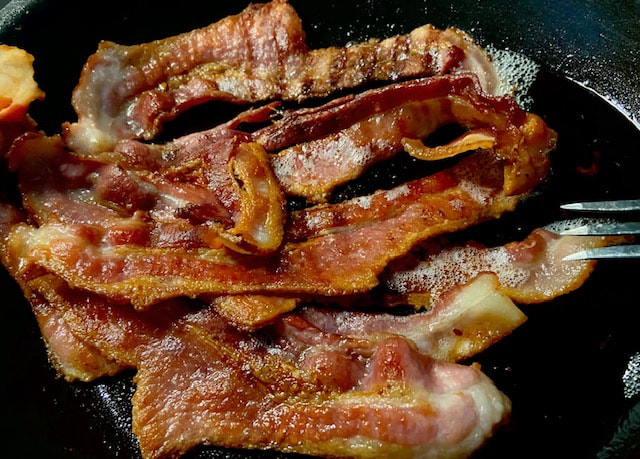
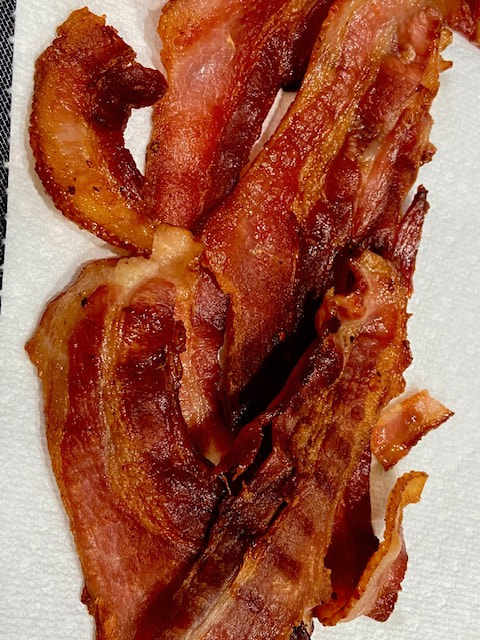
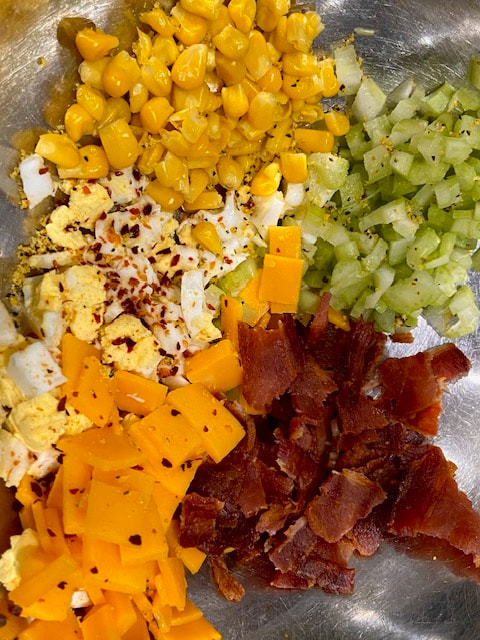
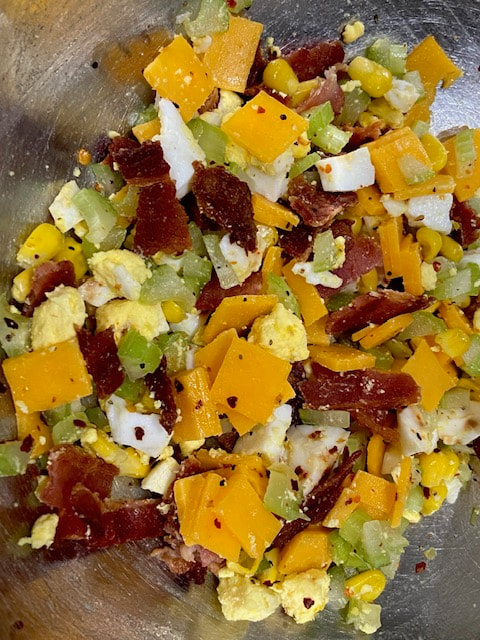
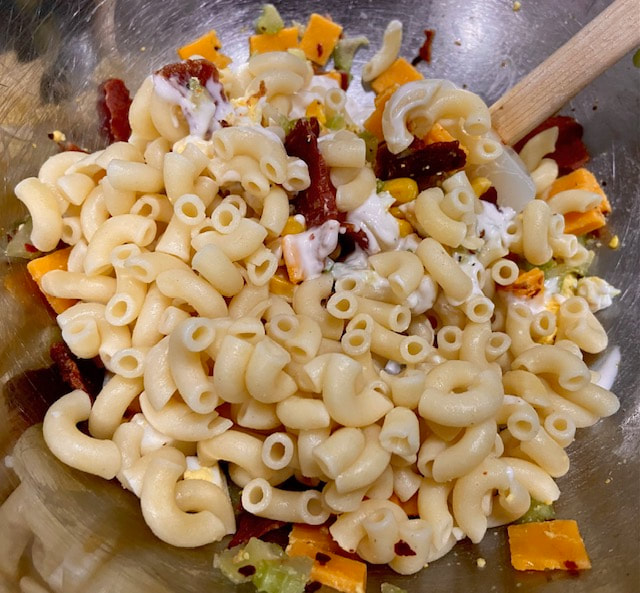
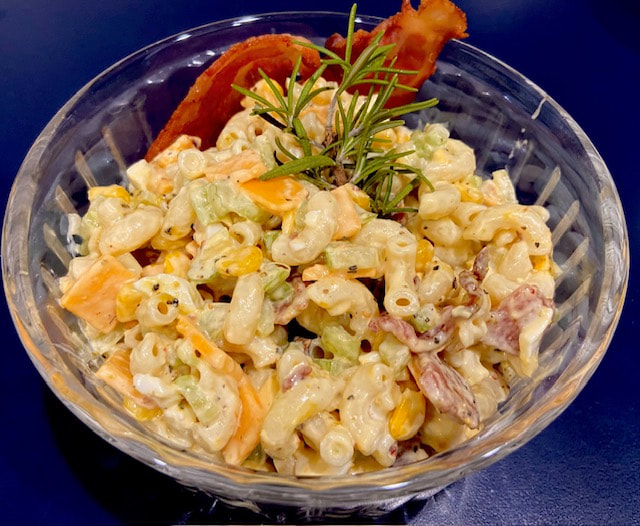
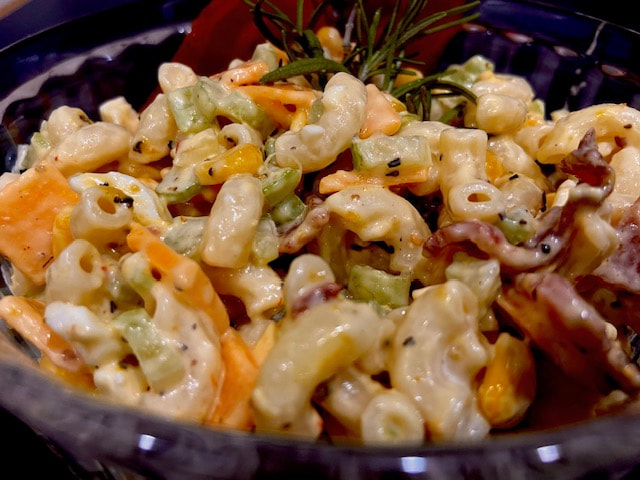
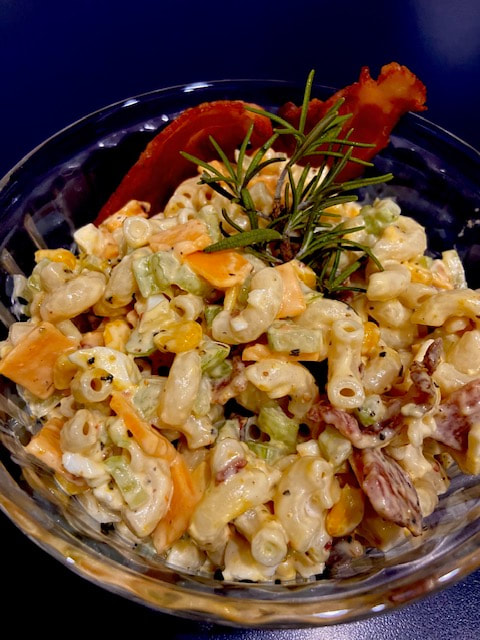
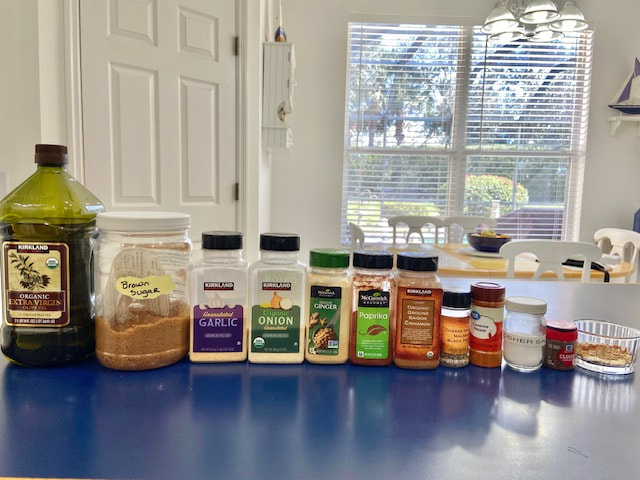
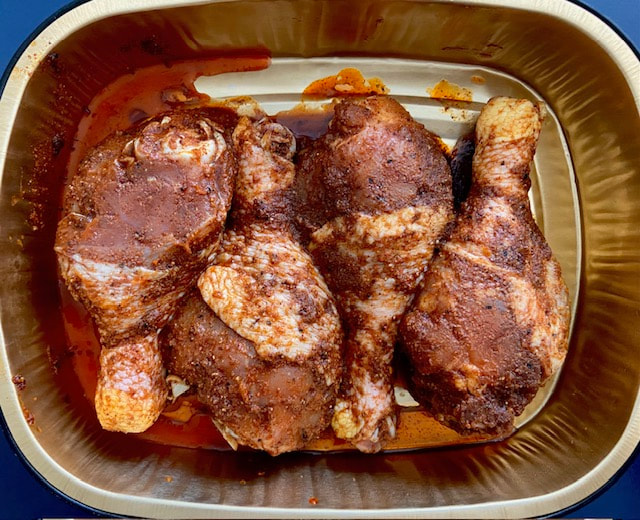
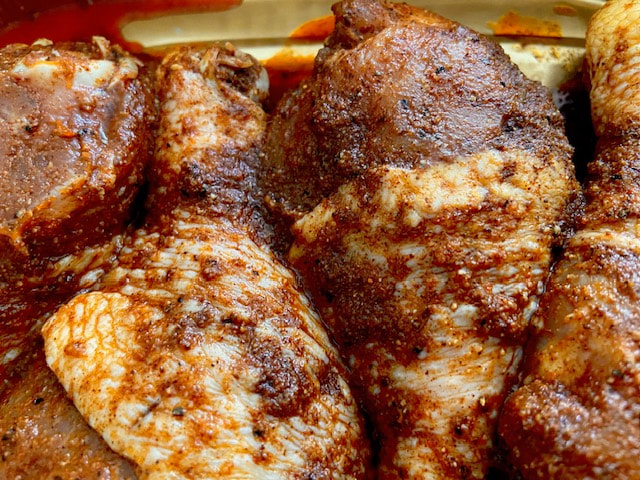
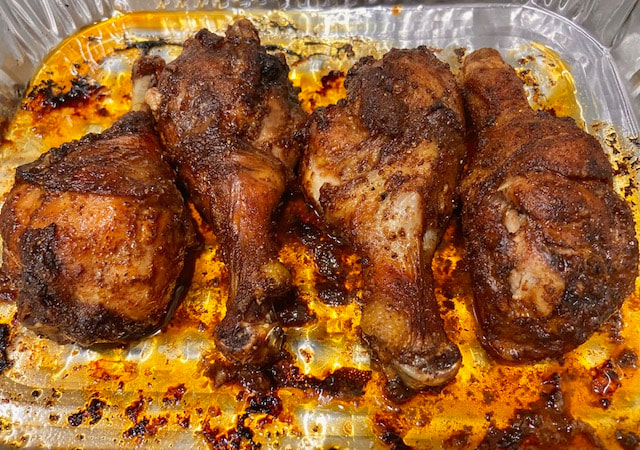
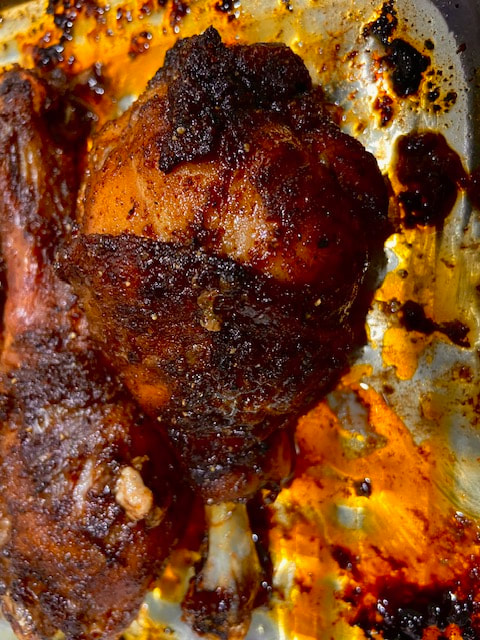
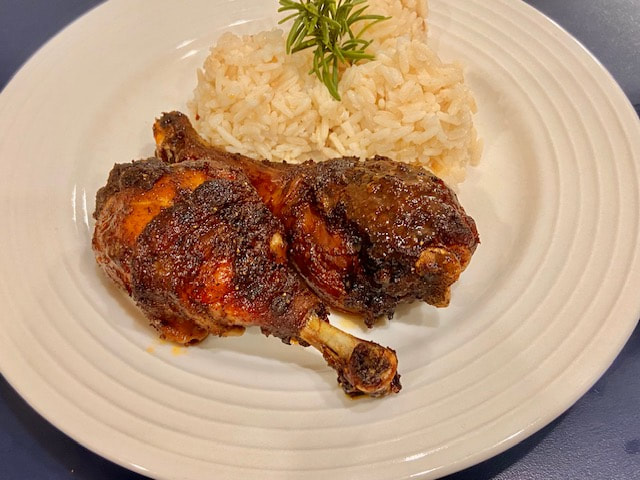
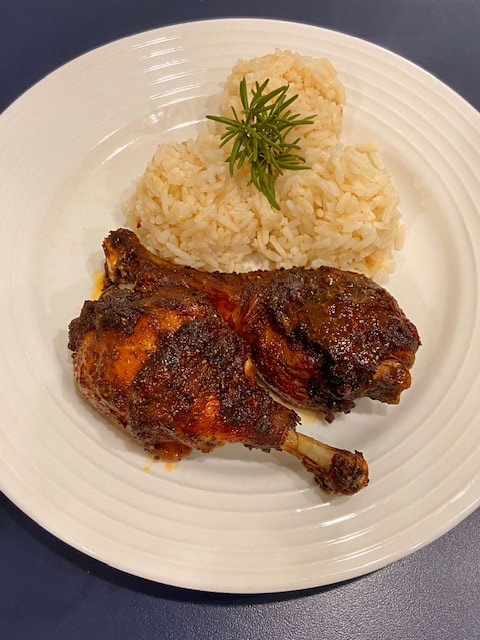
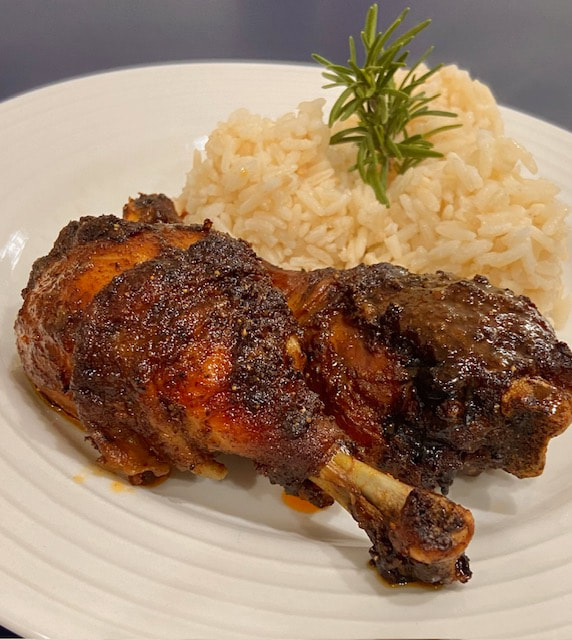
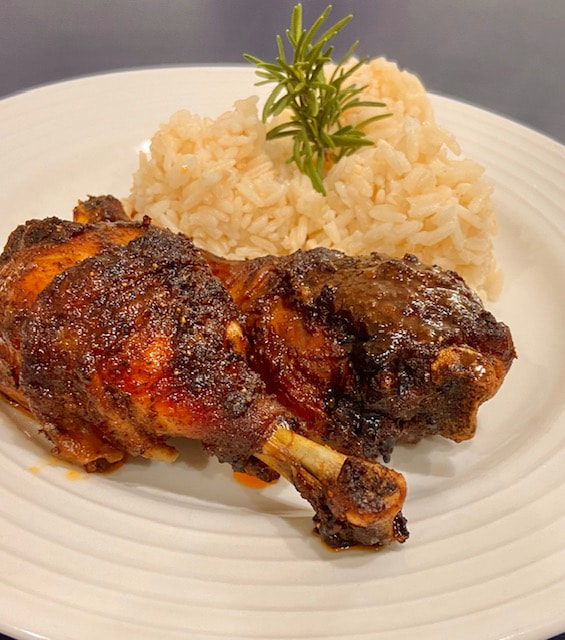
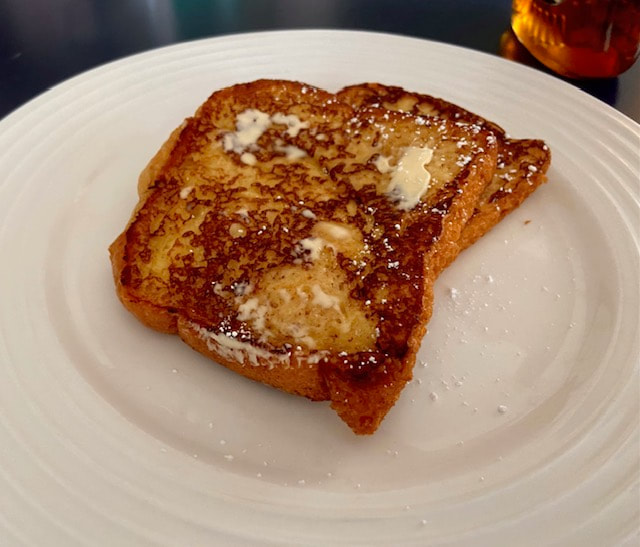 We don’t make this breakfast often but when we do, the family loves it. It’s an elegant yet simple breakfast that will please everyone at home! I use brioche instead of regular sliced bread and always buy it at my favorite store, Trader Joe’s, smile. BOOM! Category: Breakfast Approx. Prep and Cook Time: under 30 Minutes Approximate Cost: $6.30 or $2.10 per serving Difficulty Level: Easy Allergens, Other: For GF please use GF Bread Servings: 3 Ingredients 6 slices of sliced Brioche Bread ($2.00) 3 Large or Jumbo Eggs (.60) ¾ c. Evaporated Milk (.60) 1 tsp. Organic sugar (.10) 1 tsp. Cinnamon (.10) 1 tbsp. Vanilla Extract ($1.00) 3 tbsp. Unsalted Butter (.40) ½ to 3/4 Pure Maple syrup (or to taste) ($1.50) Assorted fruits to serve with (optional) Directions Whisk the eggs, then add the milk, sugar, cinnamon and vanilla and whisk again to combine. Add at least 1 tbsp. of butter to a skillet over medium heat until melts. While that happens, place one slice of the brioche into the egg mixture, coat for few seconds and turn it to coat the other side. Then place in the skillet. (If you use a larger skillet that can accommodate a couple of slices, your breakfast will be finished faster, smile. Cook for few minutes on each side until they look golden brown. Remove from skillet, keep warm until all the slices are cooked. Serve immediately after cooked. Time to plate and garnish with fruits, or add butter or maple syrup, or all of the above, or whatever you wish. 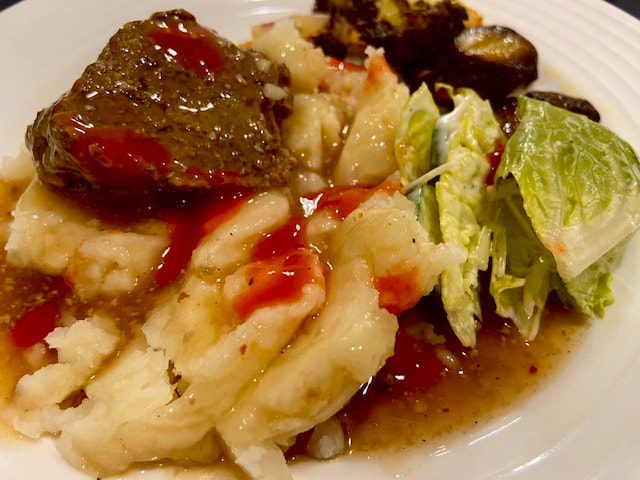 Is there anything more American than Meatloaf and Mashed Potatoes? Well, maybe burgers, smile! Now the ingredients and process for my meatloaf is long, however, so delicious. Category: Entrée Approx. Prep and Cook Time: 45 Minutes Approximate Cost: $14.27 or $3.57 per serving Difficulty Level: Intermediate Allergens, Other: Please use GF PANKO for Gluten Free! Servings: 4 Ingredients for the ground beef ($8.57) 1 lb. ground beef ($6.97) 1 tbsp. garlic (.10) 1 tbsp. granulated onion (.10) 1 tbsp. onion flakes (.10) 1 tbsp. Paprika (.10) 1 tbsp. Angie’s dry seasoning (.30) 1 tsp. Italian seasoning (.10) 3 tbsp. Panko (.20) 2 eggs (.40) EVOO spray for the baking pan (.20) Ingredients for the Mashed Potatoes ($3.50) 3 Russet, Idaho or Yukon potatoes ($2.30) Salt to-taste to boil the potatoes (0) 1 stick of salted or unsalted butter (I used unsalted) ($1.10) ½ c. warm milk (.10) Ingredients for the brown gravy ($2.20) 2 c. beef stock (I made my own) (however, purchased cost about $1.50) 2 tbsp. cornstarch (.10) 1 tsp. granulated garlic (.10) 1 tsp. granulated onion (.10) Paprika (.10) Angie’s dry seasoning (.30) Directions for the beef (Meatloaf) Mix together in a bowl all the ingredients listed under Ingredients for the beef until well combined. Roll the meat on the counter top until its shaped rounded like a loaf and fit in the baking pan. Place the roll inside the baking pan, roast for about 25 to 30 minutes until golden brown and a thermometer inside reads 170. Remove from oven and allow to rest for 10 to 15 minutes before slicing it. Slice into 1” discs and pour the brown gravy over the top. Leave some gravy for the rice, smile. Directions for the Brown Gravy Bring the beef stock with the granulated garlic, granulated onion, Paprika and my dry seasoning to a boil in a medium size saucepan over medium heat. While it boils, mix the 1 tbsp. of cornstarch with 1 tbsp. of cold water and whisk to dissolve. Next pour the cornstarch paste into the boiling beef stock whisking all the time and reduce the heat until the gravy thickens. Taste it and if you need to adjust the salt, this is the time. Directions for the Mashed Potatoes Meantime, peel, rinsed and cut potatoes in cubes for quick cooking and boil in salted water. Boil until tender, drain water, add butter and milk to-taste, then mash them. Angie’s Dry Seasonings: http://www.angieslifehacks.com/family-life/oven-roasted-bacon-chicken-and-angies-seasonings Angie’s Basting Olive Oil: www.angieslifehacks.com/cuisine/the-flavor-series-recipe-2-angies-basting-olive-oil MEMORIES: MY TWIN DAUGHTER, SUZY’S TIRAMISU. NOT A WEEKLY DESSERT TO MAKE, HOWEVER, SO GOOOOOOD!3/15/2024 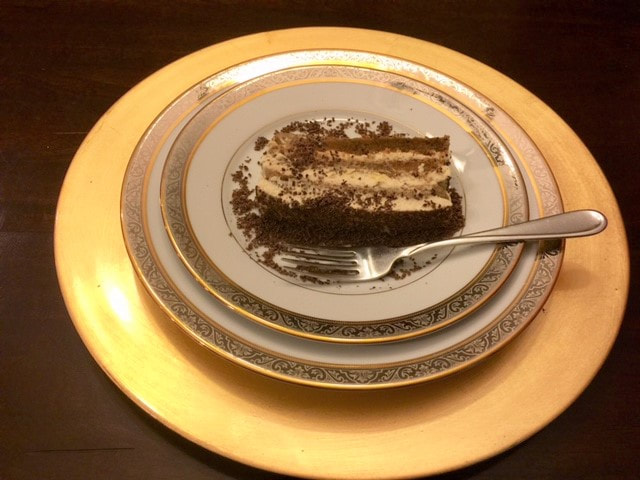 Full circle. I taught my twin daughters how to cook and today Suzy taught me how to make an advanced dessert. I am such a proud mama, smile. I call this an occasional dessert to enjoy because it is so rich in ingredients and furthermore, not very simple to make. I think she got the recipe from the internet. When you figure out the mascarpone, chocolate, heavy whipping cream, etc., you know that this is not for the faint of hearts. It was so good. My advice to you? Eat it in moderation and have a good number of people ready to eat it all, so you don’t have left overs to eat the next day. LOL! Approximate Prep and Cooking Time: 45 minutes’ plus Approximate Cost: $14.74 or $1.85 per serving Difficulty Level: __X__ Advanced Servings: 8 (The recipe makes a 9″ x 13″ 3-layer tiramisu) Ingredients 2 large egg (.32) 2 large egg yolk (.32) 12 tbsp. granulated white sugar (.30) 1 tub good quality mascarpone cheese (BelGioioso brand 8 oz. at Wegman’s = $4.99) 1 cup heavy whipping cream (.99) 4 tbsp. Kahlua (coffee liqueur) ($1.50) 1 ½ cup hot espresso (or strong coffee) $1.00) 33 approx. lady fingers (Italian cookies, Stella D’oro, 28 oz. $2.54)) 1 bar of chocolate (76 to 80% cocoa) $2.78 pinch of salt Directions Part 1: Lightly spray the 9″ x 13″ baking dish with vegetable cooking spray and set aside. Part 2: (Note: This recipe uses raw eggs. Consuming raw eggs may put you at risk of salmonella or other food-borne illnesses. (Only use fresh and properly refrigerated eggs.) That’s what I do and never had a problem. Place the eggs, the egg yolks, and 8 tbsp. of the sugar in the bowl of a stand mixer. Using the whisk attachment, whisk the mixture at high speed until you nearly have soft peaks and the mixture forms a good ribbon (i.e. it forms a ribbon on the surface of the mixture if you use the whisk attachment to drizzle some over the rest). Then, using medium speed, whisk in the mascarpone cheese followed by 2tbsp. of Kahlua. Part 3: Using a separate stand mixer bowl, use the whisk attachment at the highest speed to whip the heavy cream with 2 tbsp. of the sugar and a small pinch of salt until you have hard peaks. Do not overbeat or you will start to get butter. Then gently stir the whipped cream into the egg and mascarpone mixture until smooth and well combined. Part 4 (Assembly): Stir 2 tbsp. of Kahlua into the warm cup of espresso or strong coffee and pour this into a shallow dish so that it is no deeper than half the thickness of a lady finger. Working with one lady finger at a time, dip one side of the biscuit into the espresso mixture, instantly flip the lady finger over so that the other side has been dipped into the espresso mixture, and then instantly remove the lady finger. You must work very quickly or the lady fingers will be soggy. Place the lady finger on the bottom of your pan and repeat this until you have completely covered the bottom of your pan with a single layer of espresso-dipped lady fingers. You can use additional lady fingers to fill any gaps if desired. Use a rubber spatula to spread 1/3 of the creamy filling evenly over the bottom layer of lady fingers. Repeat the process of dipping the lady fingers into the espresso and arrange them until you have a second layer of lady fingers (these should cover the creamy filling). Then use the spatula to spread the remaining filling over these lady fingers. Cover with plastic saran wrap and chill in the refrigerator preferably 24 hours. Simply grate chocolate (as much as you’d like) over the top and serve. 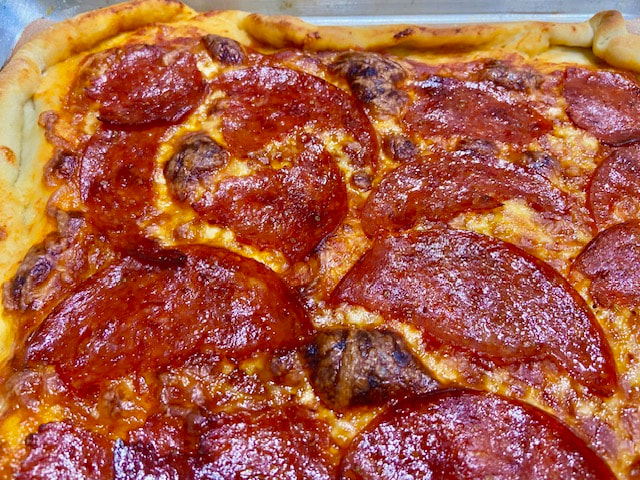 The best feeling ever is to see all my grandkids great ability to cook and be in control in the kitchen. After all, regardless of all they do, they will have to eat every day, hence, knowing how to cook equips them with the skills needed to feed themselves. Priceless! Category: Entrée Approx. Prep and Cook Time: Under 30 Minutes (If dough is at room temperature.) Approximate Cost: $5.45 or $1.09 per serving Difficulty Level: Easy Allergens, Other: (For Gluten Free please use a GF Pizza dough) Servings: 5 Ingredients 1 bag of frozen fresh Pizza Buddy dough (or use a GF Pizza dough) ($1.90) Mozzarella Cheese to-Taste ($1.00) Large deli pepperoni (or the traditional small ones) ($1.20) Ragu Traditional to spread over the dough (.25) Olive oil spray to grease the baking sheet and my basting oil for the dough border. (.10) Directions Allow the dough to rise at room temperature before using it. Start the oven at 450 degrees Oil spray the baking pan. Remove dough from bag and begin stretching it with your hands into a circle or in his case into a rectangle, smile. Spread a thin layer of flour on the counter top and add some to your rolling pin. Drop the dough over the flour and shape it with the rolling pin until it thins out to your pizza crust size desired. Move the dough to the greased baking pan and stretch it to cover most of the area. Spread the surface with a thin layer of the Ragu sauce, leaving about an inch clean all around so that you can cover it with olive oil for crunchiness, then, sprinkle with mozzarella cheese to taste and cover with pepperoni to-taste as well. Bake at 450 degrees for about 18 minutes until the crust is golden brown. Angie’s Basting Olive Oil: www.angieslifehacks.com/cuisine/the-flavor-series-recipe-2-angies-basting-olive-oil  INTRODUCTION Sometimes when I am making dinner ideas come up to add to what I am cooking that night. It happened this week and I didn’t want to rush to the grocery store for ingredients. I decided that I wanted to have a mac salad to go with stakes and potatoes. So, I looked all over my pantry and fridge and came up with this side recipe, Smile. Category: SIDE Approx. Prep and Cook Time: 20 Minutes Approximate Cost: $4.75 or $2.38 per serving Difficulty Level: Easy Allergens, Other: (for Gluten Free please use GF Macaroni) Servings 2 INGREDIENTS ½ lb. (= ½ of a 1 lb. box elbow noodles) (.75) 2 hardboiled eggs, lightly chopped (.40) 4 strips bacon, cooked, fat drained and crumbled (.75) 8 oz. of sharp (cubed or sliced, chopped), cheddar cheese (or Mexican Style Mix) ($1.00) 1 ¼ c. of Ranch Dressing ($1.00) 1 tsp. extra virgin olive oil (.20) ½ c. corn kernels (.50) Pepperoncini, Lemon Pepper and black pepper, to taste (.15) DIRECTIONS Boil pasta according to package directions. Drain and rinse with cold water, stir so they don’t stick. Let cool while you prep the rest. (Note: use the pasta water to boil the eggs) In a med-size bowl mix the ranch dressing, EVOO, corn, lemon pepper, pepperoncini and black pepper, then add the chopped eggs, bacon and cheese. Now, add the macaroni pasta and mix just until combined. Add more lemon pepper if you like, to-taste. Serve immediately or store in an airtight container in the fridge until ready to serve. 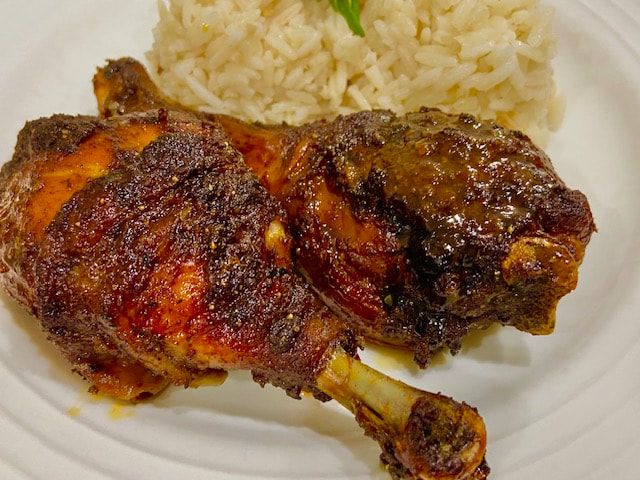 I love to experiment in my kitchen. This Jamaican Jerk Chicken Recipe is not mine, it’s Amy Dong, from Chew Out Loud. It is a simple version of a Caribbean style roasted chicken. The drums are super tender and flavorful. You can serve jerk chicken with white or yellow rice. So Good! Prep Time: 10 mins, Cook Time: 40 mins, Total Time: 50 mins Servings: I cooked for 2 INGREDIENTS Approximate $5.20 or $2.60 per servings (I made 2 servings) I reduced the original 10 legs to 5, kept the original seasoning and reduce the salt. 5 chicken legs ($3.50) 1/3 cup olive oil (.60) 2 tbs. light brown sugar, packed (.10) 1 tbs. dried thyme (.10) 2 tsp. ground allspice (.10) 2 tsp. smoked paprika (.10) ¼ - ½ tsp cinnamon (.10) 1 tsp. ground ginger (.10) 1 tsp. ground cloves (.10) 1 tsp. cayenne pepper (.10) 1 tsp. garlic powder (.10) 1 tsp. onion powder (.10) 1 ¼ tsp. kosher salt (.10) ¼ tsp. freshly ground black pepper DIRECTIONS Preheat oven to 425F with rack on lower middle position. In a bowl, combine all remaining ingredients to form a spice rub/paste mixture. Set aside. Use paper towels to thoroughly dry chicken legs of excess moisture. Use fork to poke holes on all sides of chicken legs. Evenly spread the rub mixture underneath the skin of chicken legs - use clean hands to really push the mixture as far underneath skin as you can - as well as on top of skin. Place chicken on large rimmed/foil-lined baking sheet, with space in between each piece. For smaller-sized chicken legs, bake about 40 minutes; for larger-sized chicken legs, bake about 50 minutes or until nicely browned. Serve immediately, with drippings from baking pan. Amy’s Notes:
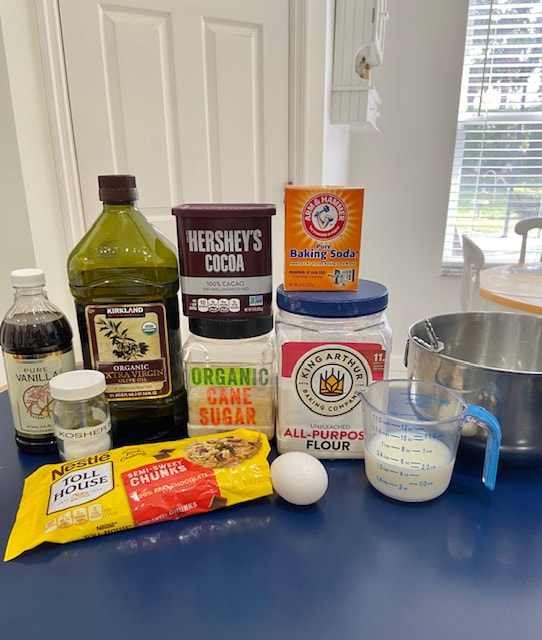
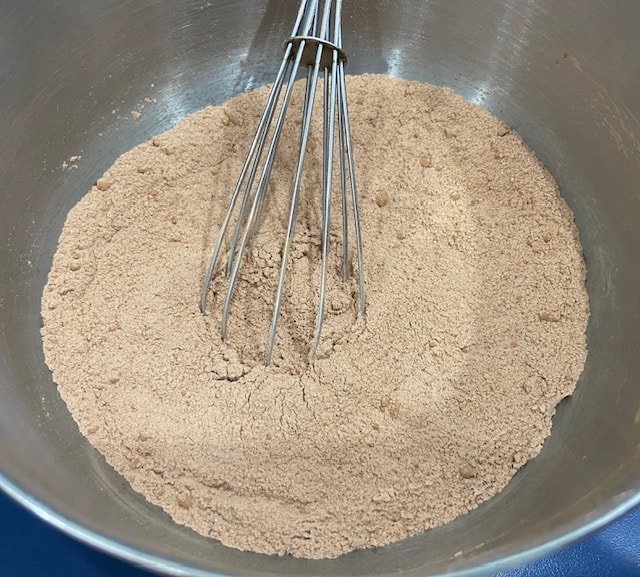
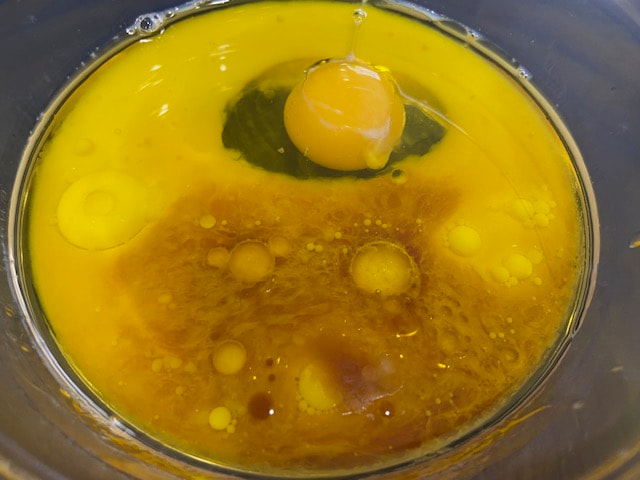
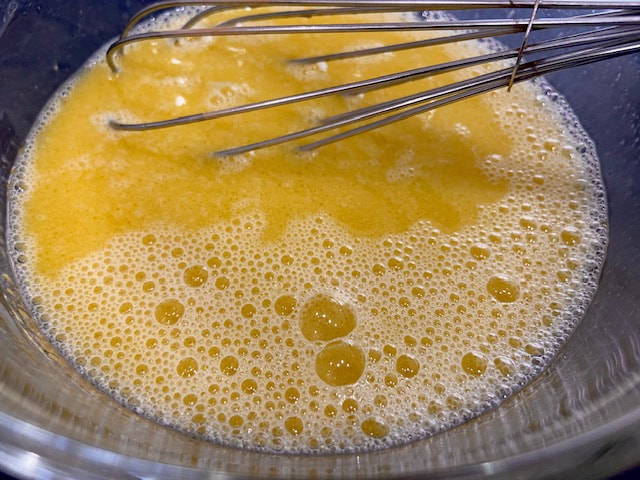
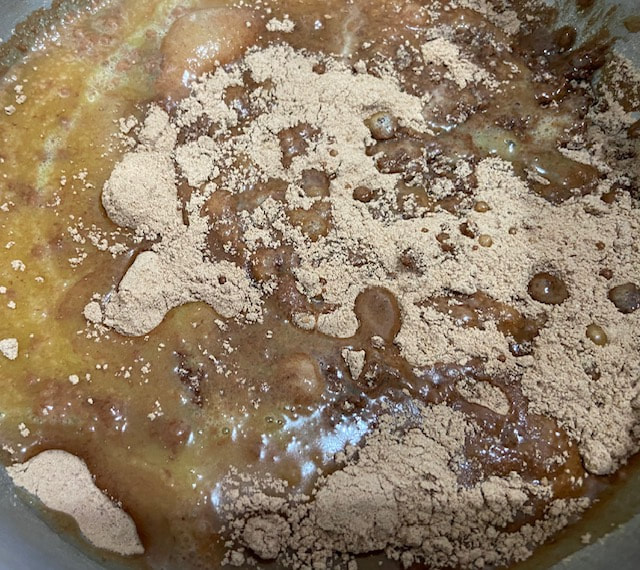
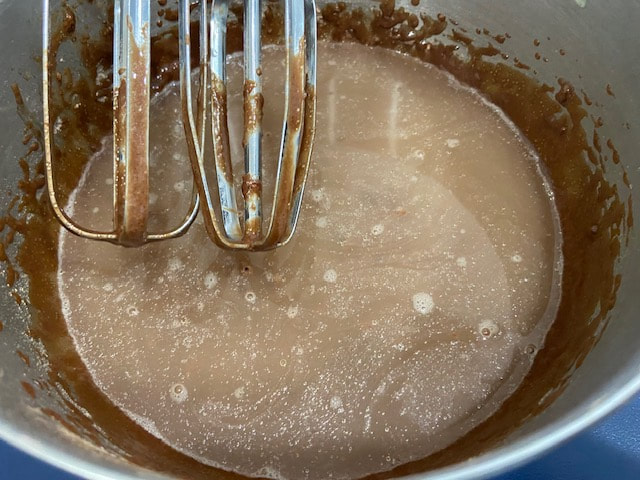
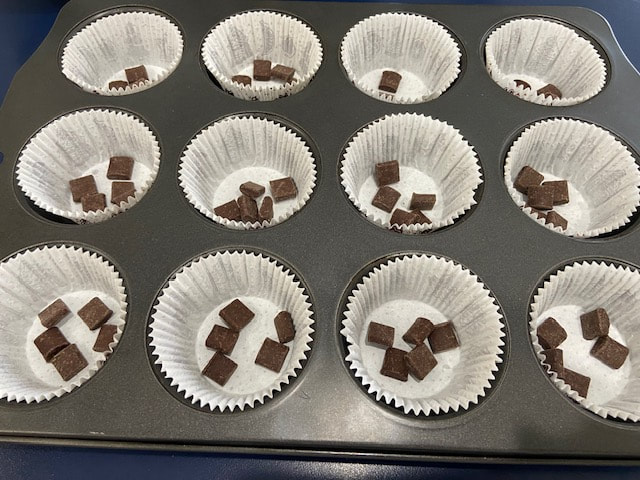
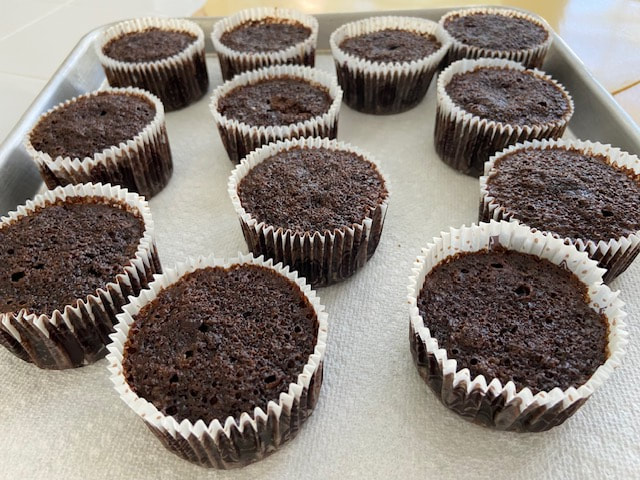
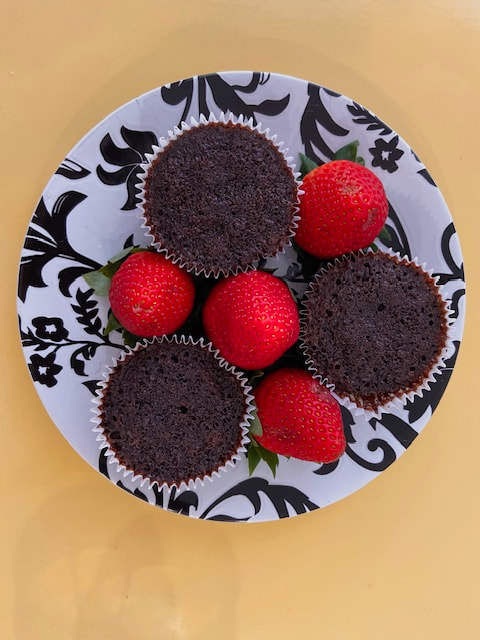
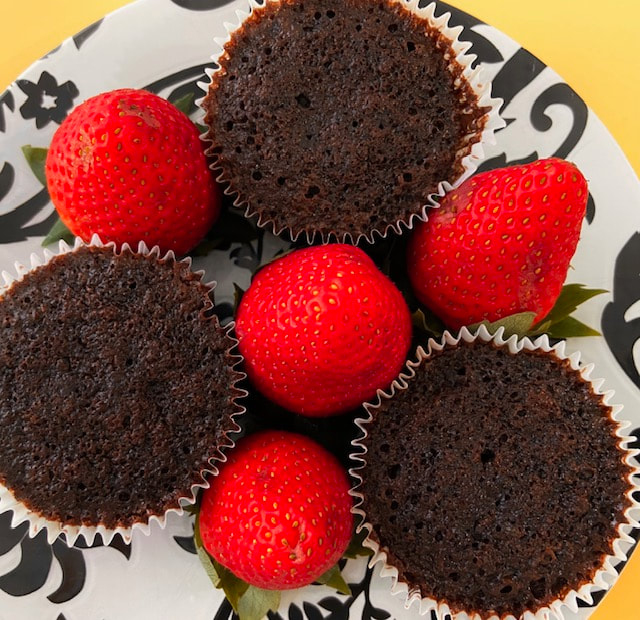
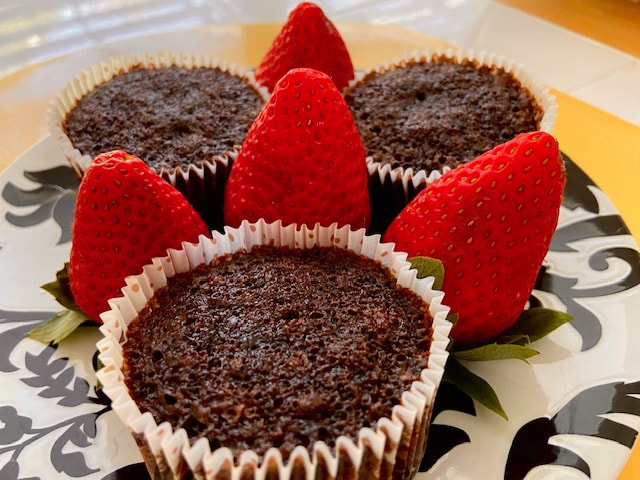
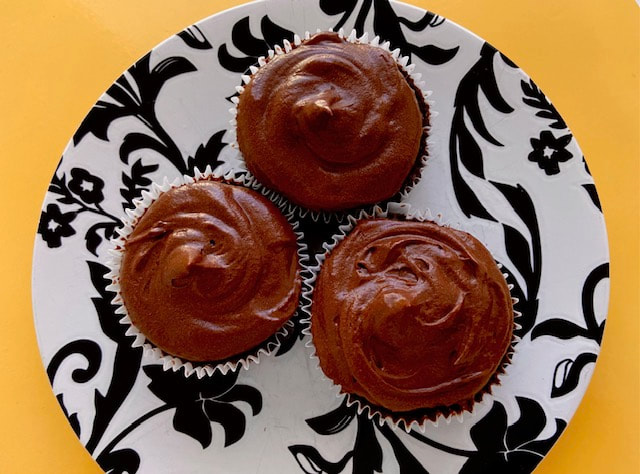 A friend gave me this recipe years ago and as I always do, I made it my own by changing, adding and deleting ingredients. In general, this was a standard chocolate cupcake recipe that I wanted to elevate to a higher flavor. The olive oil worked for me great, then I added chocolate chunks, and also decided to use evaporated milk instead or the fat free milk she had listed. The result, awesome. They are Not from a box, since the last time I checked a similar cupcake box at the store, they have listed under ingredients, mononitrate, palm oil and other stuff. Category: Dessert Approx. Prep and Cook Time: 40 minutes Approximate Cost: $8.95 or (.75 cents per cupcake) Difficulty Level: Easy Allergens, Other: FOR GF PLEASE USE Gluten Free 1 TO 1 FLOUR. Servings: 12 TO 13 My chocolate cupcakes are super tender with tons of chocolate, smile. DRY INGREDIENTS for the Cupcakes ($3.90) 1 cup all-purpose flour (.60) 1 cup granulated sugar (.50) ½ cup of Hershey’s 100% Cacao unsweetened cocoa powder (.30) 1 teaspoon baking powder (.10) ½ teaspoon baking soda (.10) ½ teaspoon salt (.10) WET INGREDIENTS for the Cupcakes 1 large egg, room temperature (20) ½ cup evaporated milk (.60) ½ cup extra virgin olive oil (.50) 1 teaspoon vanilla (.90) ½ cup very hot water (0) DIRECTIONS FOR THE CUPCAKES Start the oven to 350°degrees and place liners in the cupcake pan.
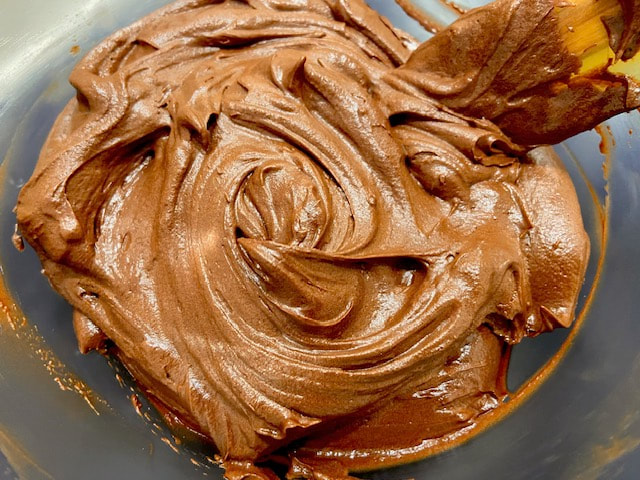
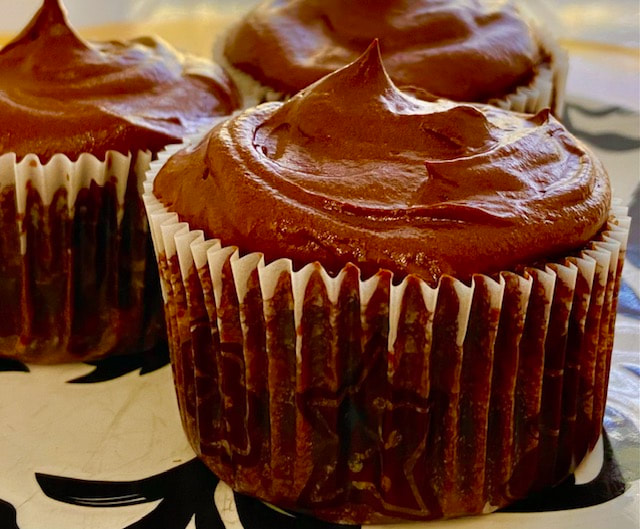
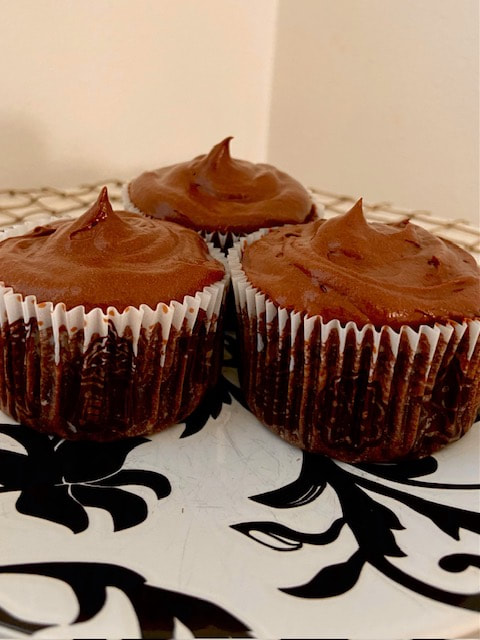
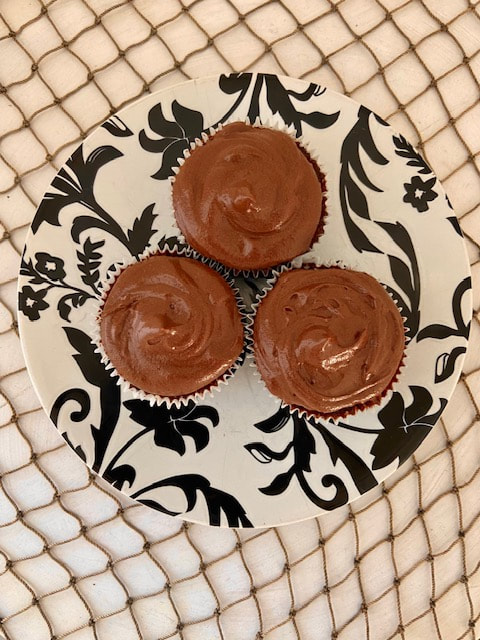
CHOCOLATE FROSTING ($5.05) 1 ½ stick of cup unsalted butter softened ($1.00) ⅔ cup of Hershey’s 100% Cacao unsweetened cocoa powder (.30) 4 cups powdered sugar ($1.60) 5 to 6 Tablespoons of evaporated milk (35) 2 teaspoons vanilla extract ($1.80) DIRECTIONS FOR THE CHOCOLATE FROSTING
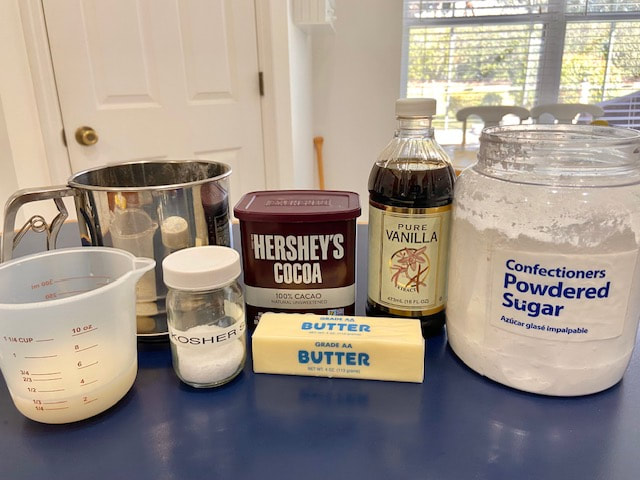
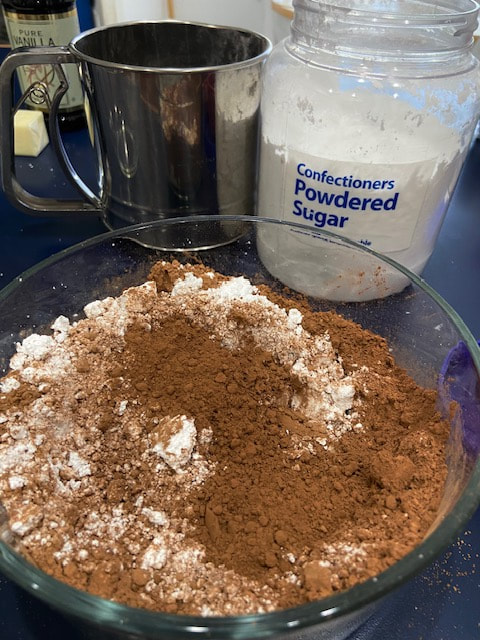
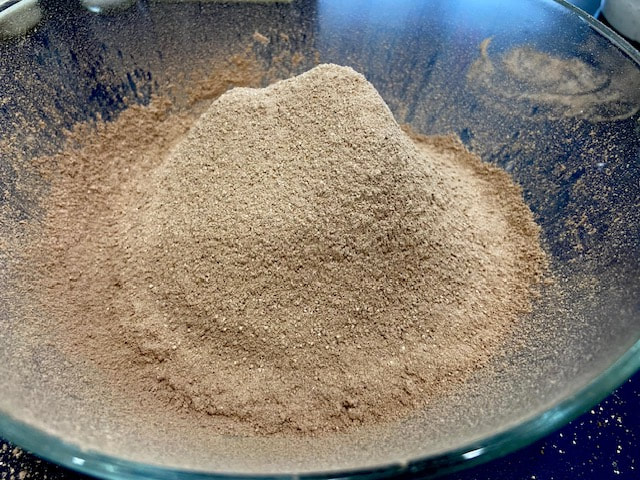
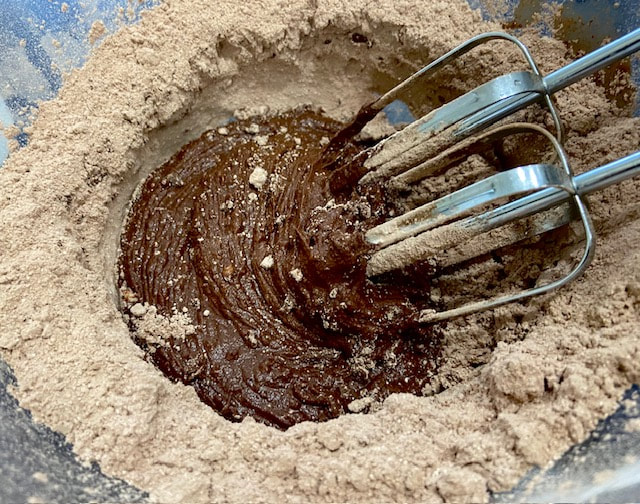
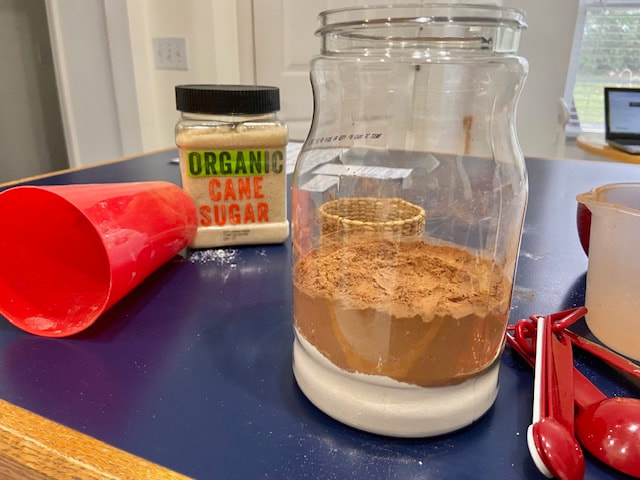
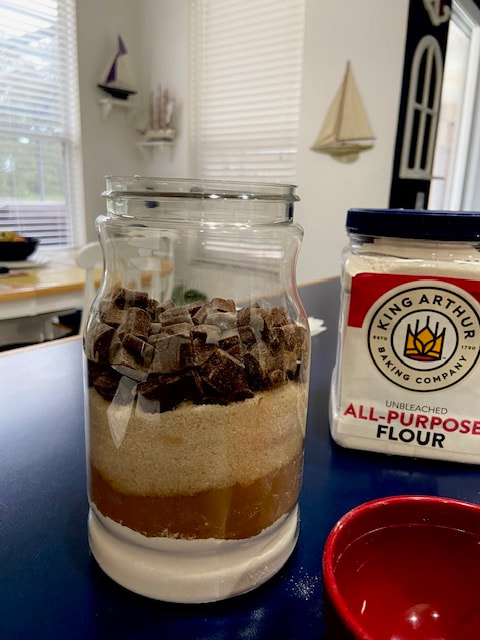
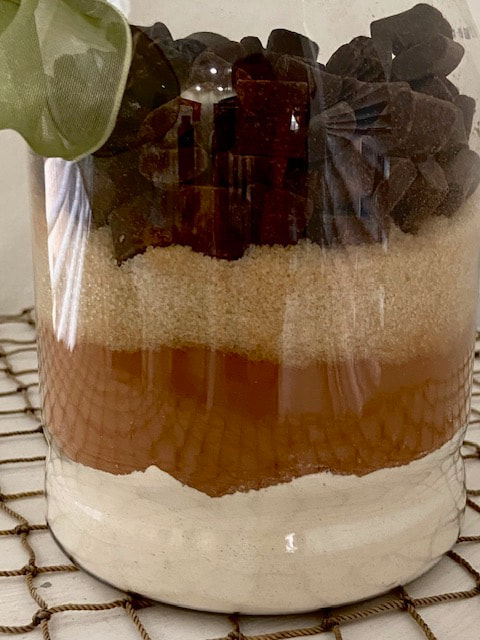
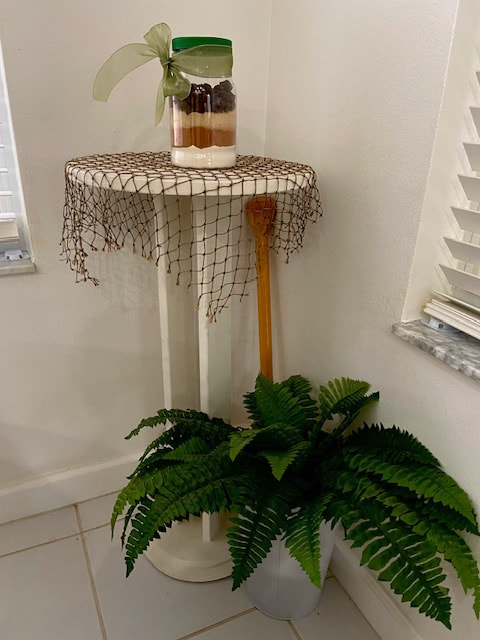
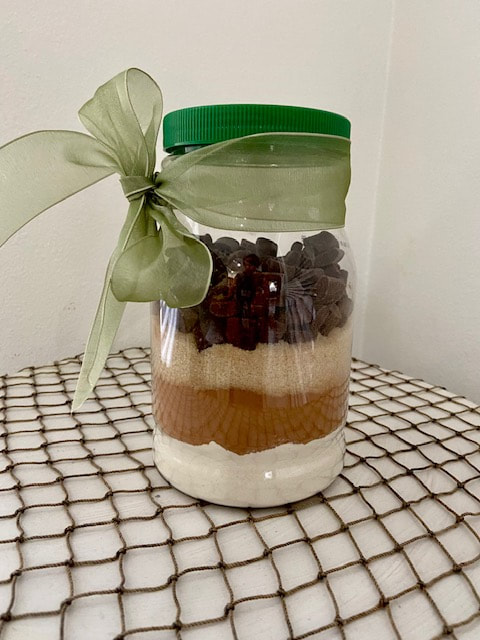
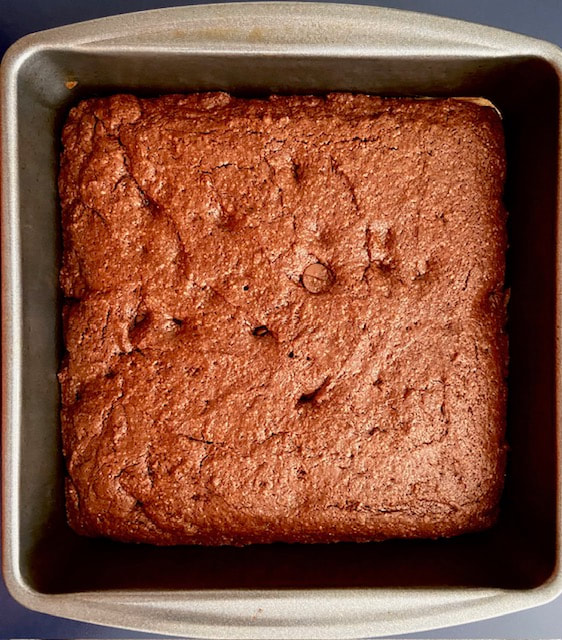
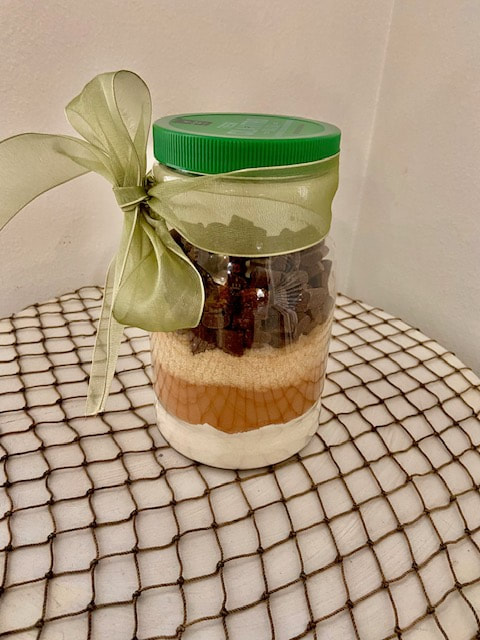 Putting Together My Brownie Mix in a Jar for a Gift: You already have my yesterday post of the brownie recipe. Today I will show you how I prepare the “Brownie Jar Gift Idea. I have done this in the past but decided to do it again today, smile. Follow my slide presentation for it. Simple!
* Remember to print and tag the brownie recipe in each jar when given as gifts. |
ABOUT THE AuthorI am a blogger, a photographer, a jewelry designer, a gourmet cook, and a recipe book writer. I am also a flea market flipper, an avid gardener, an interior/ outdoors designer, an avid golfer and traveler. Categories |


 RSS Feed